Create a Realistic Plastic Film Effect on Photos in Photoshop
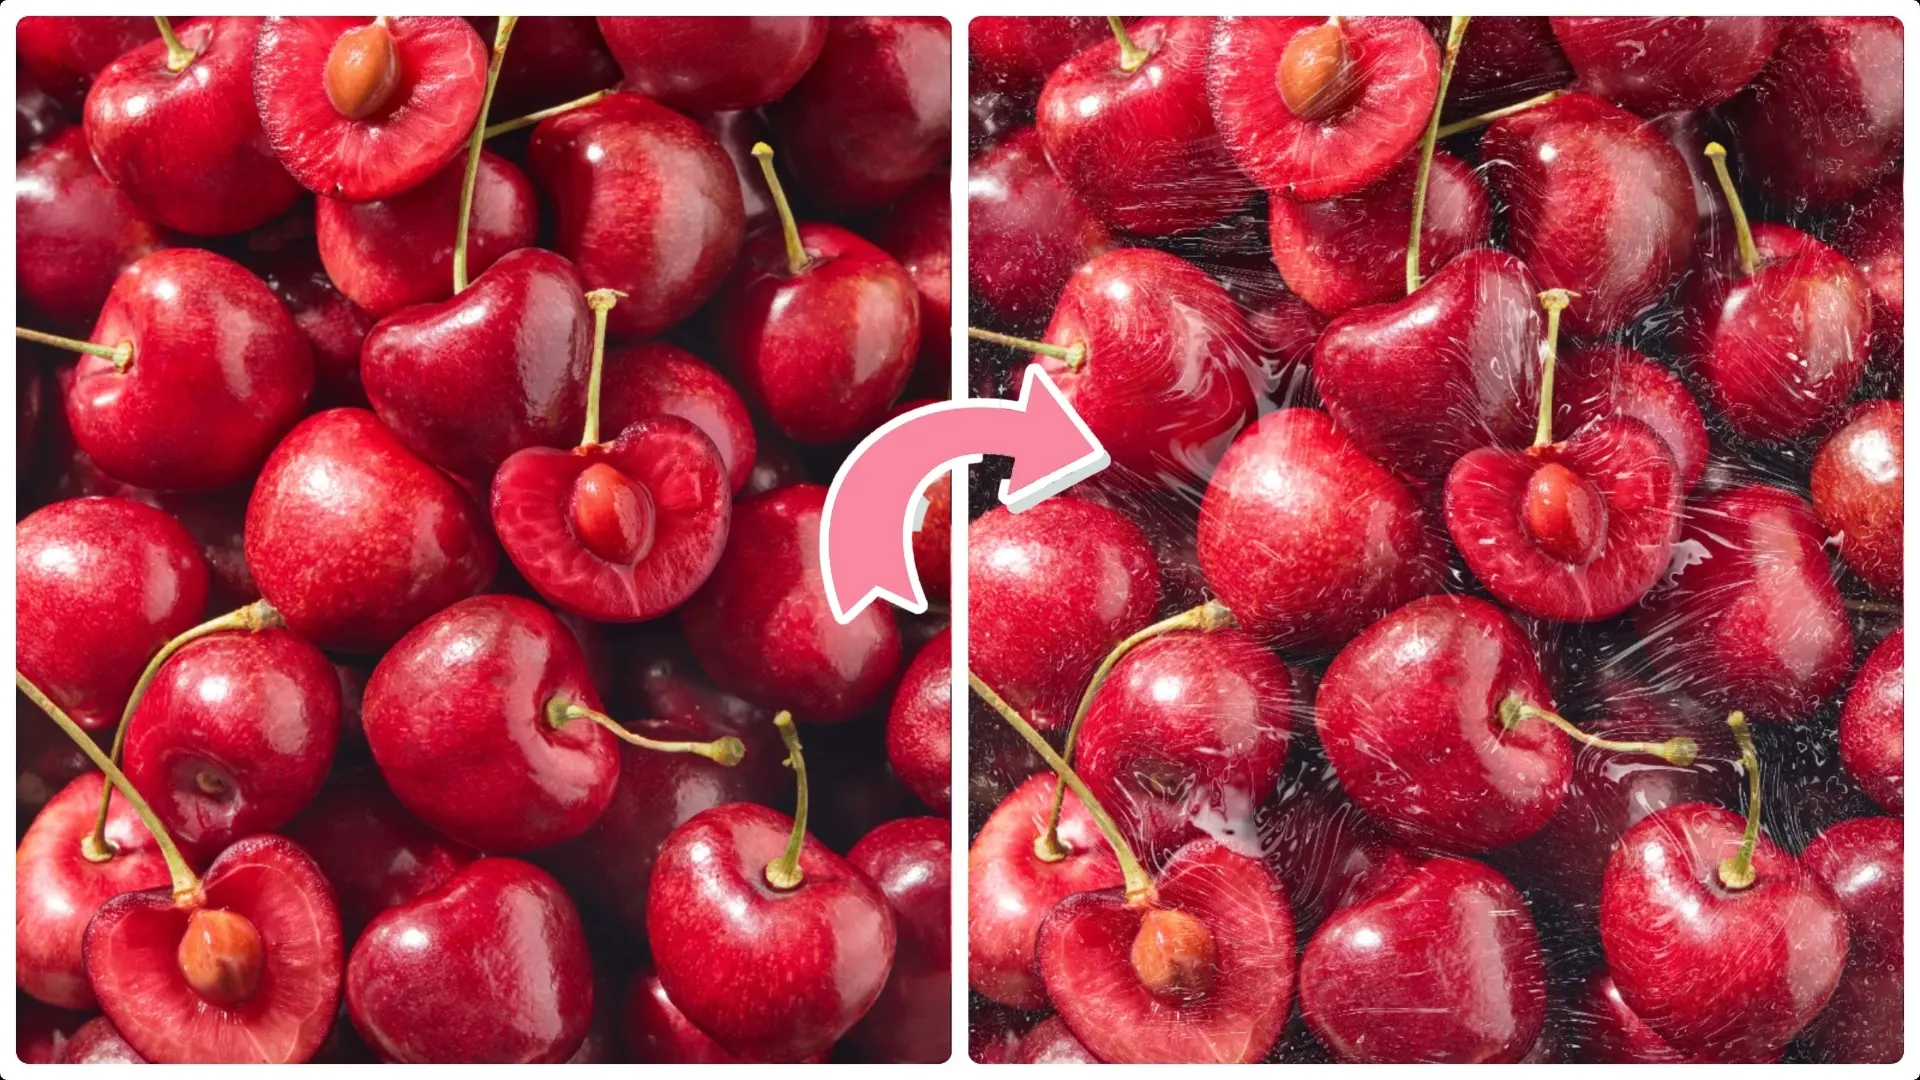
Learn how to create a realistic plastic film effect in Photoshop with this simple step-by-step tutorial.
We’ll guide you through using tools like Render Clouds, Liquify, and Chrome filter to add shiny, wrinkled textures to your photos.
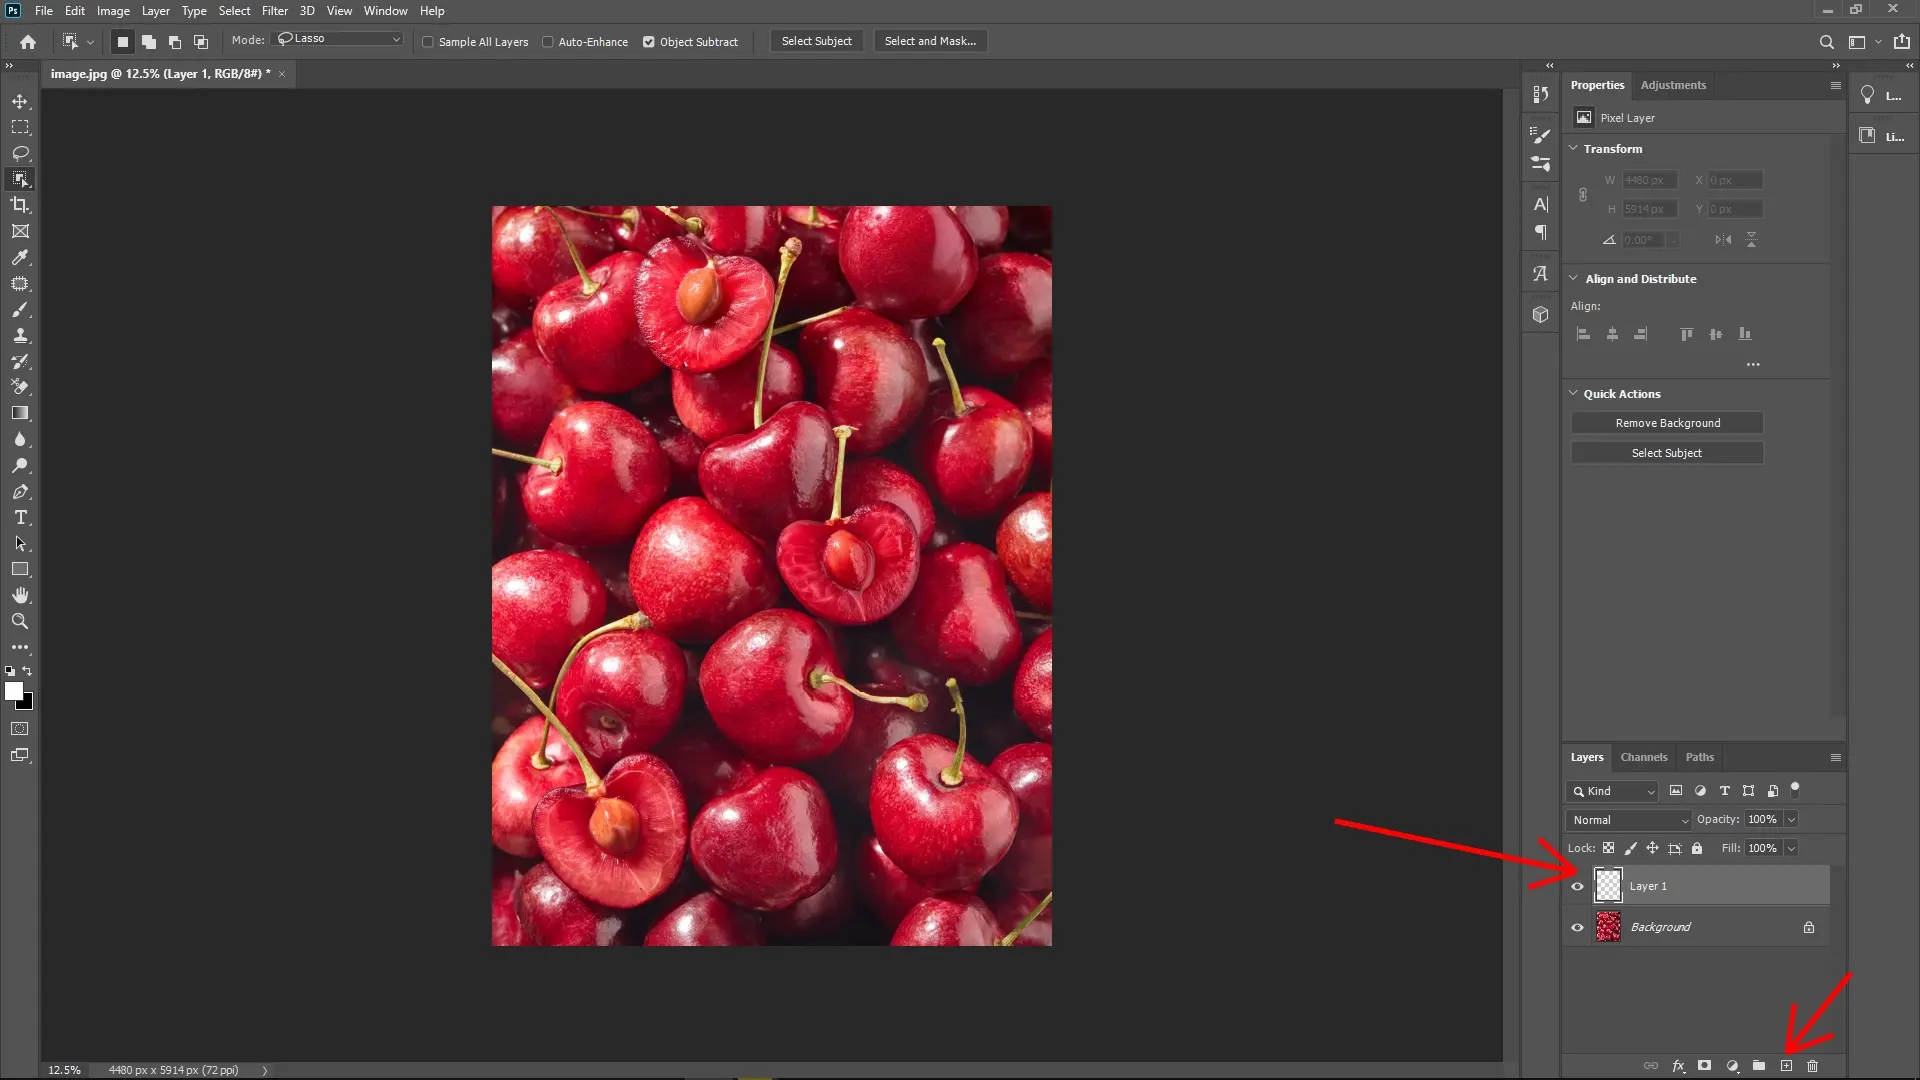
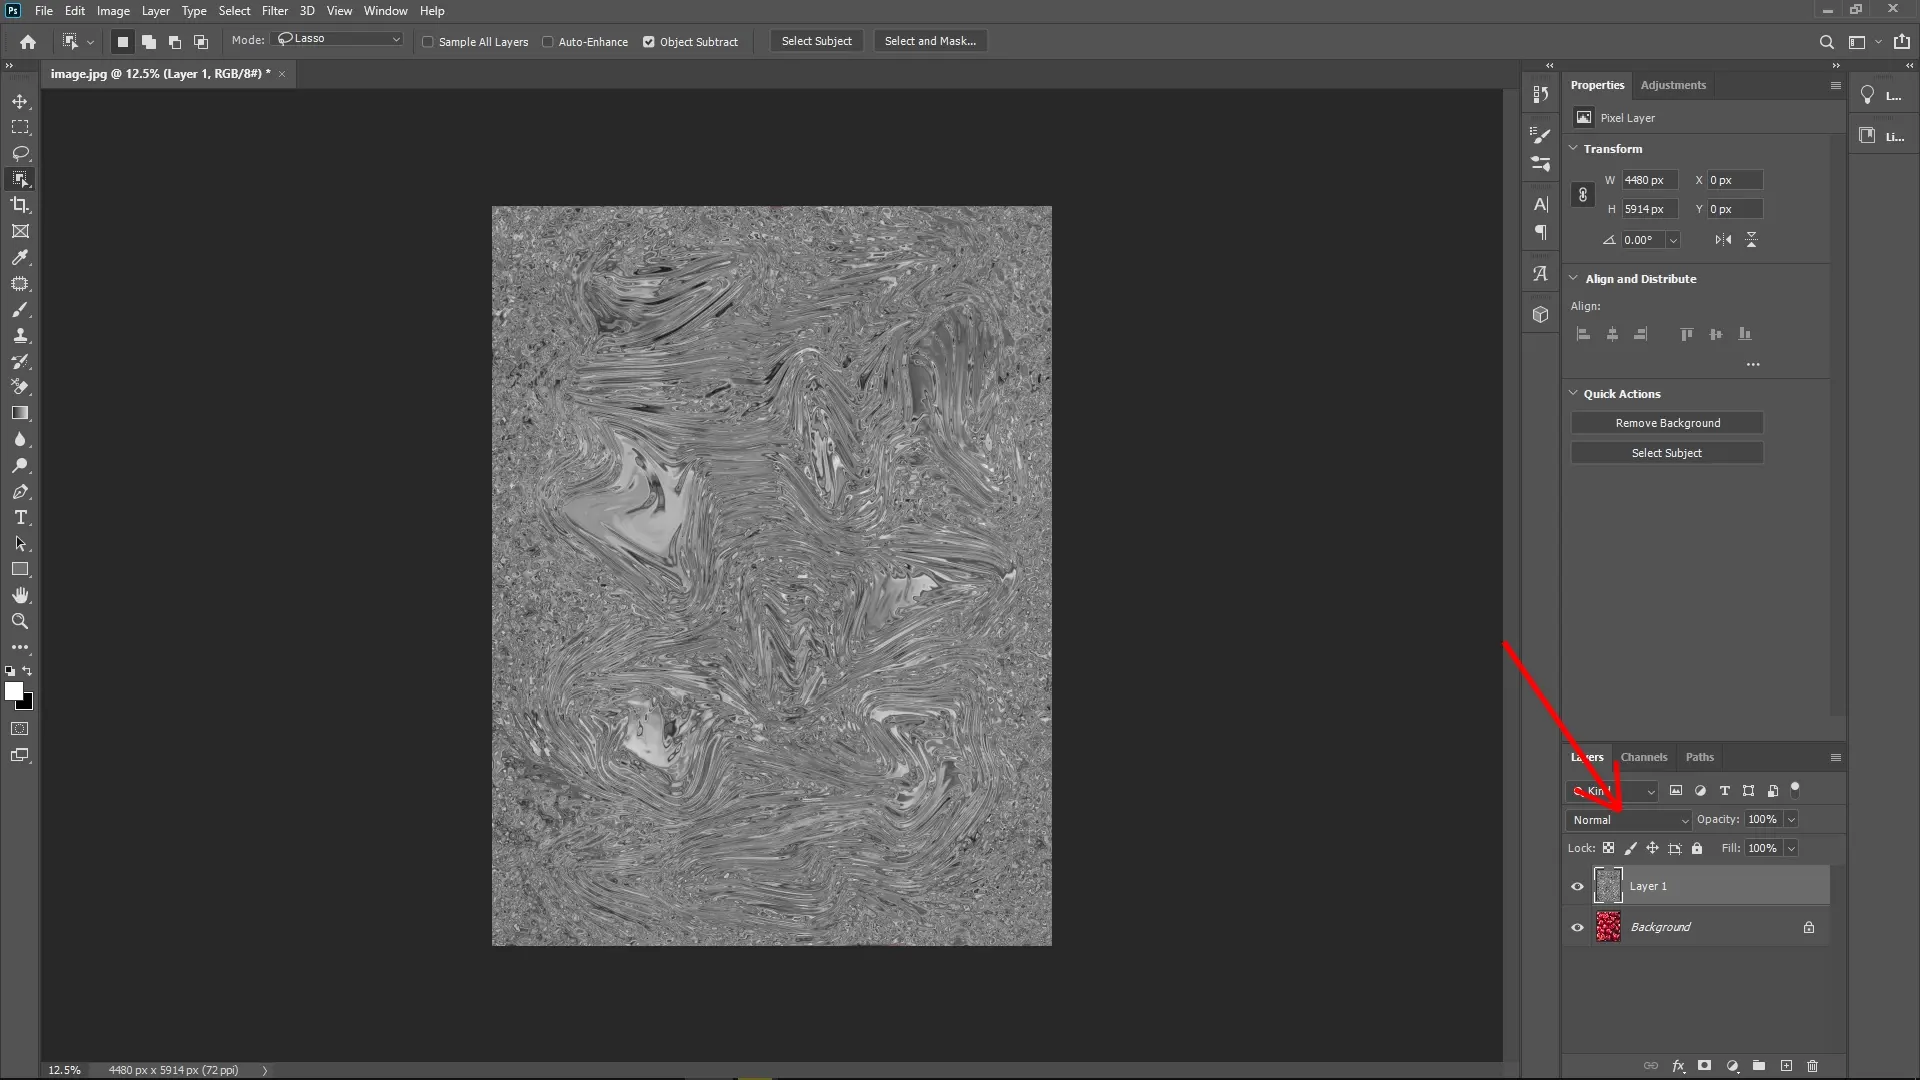
Step 1: Create a New Blank Layer
Start by creating a new empty layer above your photo. This layer will be used to build the plastic film texture.
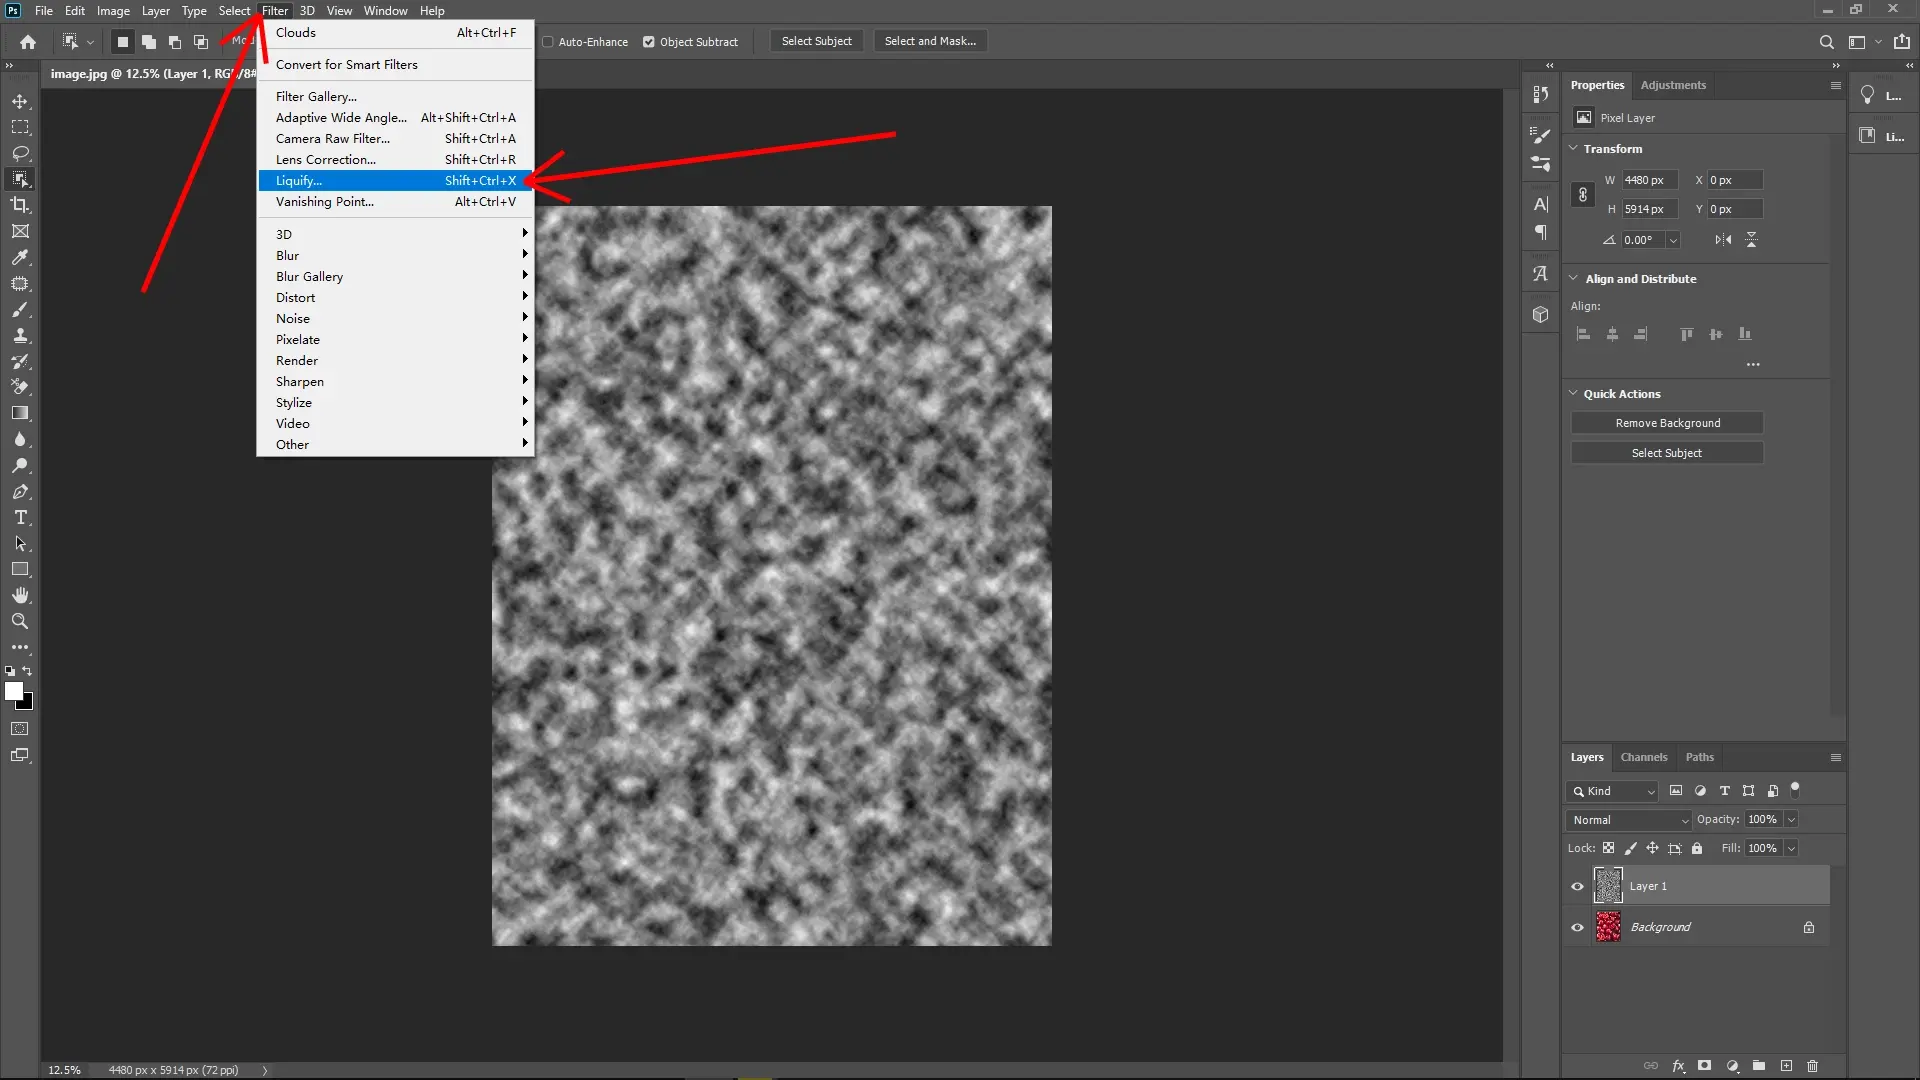
Step 2: Generate Clouds Texture
Go to Filter > Render > Clouds to fill the blank layer with a cloud pattern. This will serve as the base texture for the plastic film.

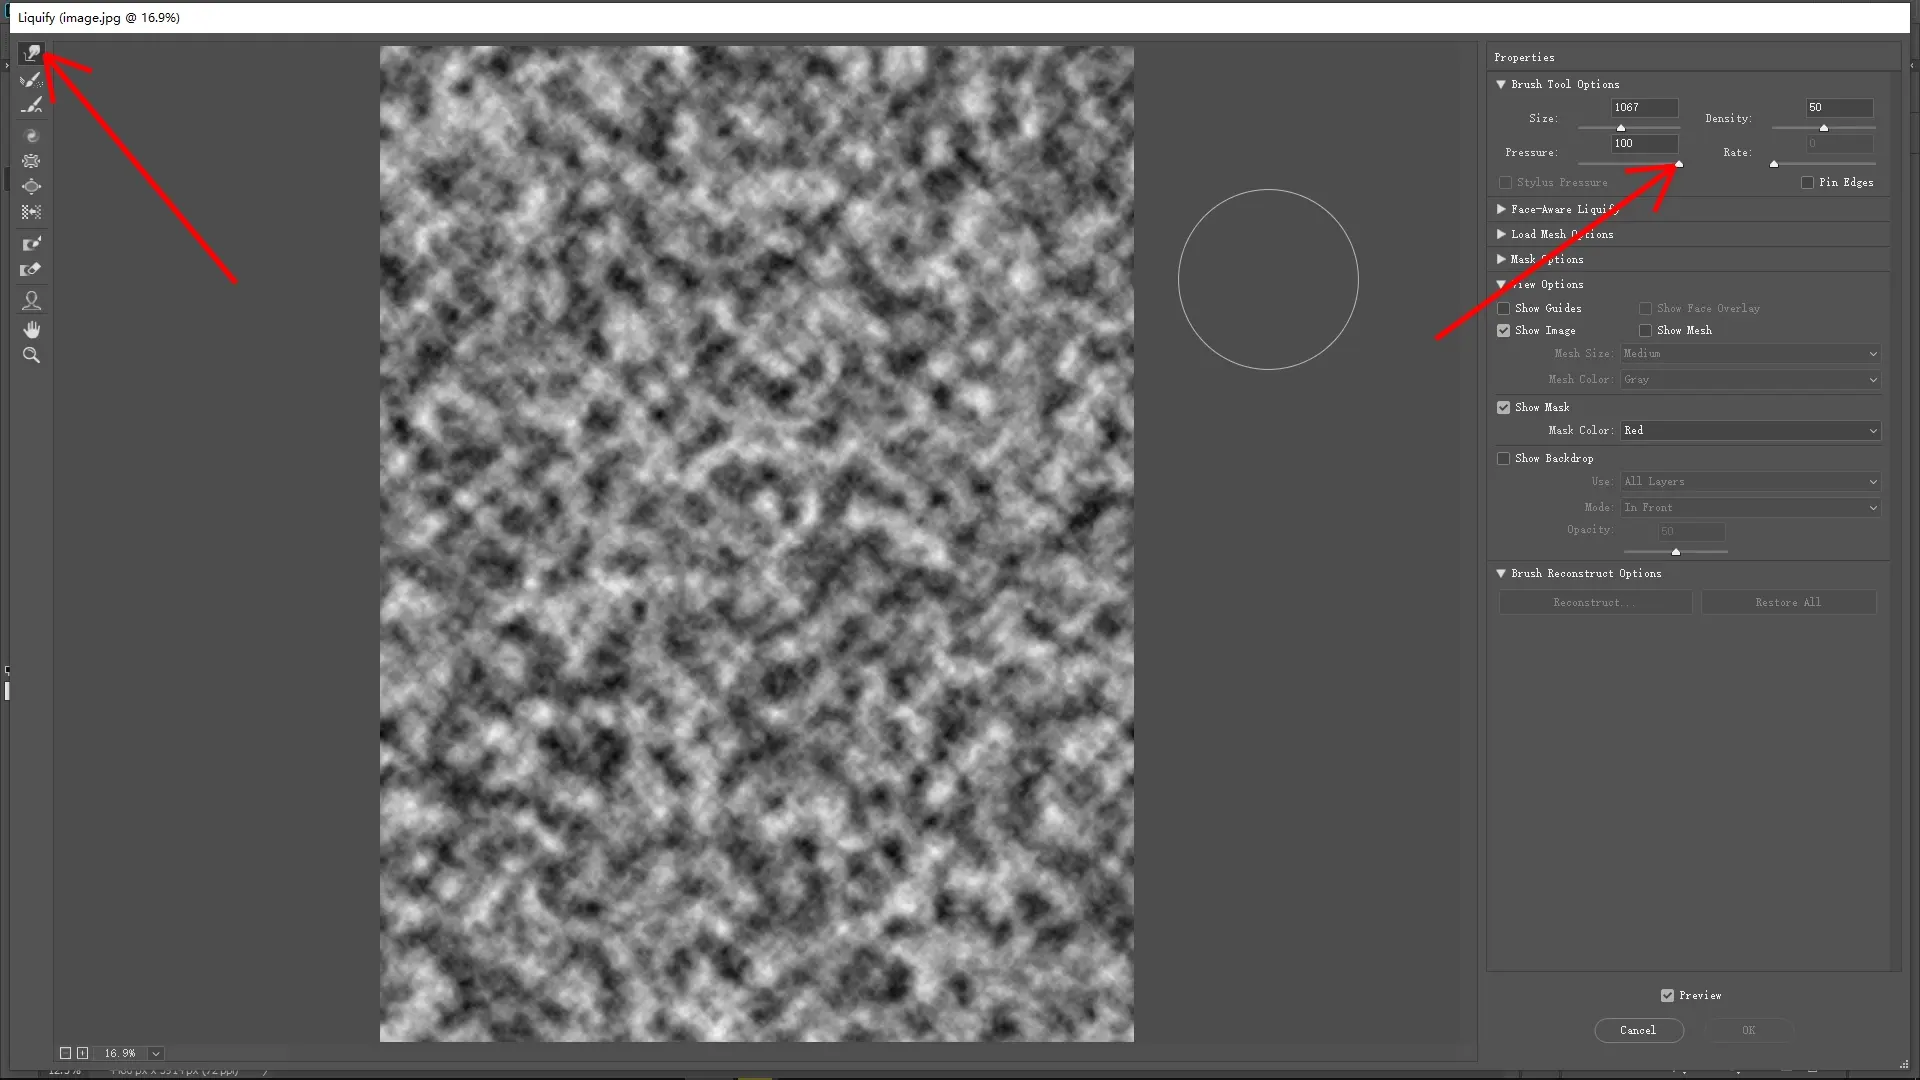
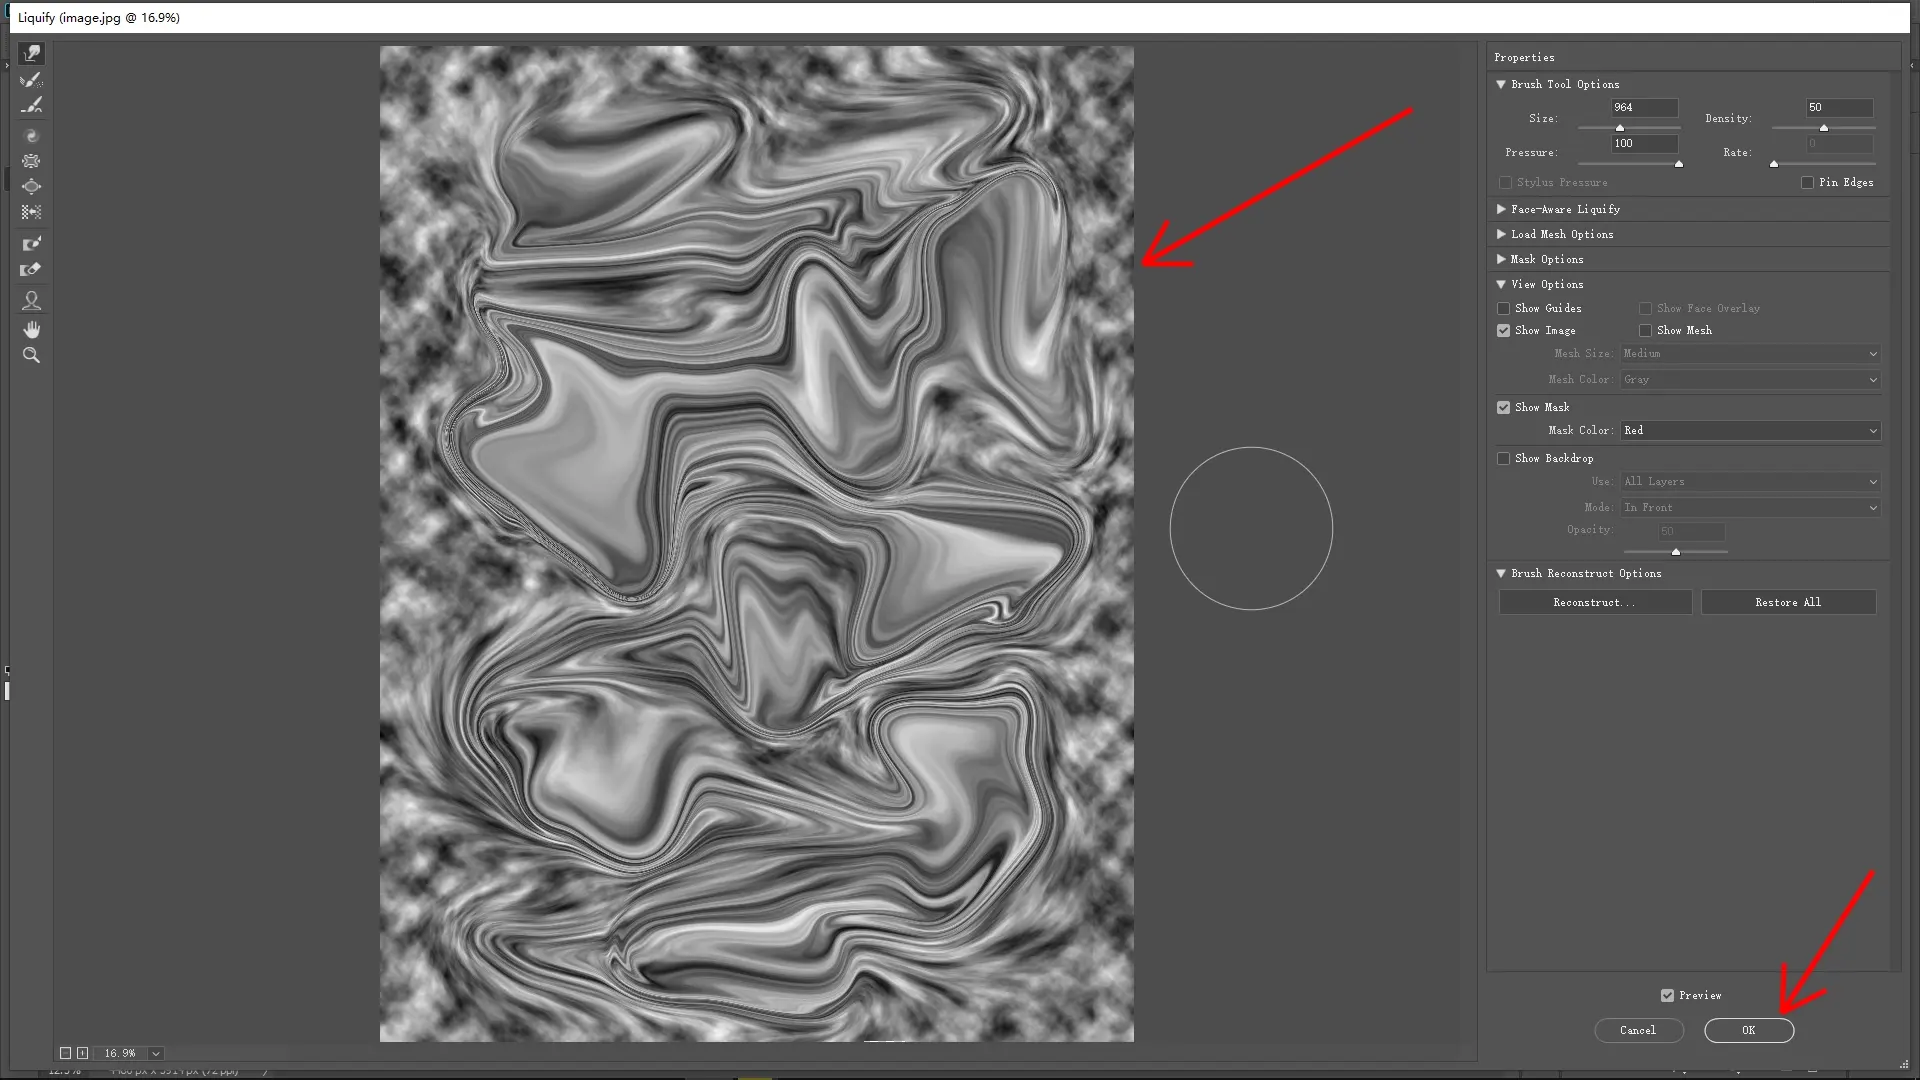
Step 3: Create Wrinkles with Liquify
Next, apply Filter > Liquify.
Use the Forward Warp Tool to push and pull parts of the cloud texture gently and randomly. The goal is to simulate the wrinkles and folds typically seen in plastic wrap.
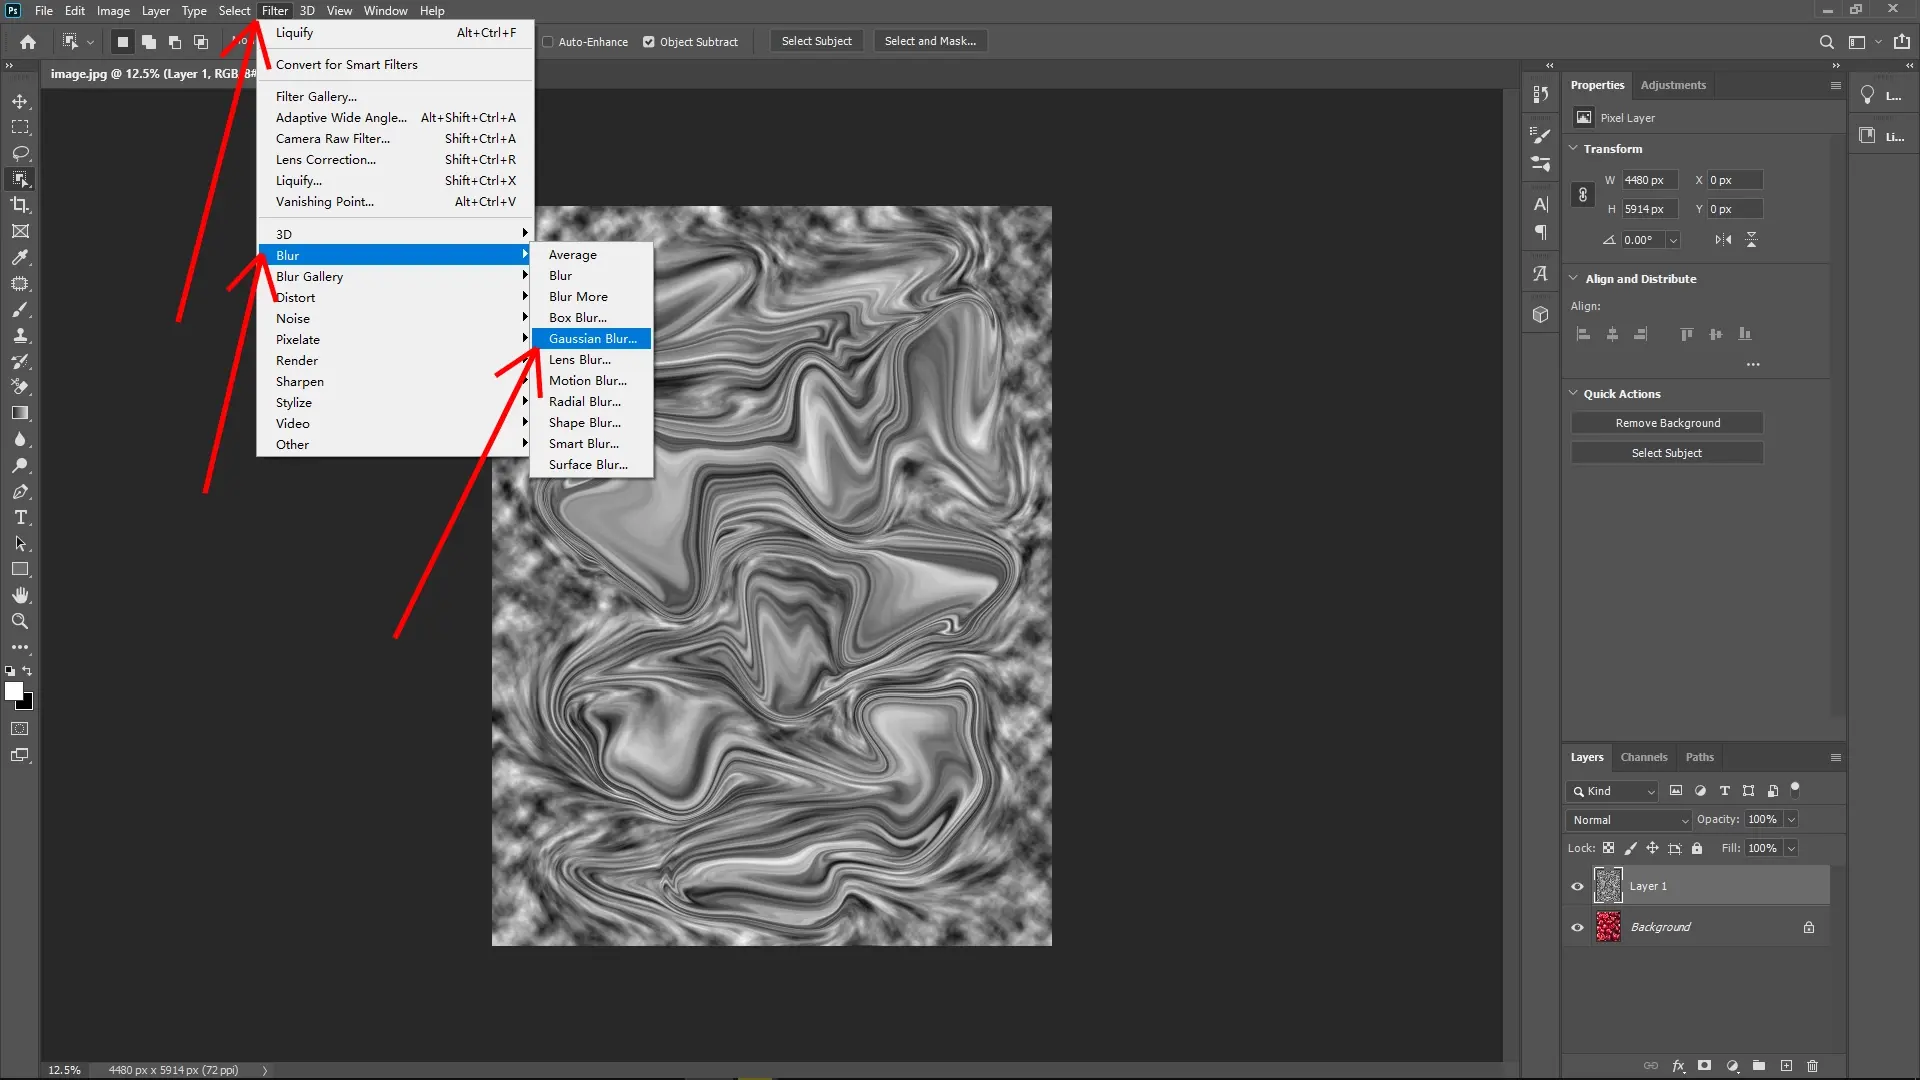
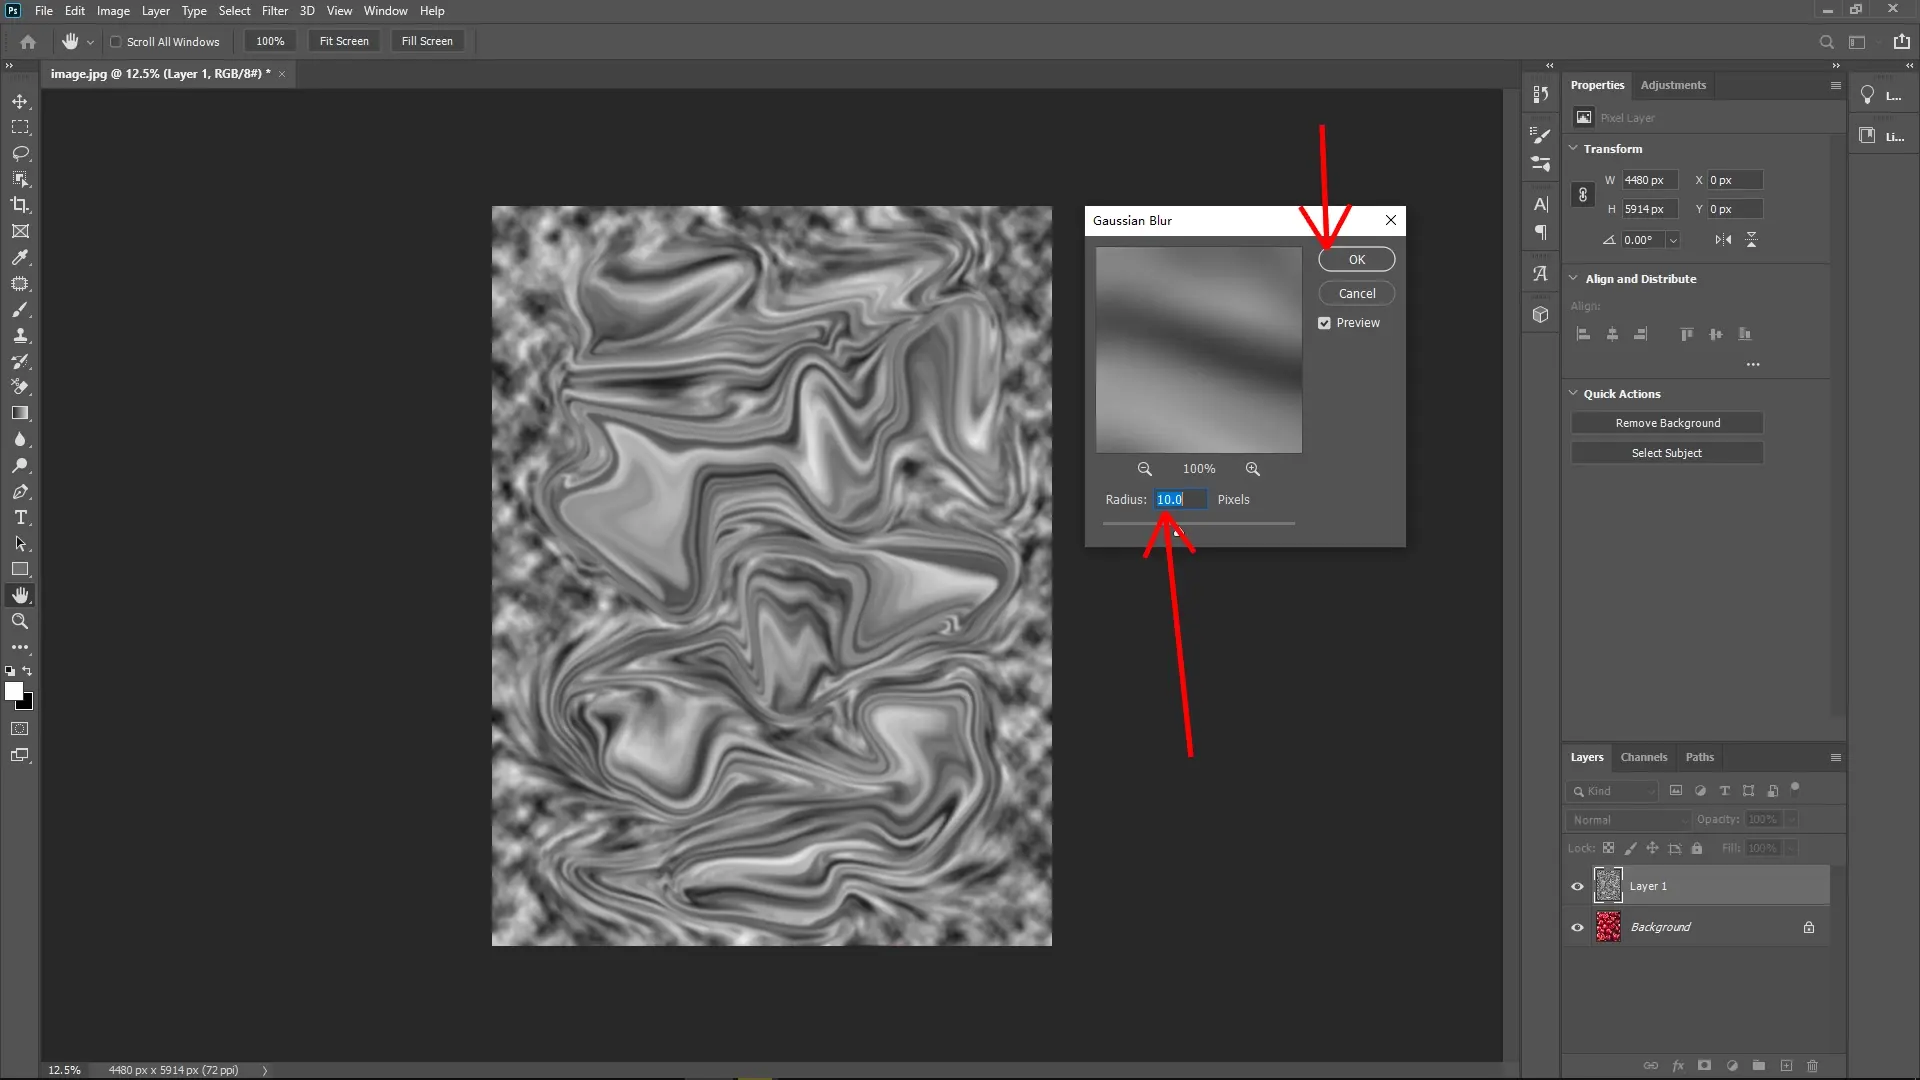
Step 4: Smooth the Texture with Gaussian Blur
Go to Filter > Blur > Gaussian Blur and set the radius to about 10 pixels. This softens the wrinkles to make them look more natural and less harsh.
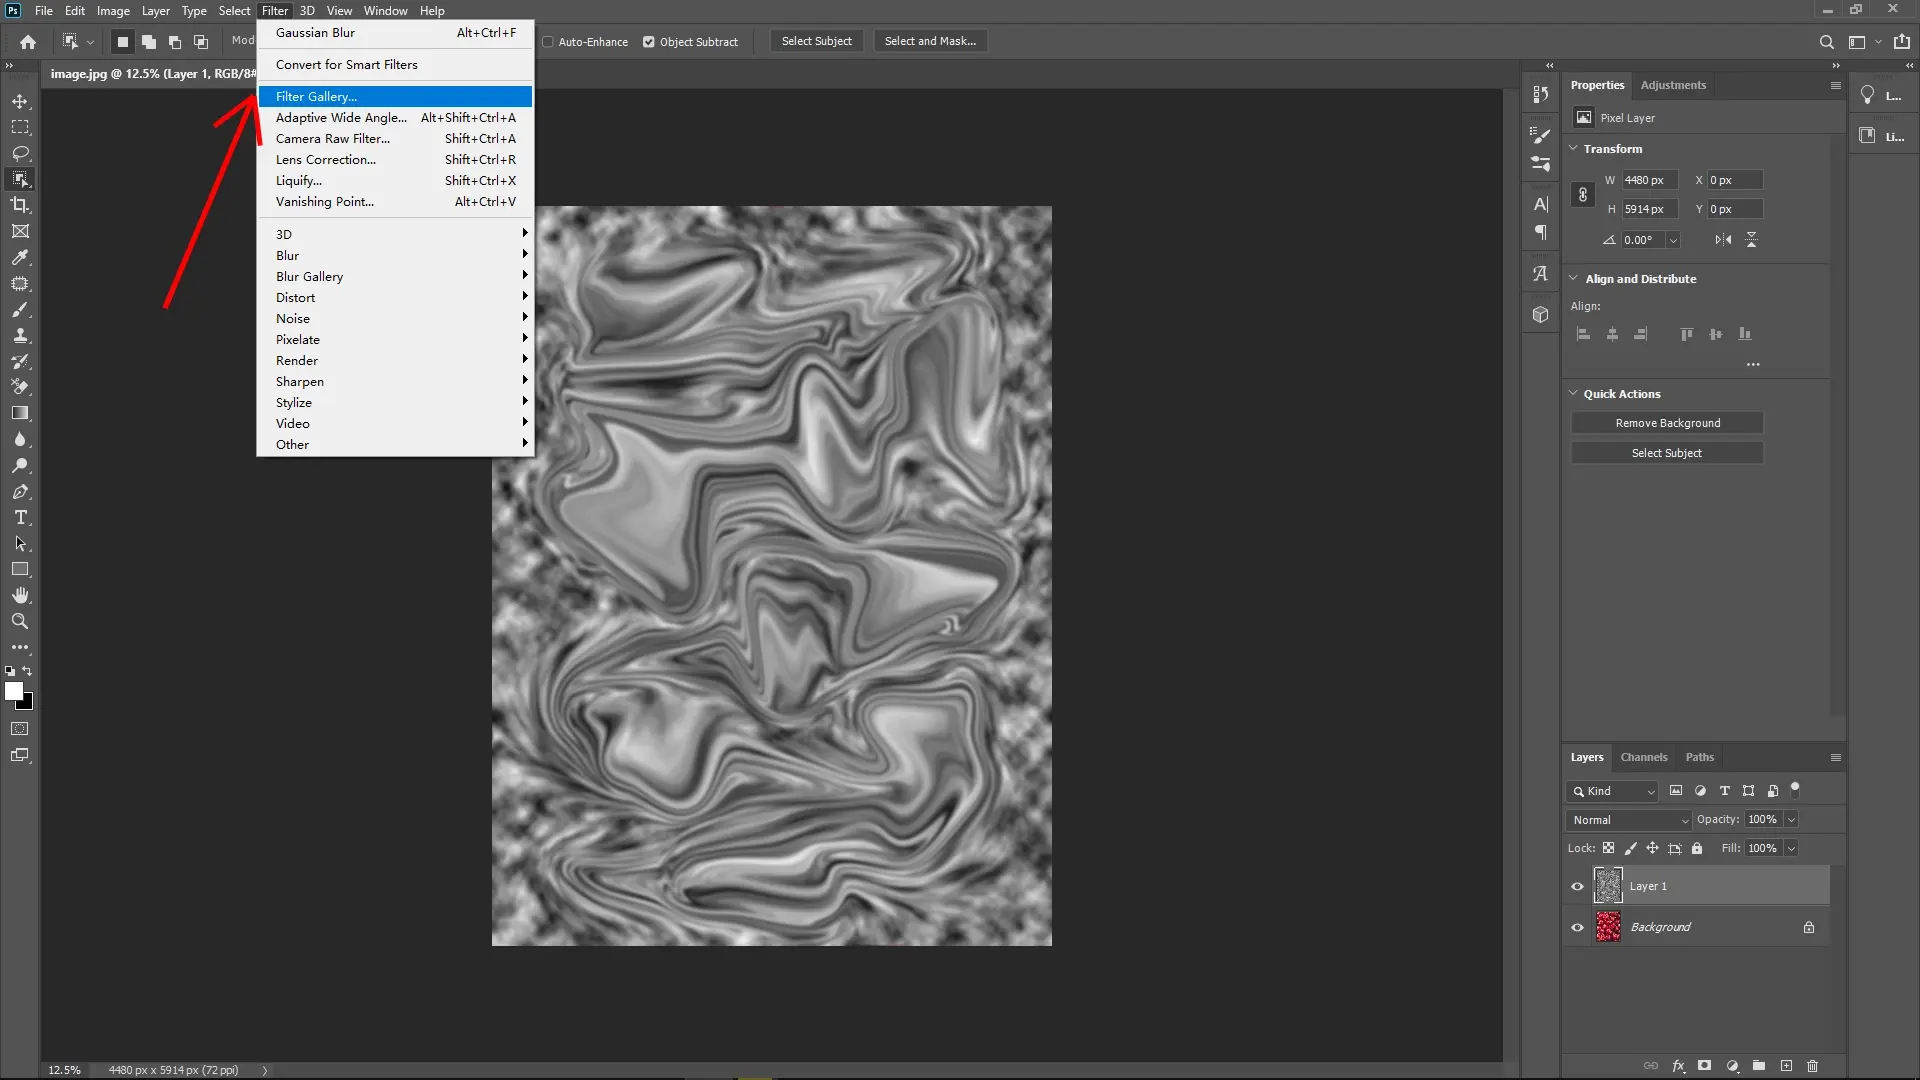
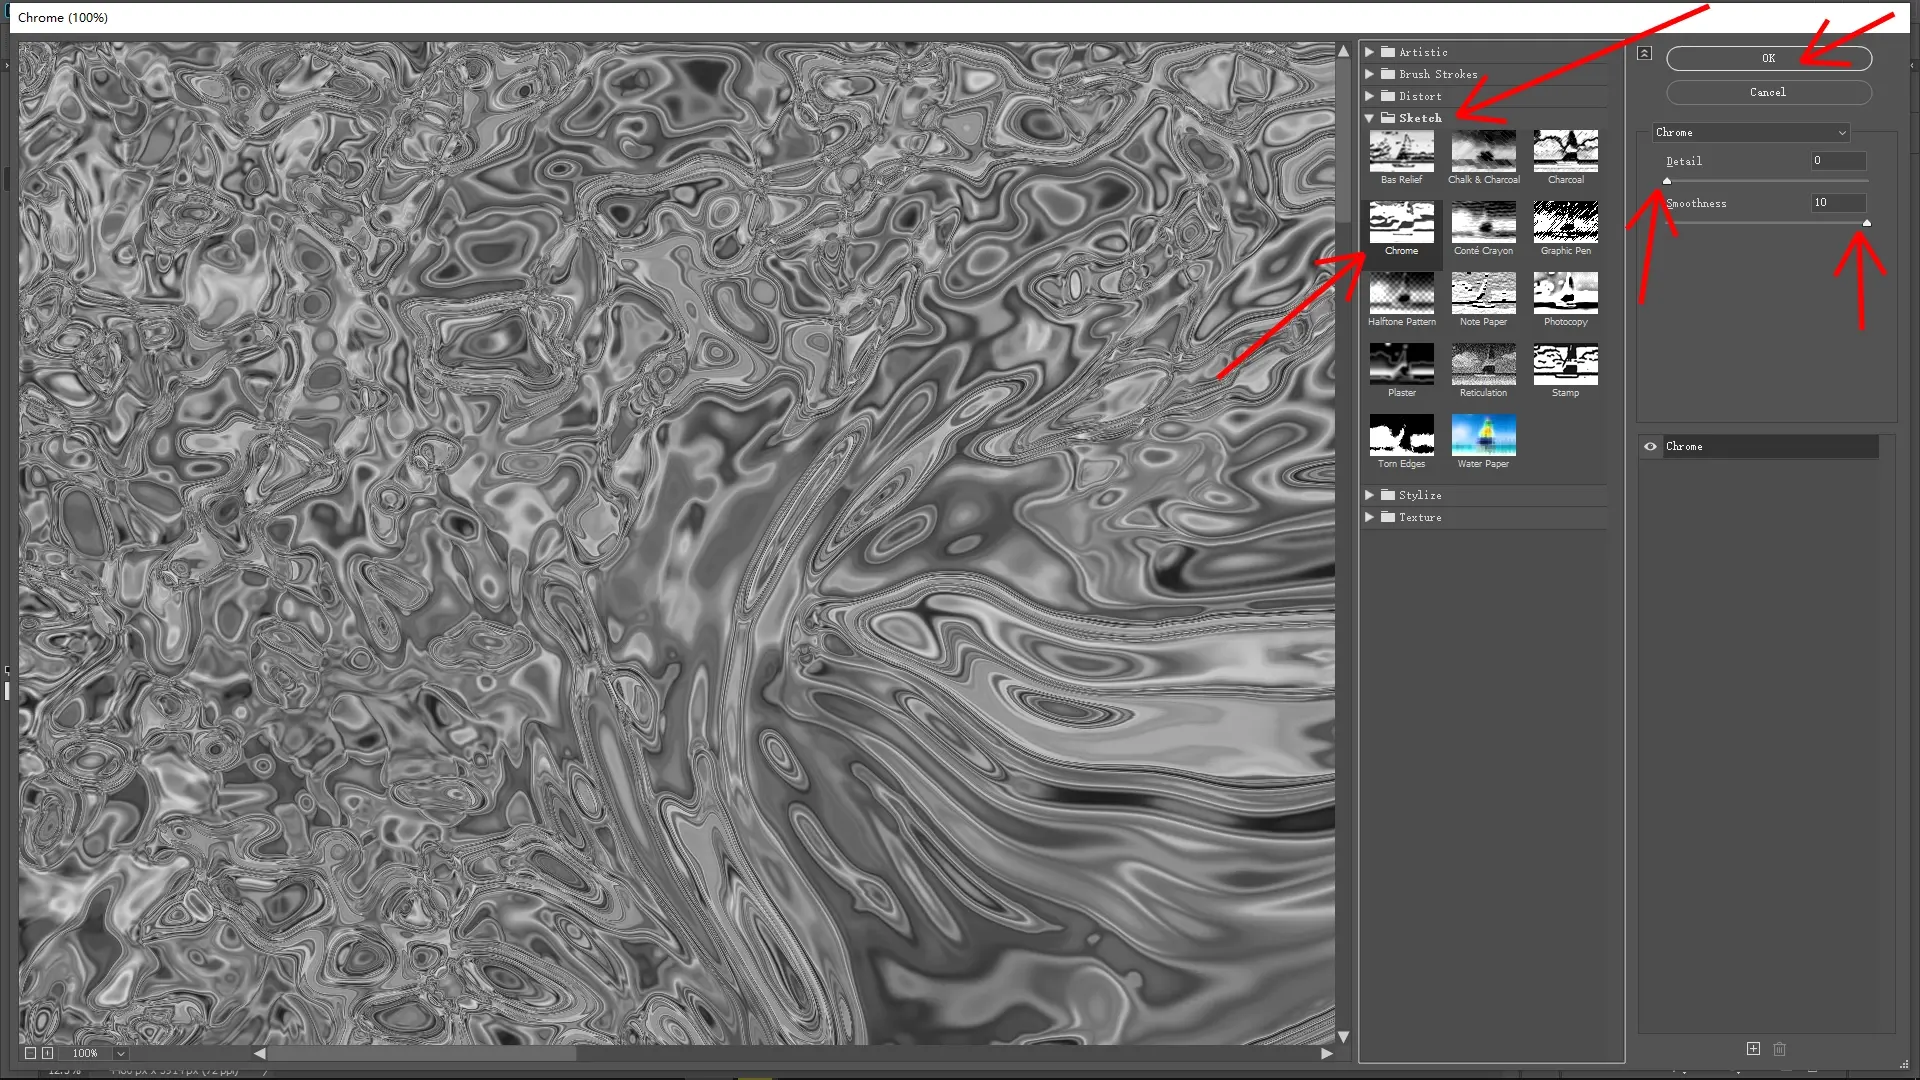
Step 5: Add Chrome Sketch Effect for Highlights
Open Filter > Filter Gallery > Sketch > Chrome.
Adjust the Smoothness slider all the way to the right (maximum) and the Detail slider all the way to the left (minimum). This will enhance the highlights and shadows, creating a shiny, reflective effect like plastic.
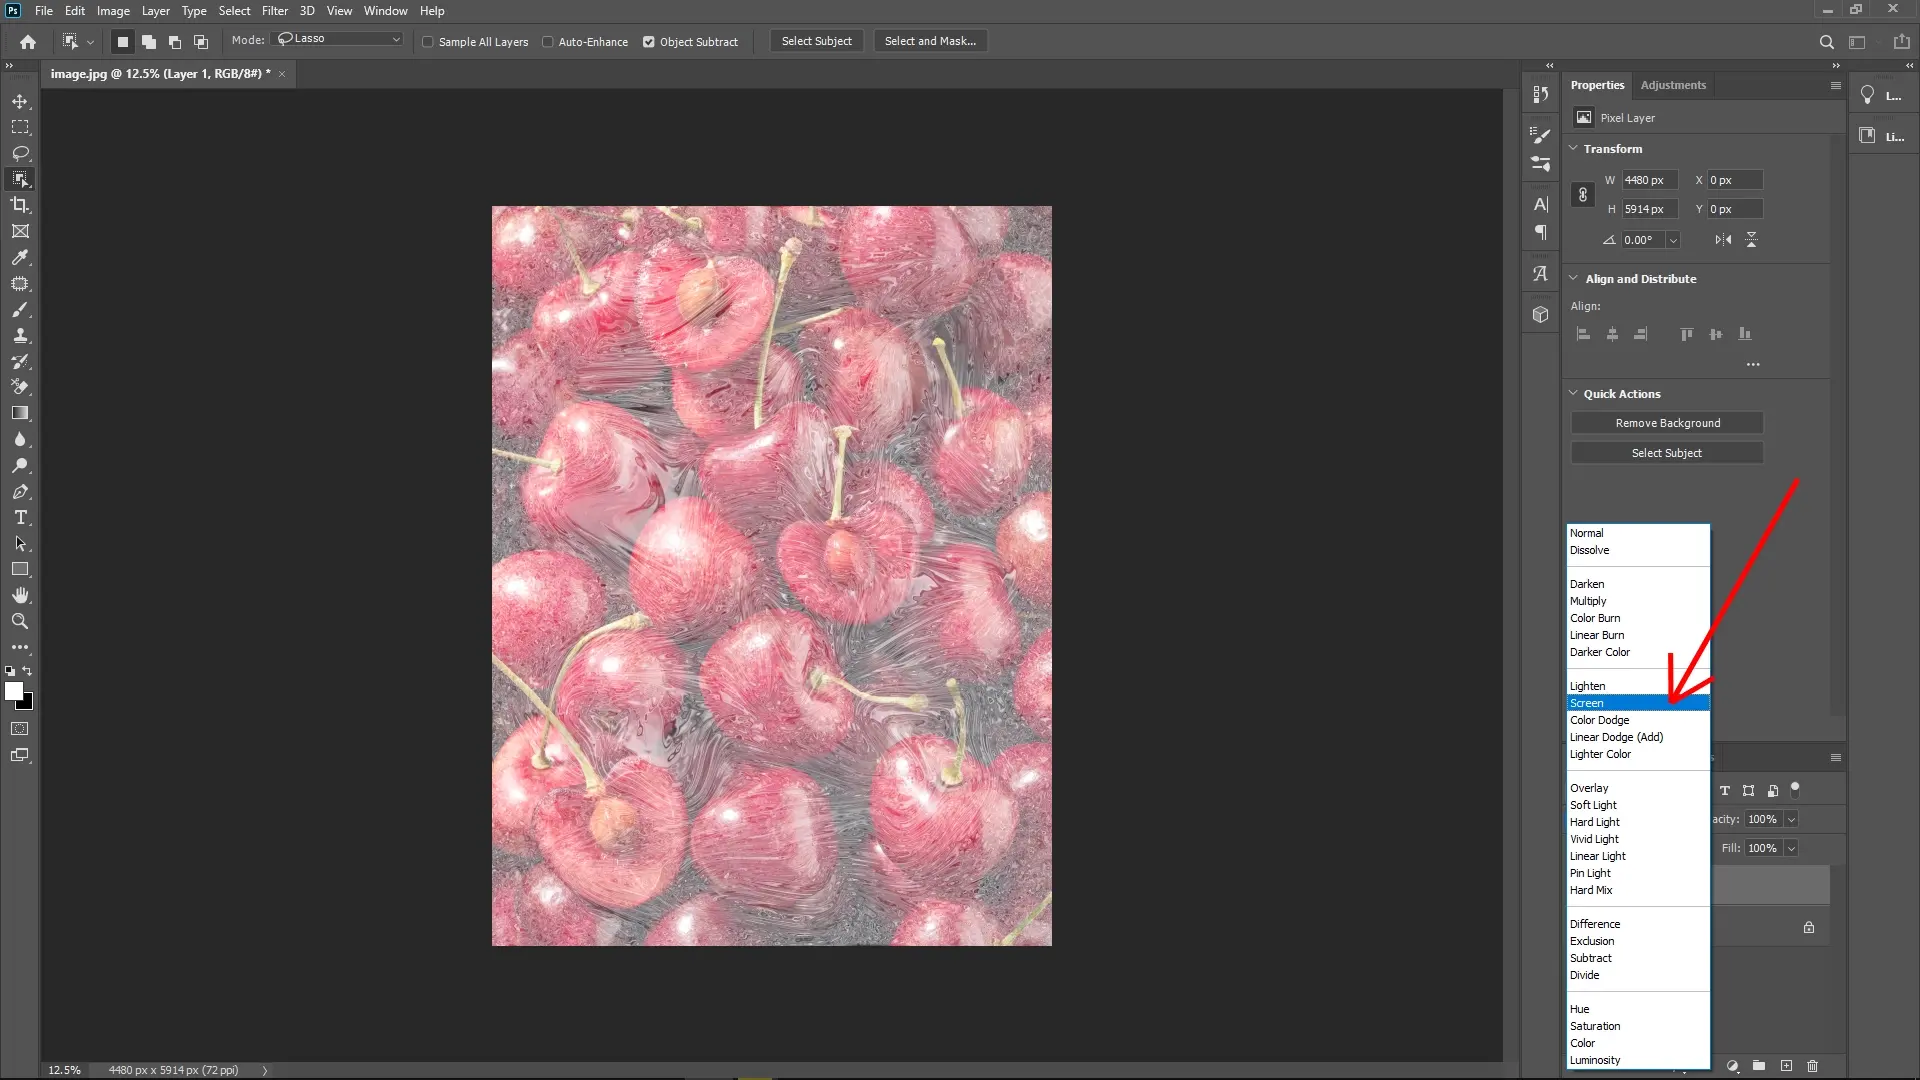
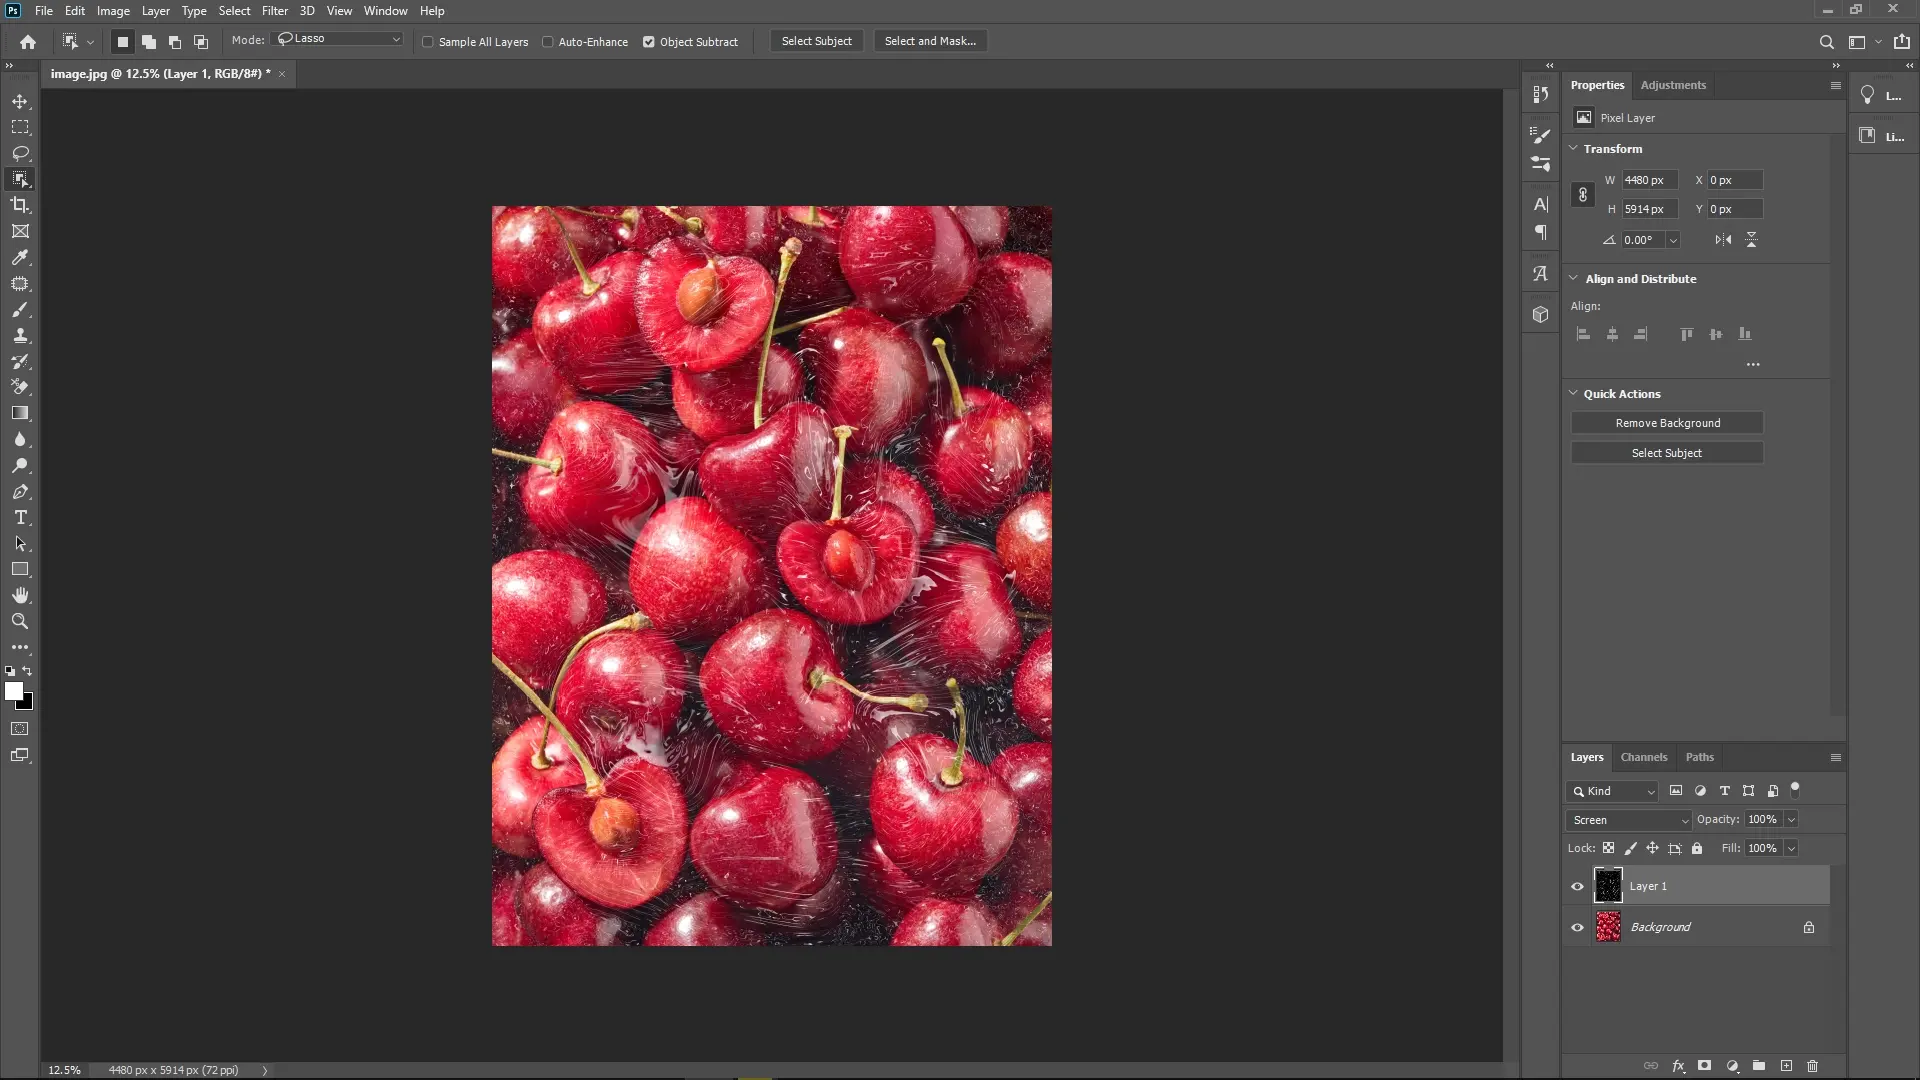
Step 6: Set Blending Mode
Change the layer’s blending mode to Screen. This allows the bright parts of your plastic texture to blend seamlessly with the original photo underneath.
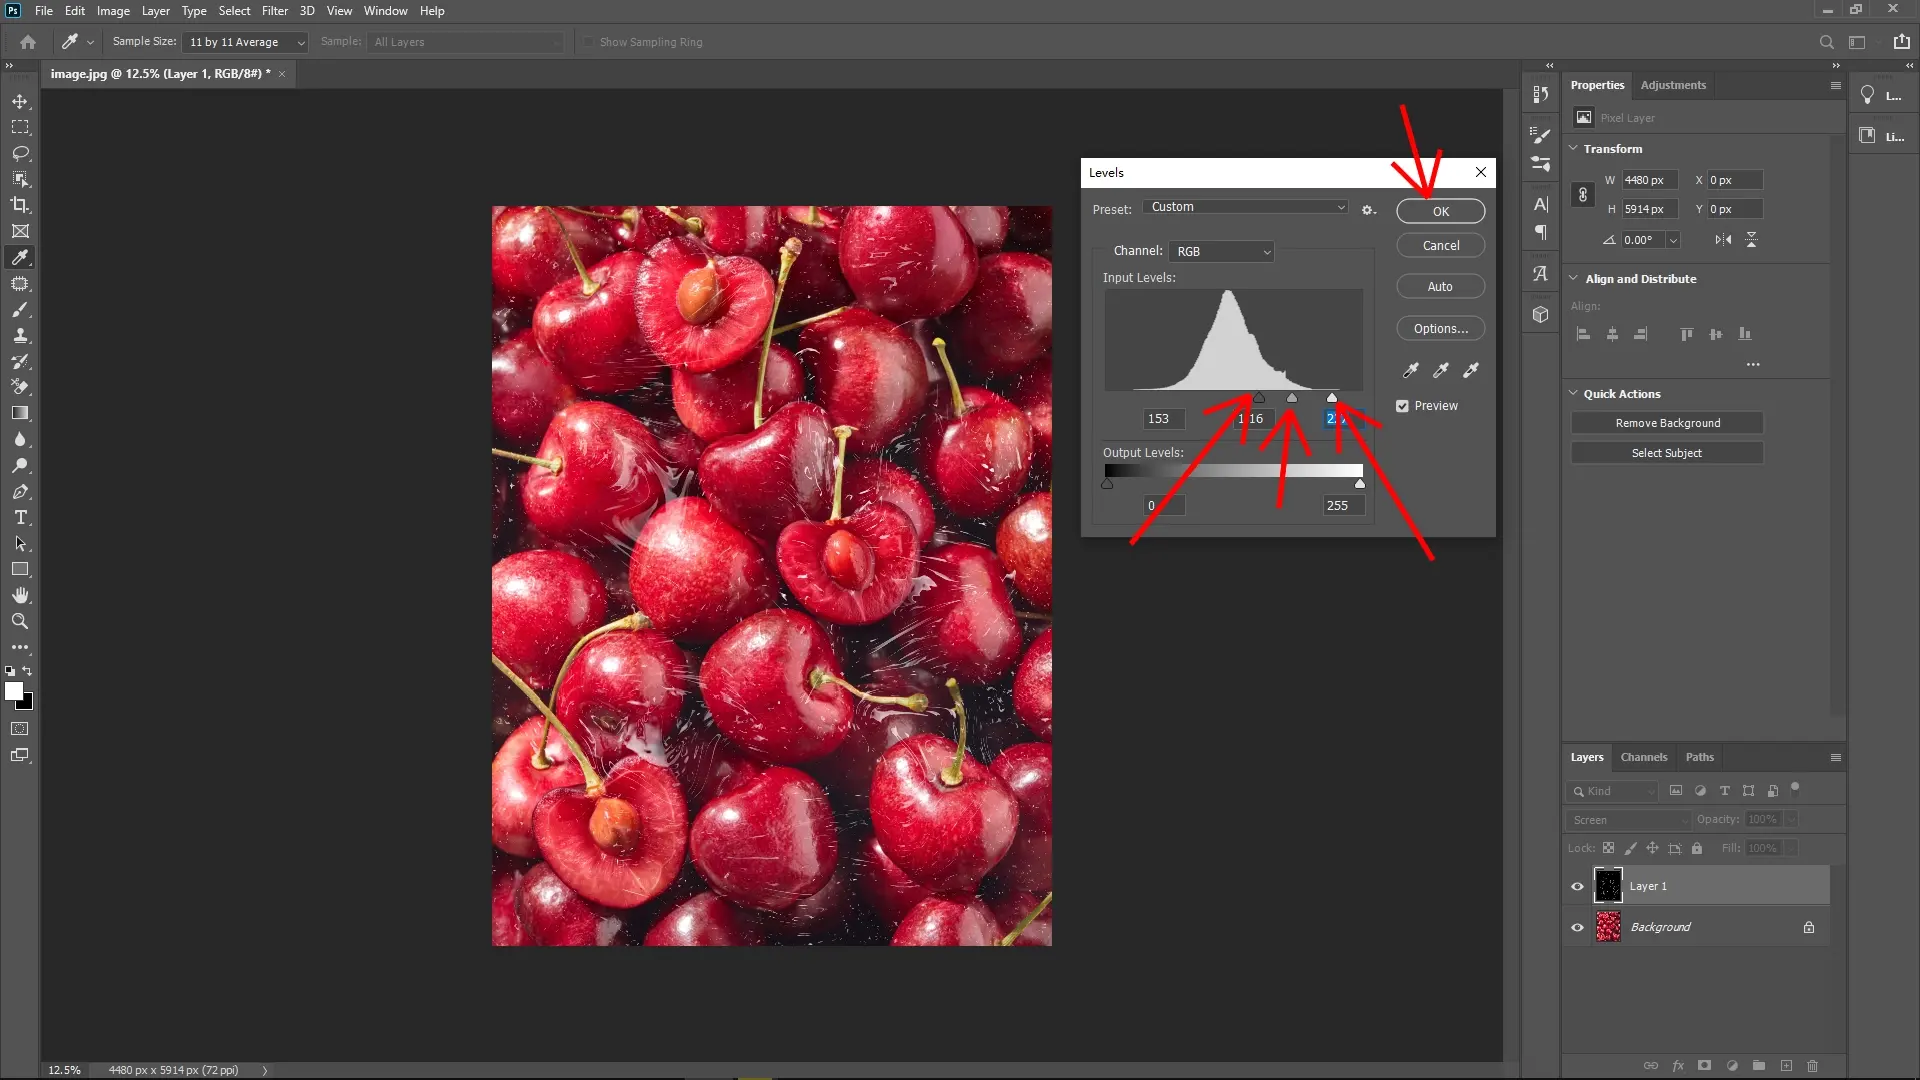
Step 7: Adjust Levels for Contrast
Press Ctrl + L to open the Levels dialog box. Drag the left (black) slider slightly towards the right and the right (white) slider slightly toward the left. This increases the contrast, making the plastic film effect more pronounced.
Tips
You can lower the layer opacity if the effect looks too strong.
Use a layer mask to erase or soften parts of the effect where you want it less visible.
Experiment with different values in Gaussian Blur or Chrome filter to customize the look.
Write Reply