Extracting Trees with Complex Edges Using Channels in Photoshop
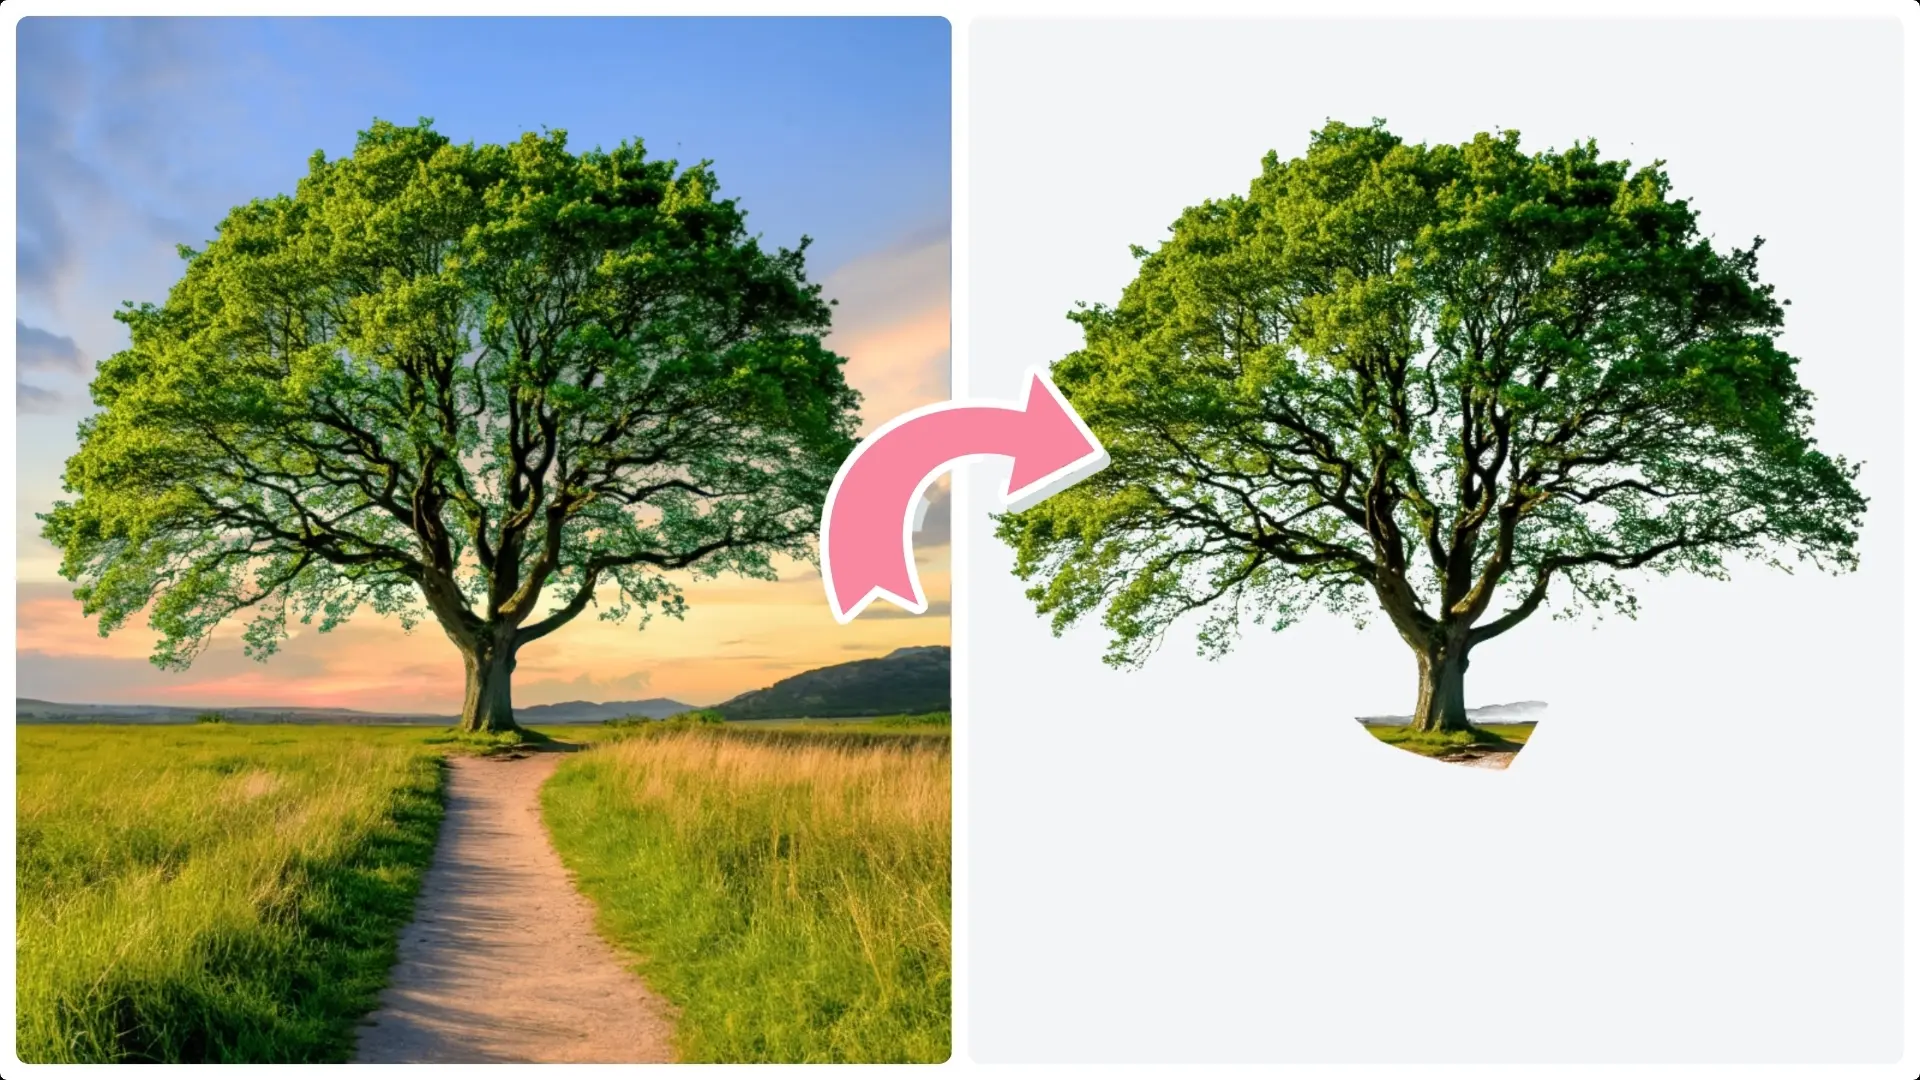
Extracting objects with complex edges, like trees, can be tricky using traditional selection tools.
Using channels in Photoshop provides a powerful and precise solution by leveraging color contrast within your image.
Follow these detailed steps to isolate a tree from its background using channels and layer masks:
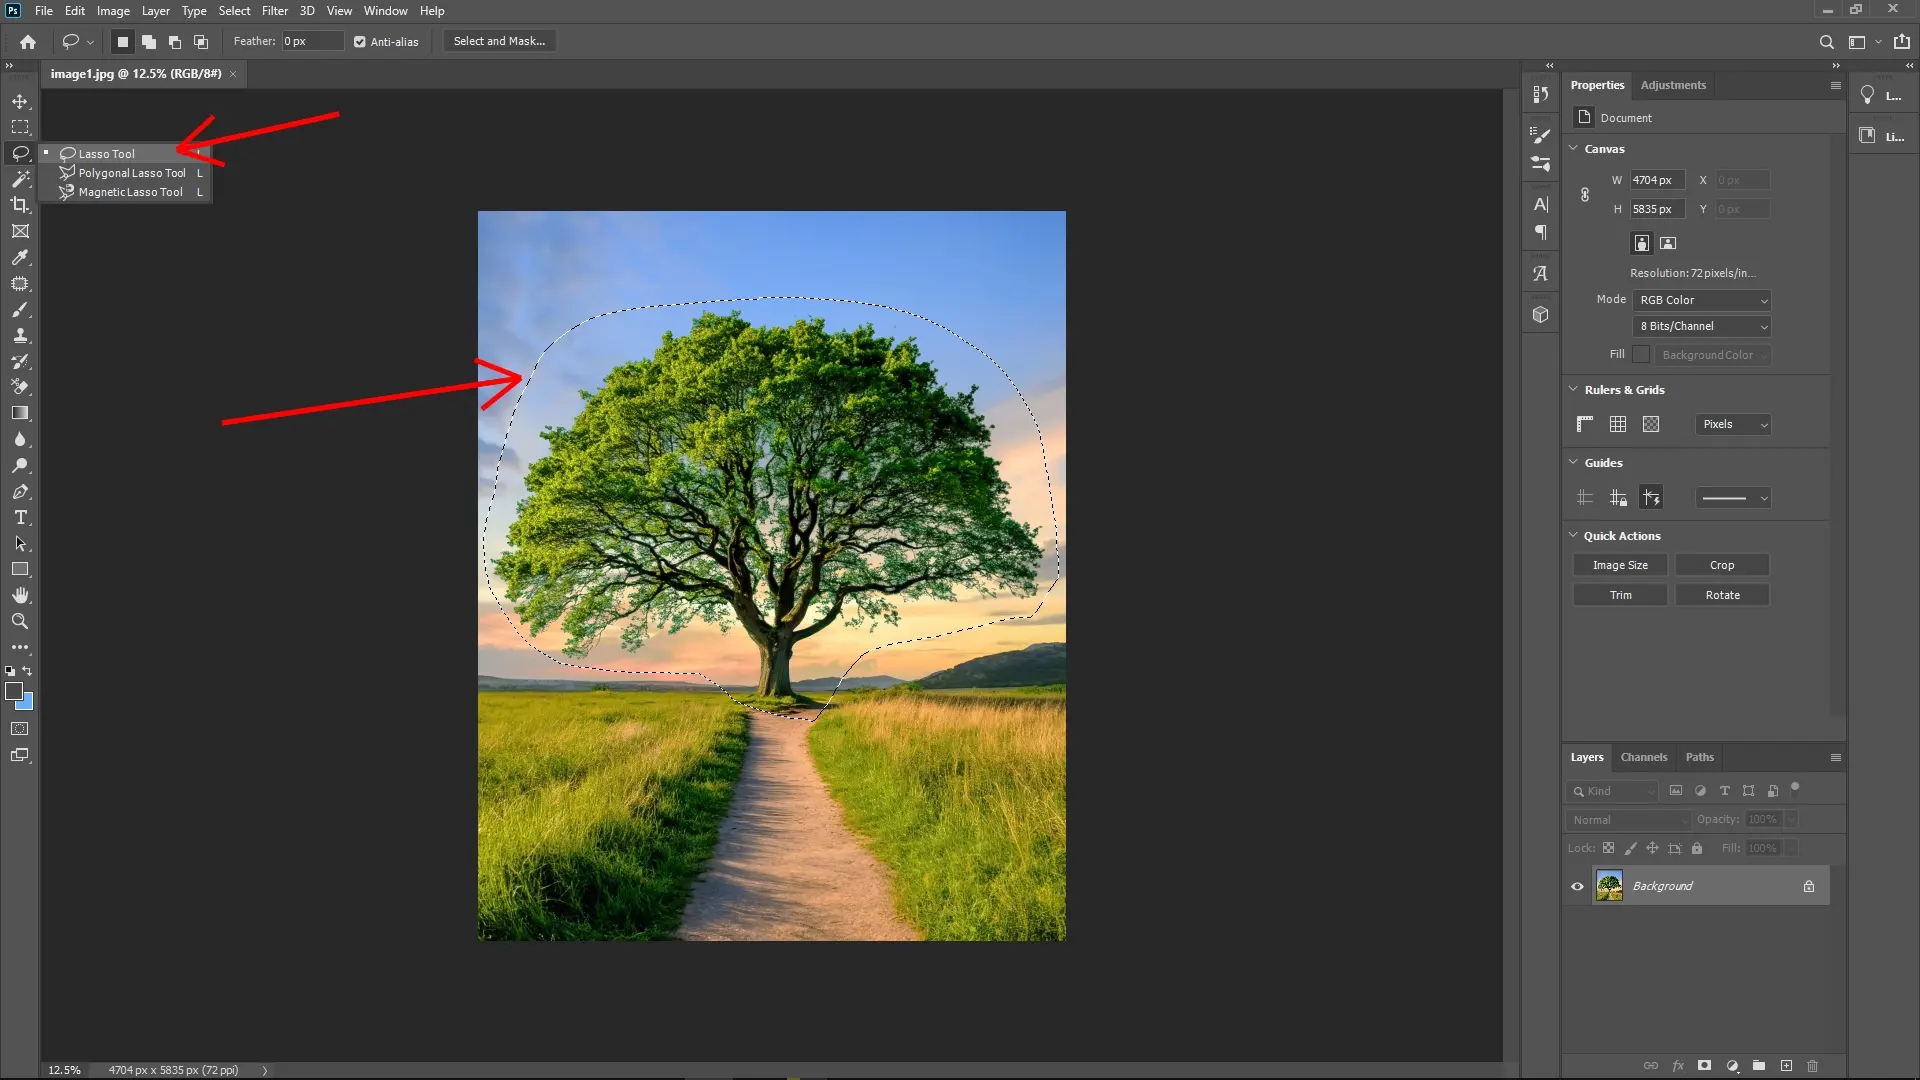
Step 1: Make a Rough Selection with the Lasso Tool
To begin, use the Lasso Tool (shortcut: L) to loosely draw a selection around the tree. You don’t need to be precise at this stage—just ensure the selection encompasses the entire tree and some of its immediate surroundings.
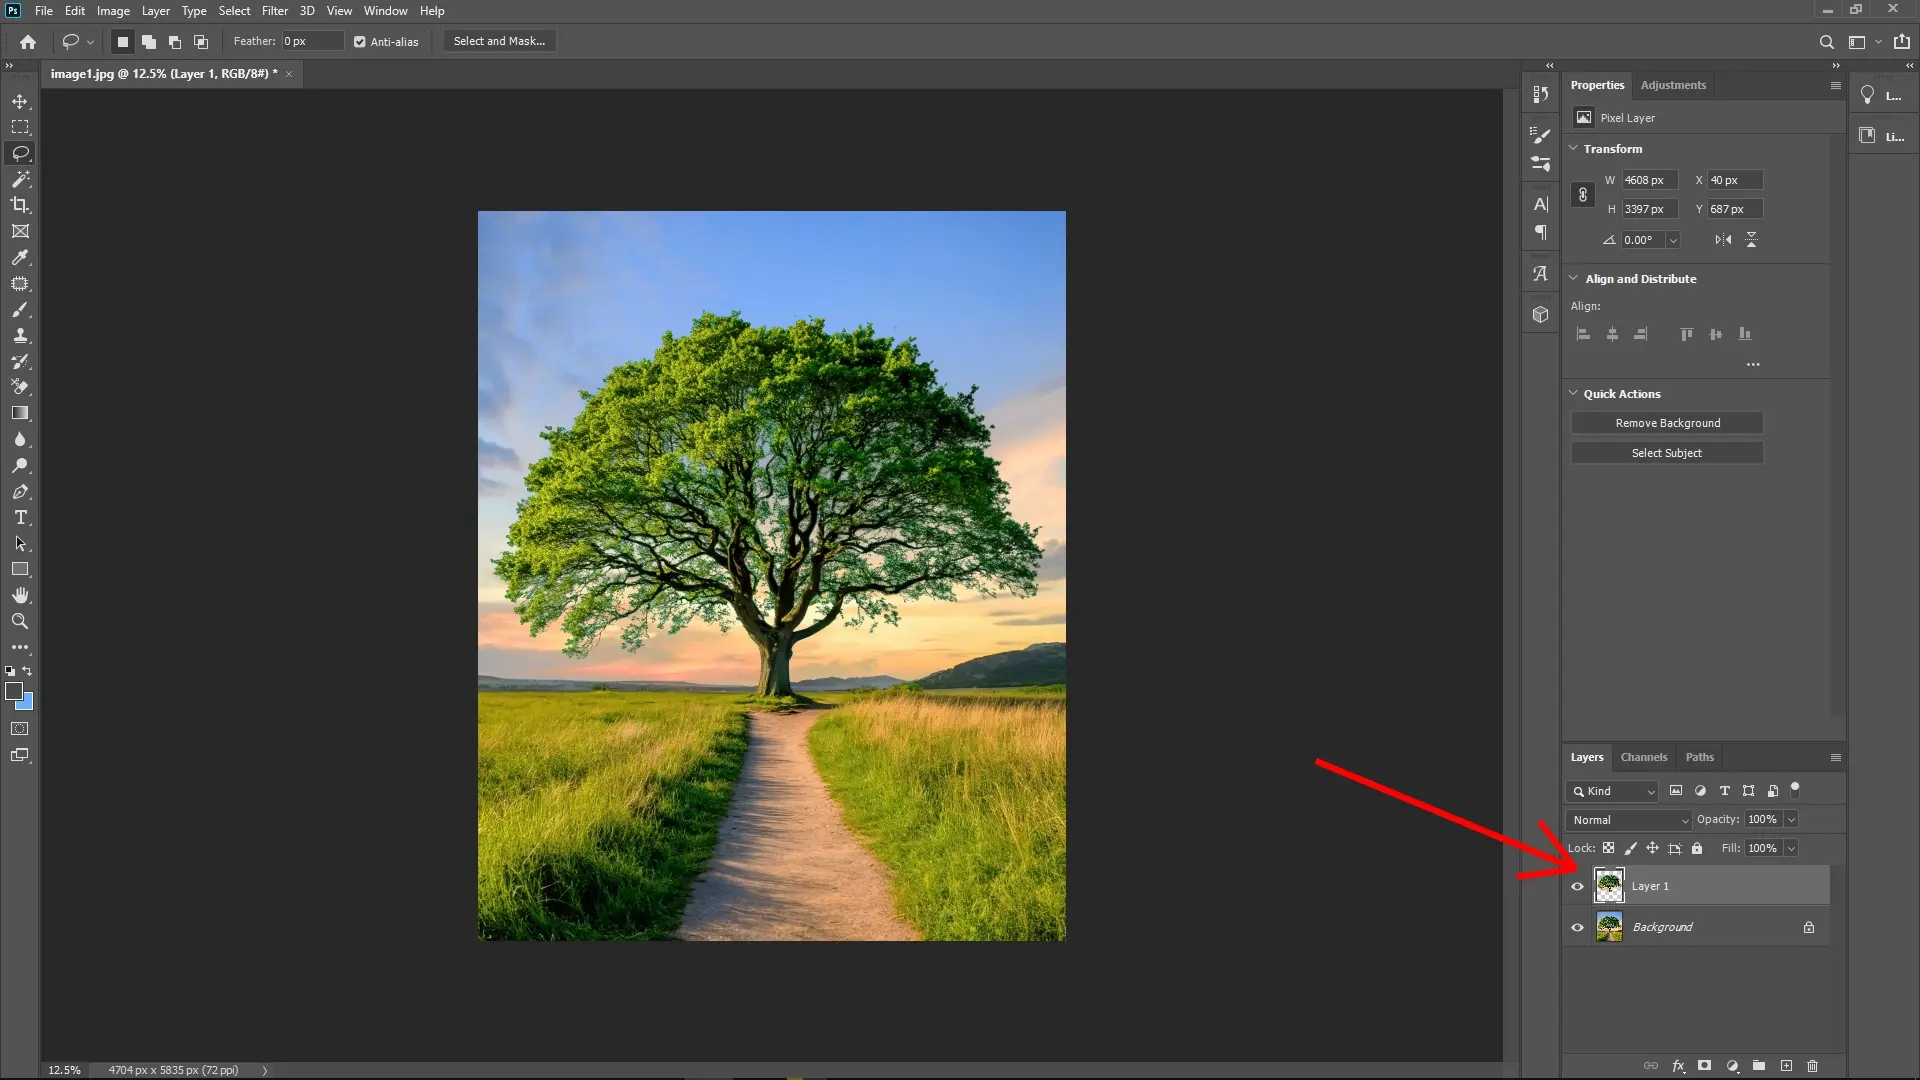
Step 2: Duplicate the Selected Area
Once you’ve selected the area, press Ctrl + J (or Cmd + J on Mac) to duplicate the selected portion of the image onto a new layer. This allows you to work on the tree separately without affecting the original background.
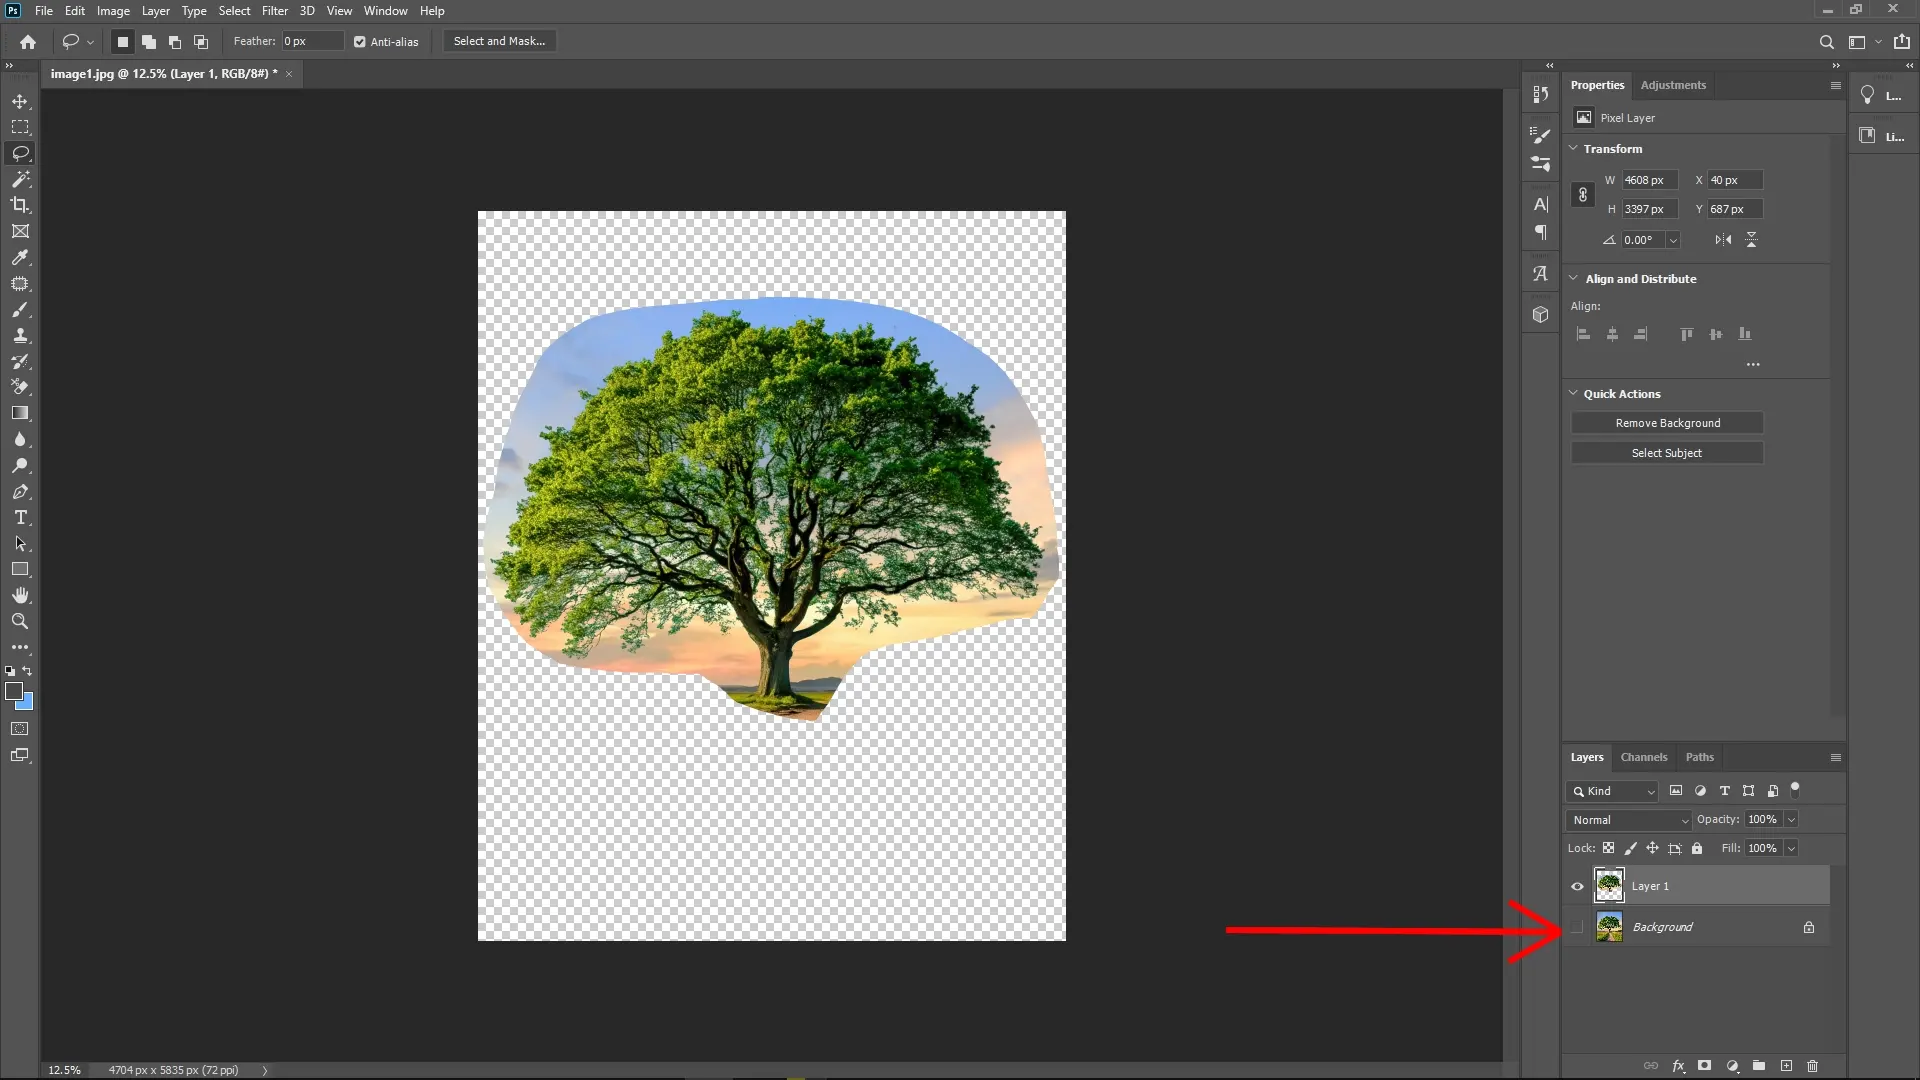
Step 3: Hide the Background Layer
To make your work more visible and focused, hide the original background layer by clicking on the eye icon next to it in the Layers panel. At this point, you’ll only see the duplicated selection layer.
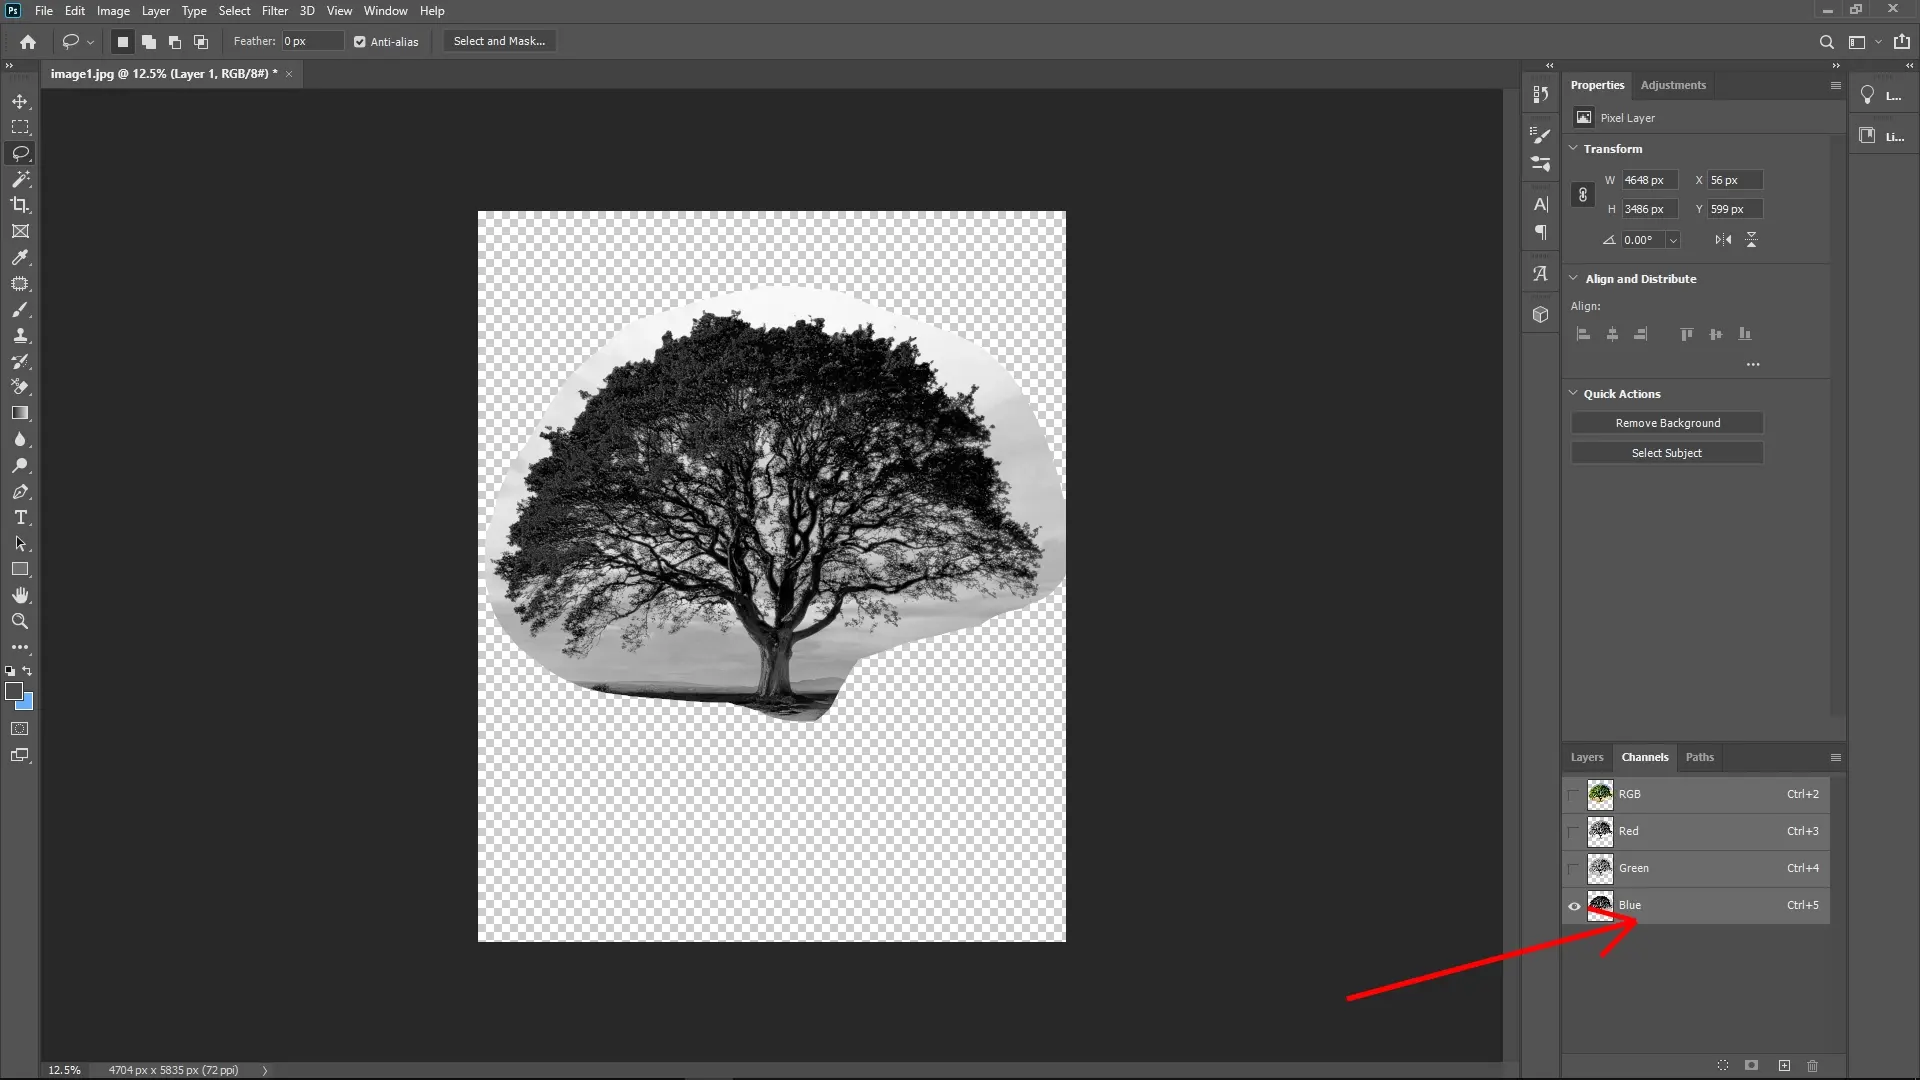
Step 4: Open the Channels Panel and Find the Best Contrast
Now, navigate to the Channels panel (next to the Layers panel). You’ll see the individual Red, Green, and Blue channels of your image.
Carefully examine each channel to determine which one offers the greatest contrast between the tree and its background. For example, if the tree appears darker while the background is lighter (or vice versa), that channel will work best for this process.
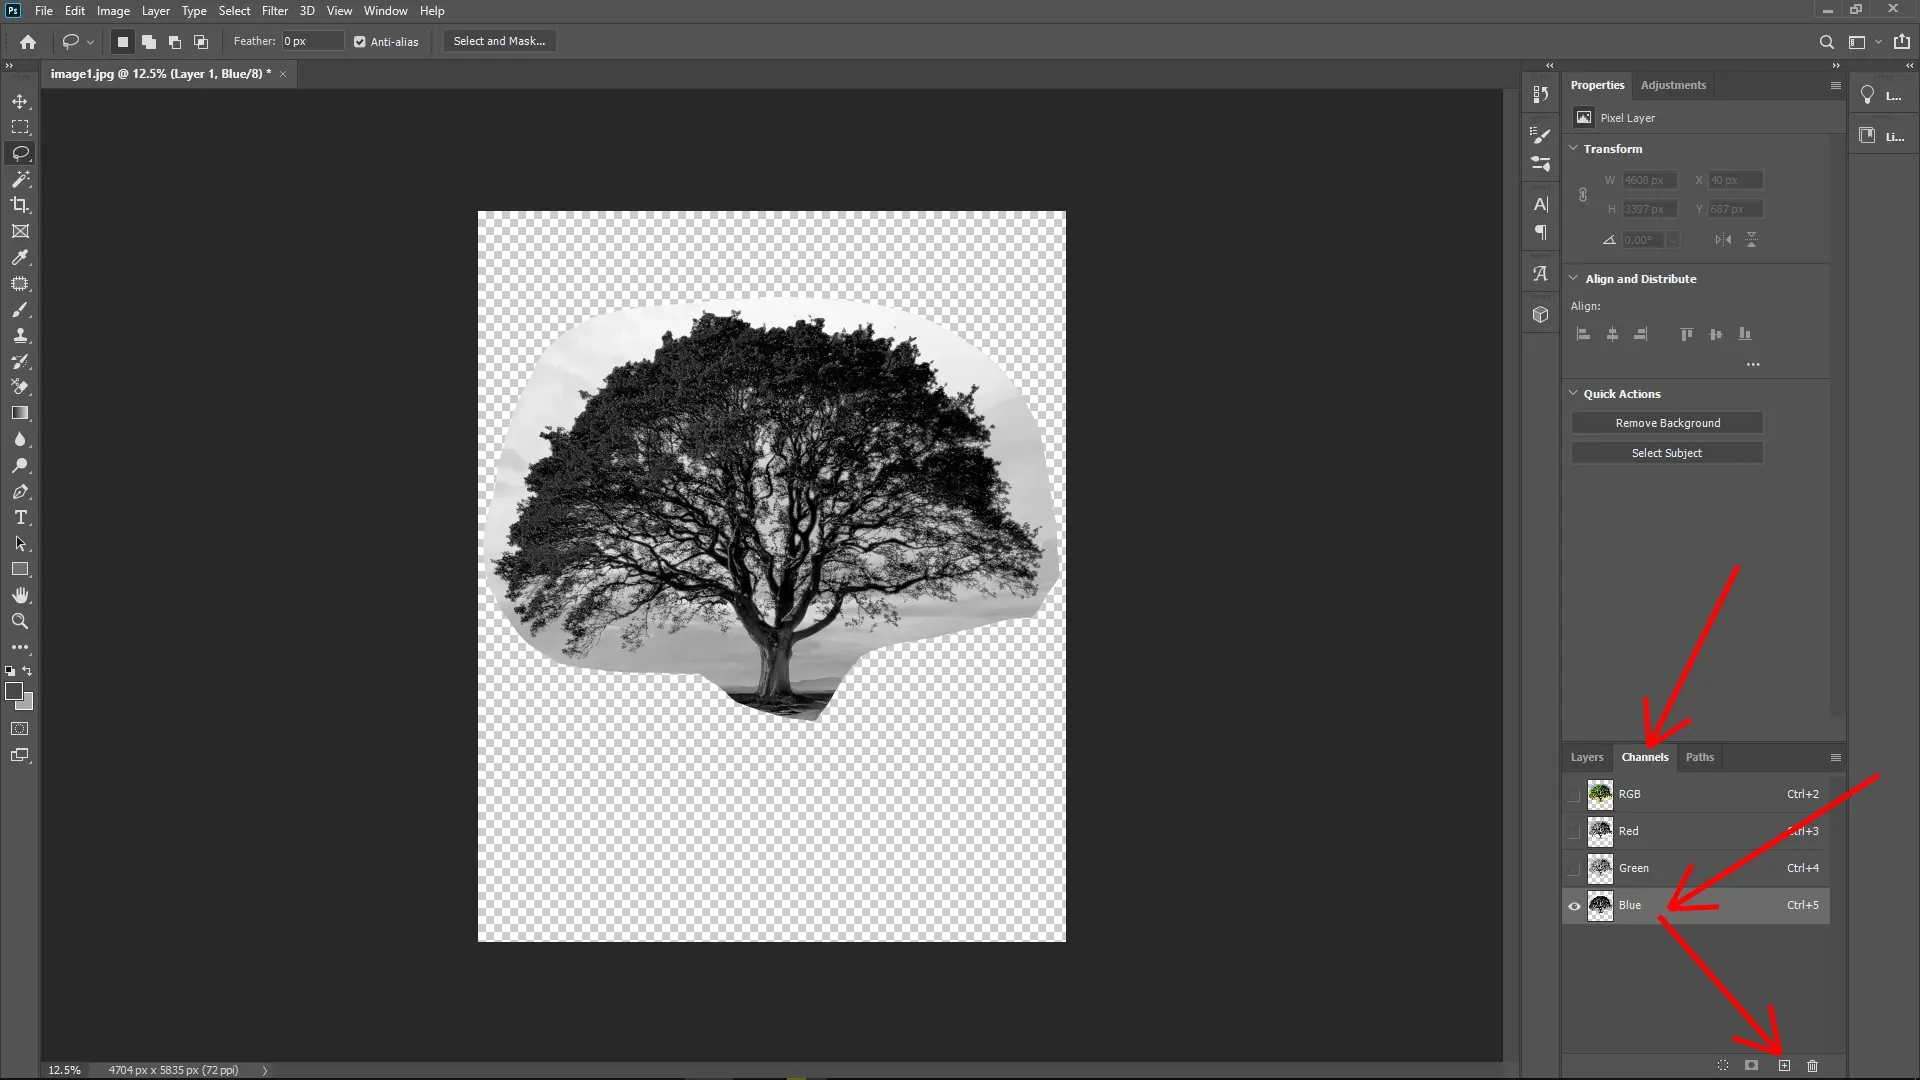
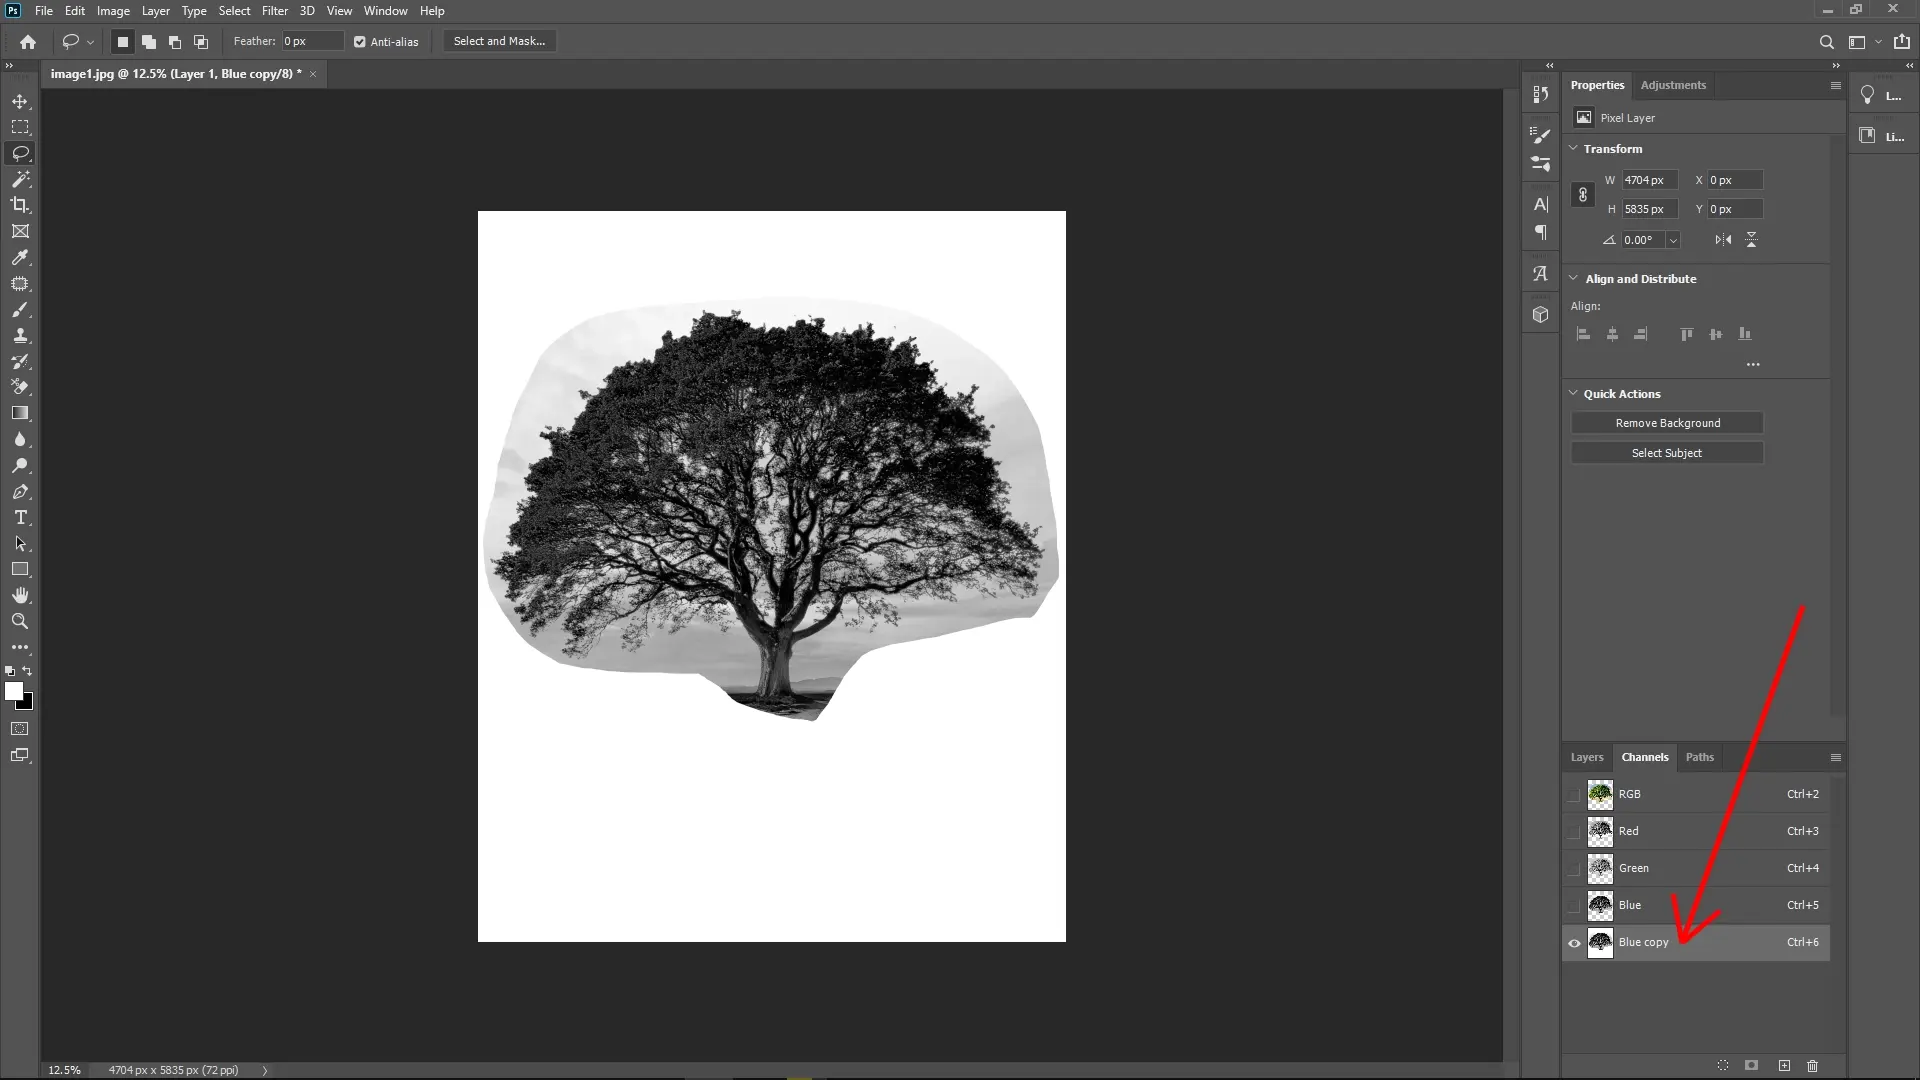
Step 5: Duplicate the Selected Channel
Once you've identified the channel with the strongest contrast, drag its thumbnail onto the New Channel icon at the bottom of the Channels panel to duplicate it. This creates an editable grayscale version of the channel that you can work on without modifying the original image.
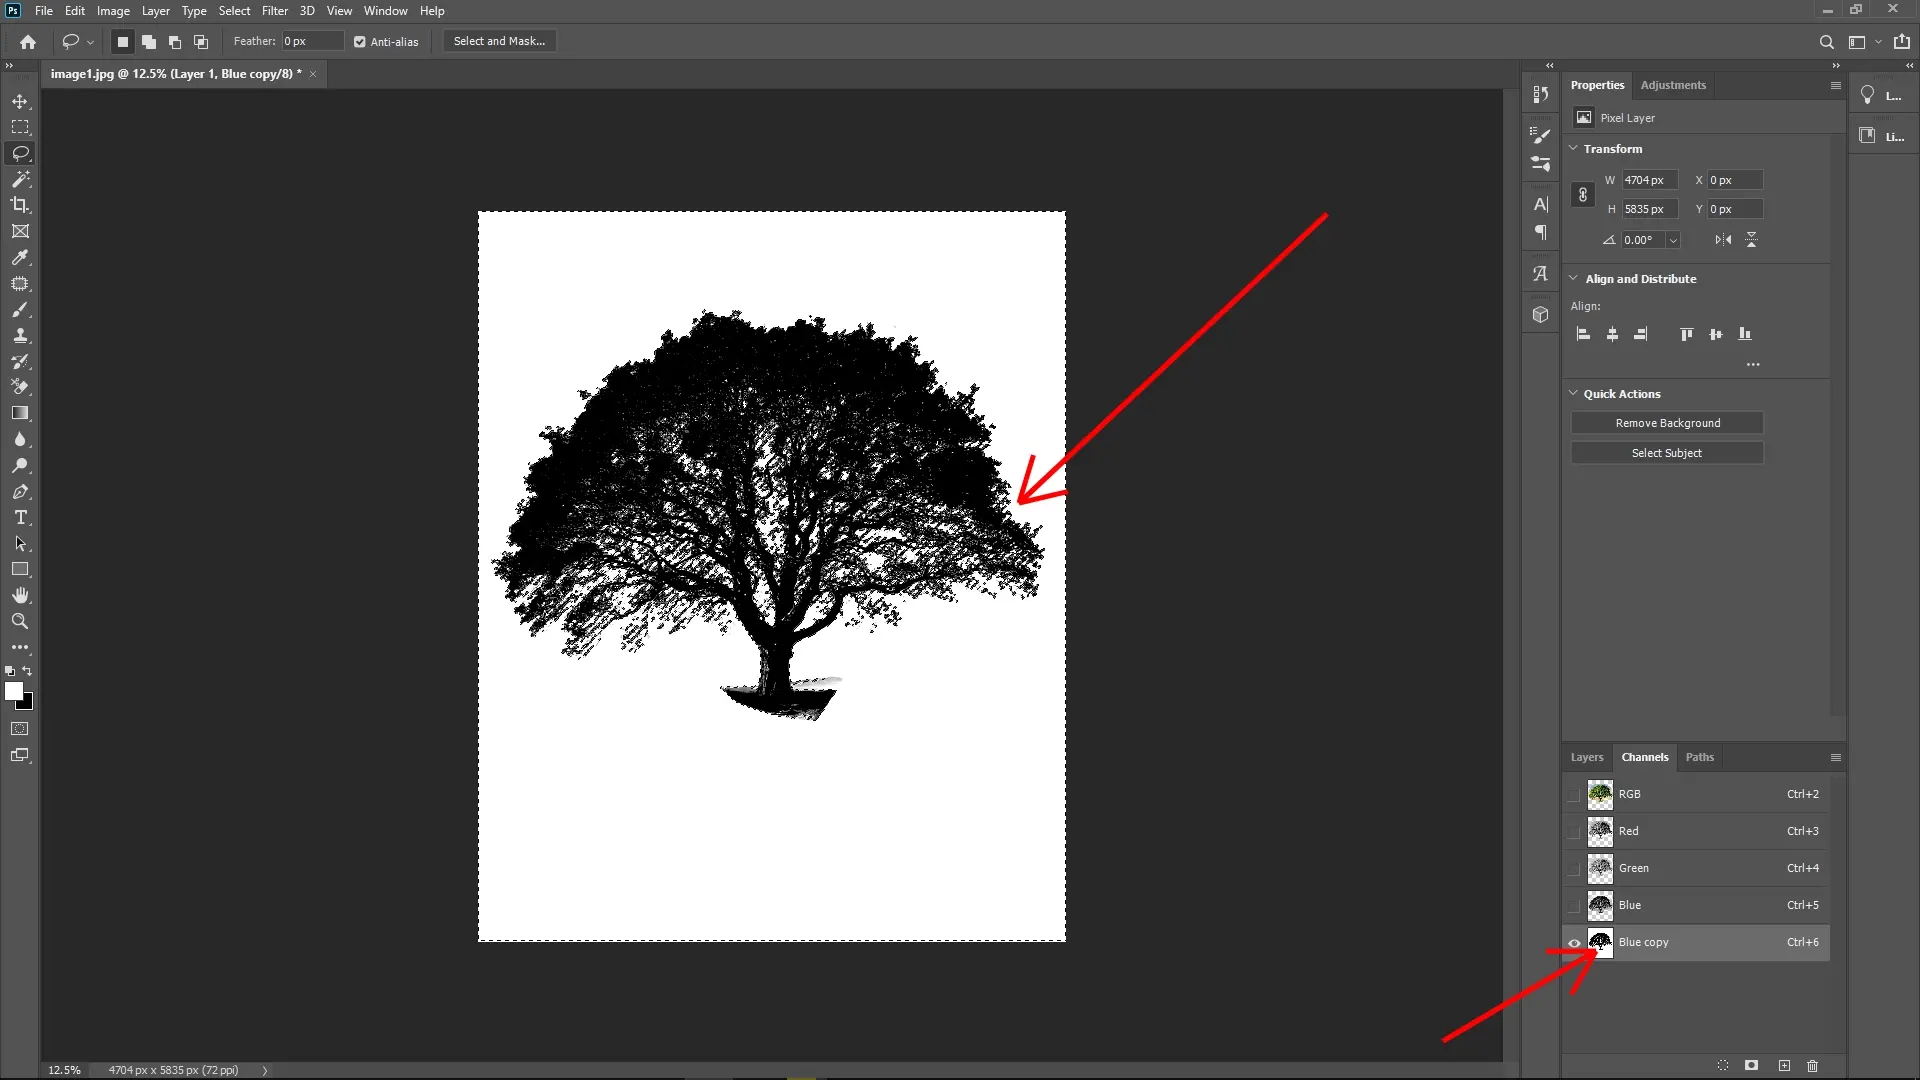
Step 6: Increase Contrast with Levels
With the duplicated channel selected, press Ctrl + L (Cmd + L on Mac) to open the Levels adjustment dialog.
Adjust the black point slider to deepen the tree’s color (making it darker).
Adjust the white point slider to lighten the background (making it brighter).
Fine-tune the midtone slider if necessary to further enhance the separation between the tree and its background.
Once the contrast is sufficient, click OK to apply the adjustment.
Step 7: Create a Selection from the Channel
Next, hold Ctrl (Cmd on Mac) and click the thumbnail of your adjusted channel in the Channels panel. This will load the channel as an active selection, based on the contrast between light and dark areas.
Step 8: Apply the Selection as a Layer Mask
Return to the Layers panel and select your duplicated tree layer. Then:
Press and hold Alt (Option on Mac) while clicking the Add Layer Mask button at the bottom of the Layers panel.
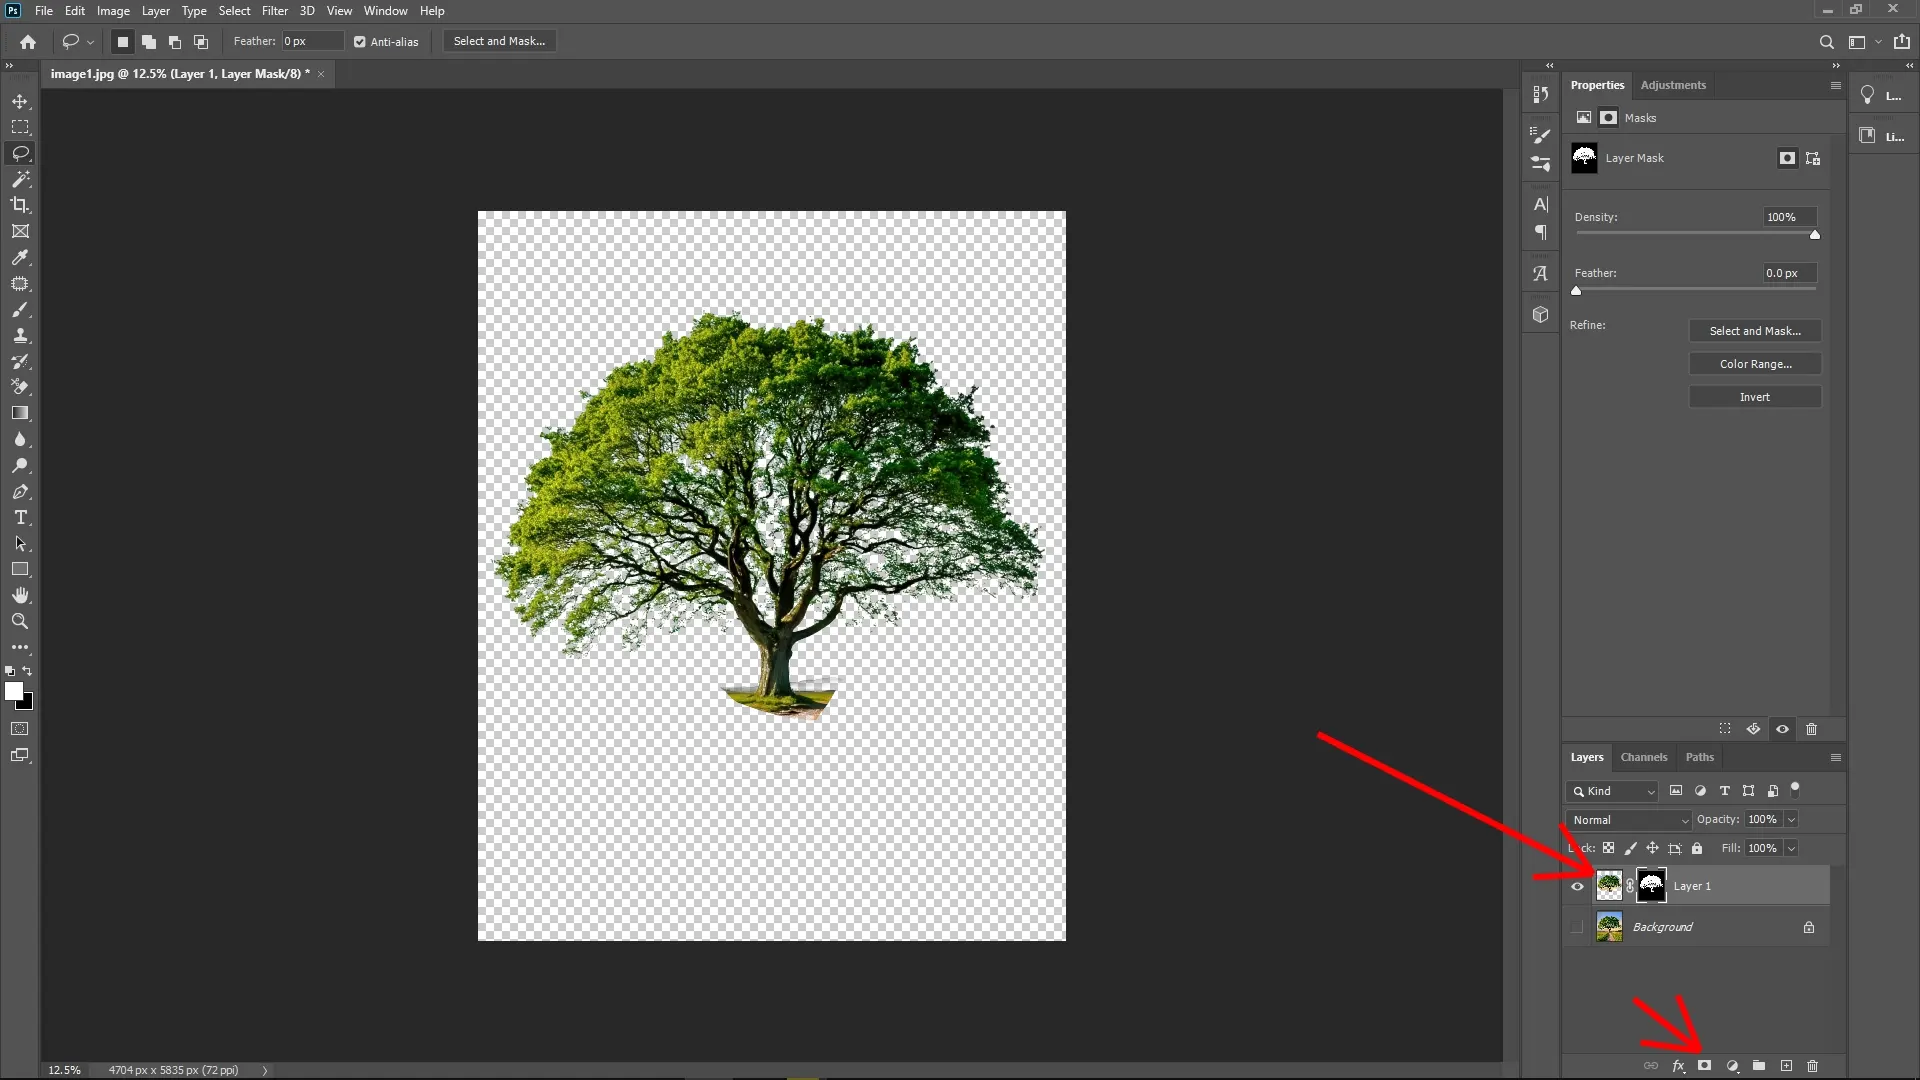
This step applies the channel-based selection as a precise mask to your tree layer, effectively erasing the background while keeping the complex edges of the tree intact.
Step 9: Refine Your Mask (Optional)
Zoom in on the edges of the tree to ensure the mask is clean. If needed:
Use the Brush Tool (B) on the mask thumbnail to manually clean up rough spots. Paint with black to hide areas or white to reveal areas.
Alternatively, use the Select and Mask tool to refine the mask edges for smoother transitions.
Final Notes:
This method is particularly effective for trees, hair, or other objects with fine, detailed edges that are difficult to isolate using regular selection tools. By leveraging channels for contrast, you can achieve professional results in just a few steps.
Write Reply