How to Apply a Texture onto a Box in Photoshop
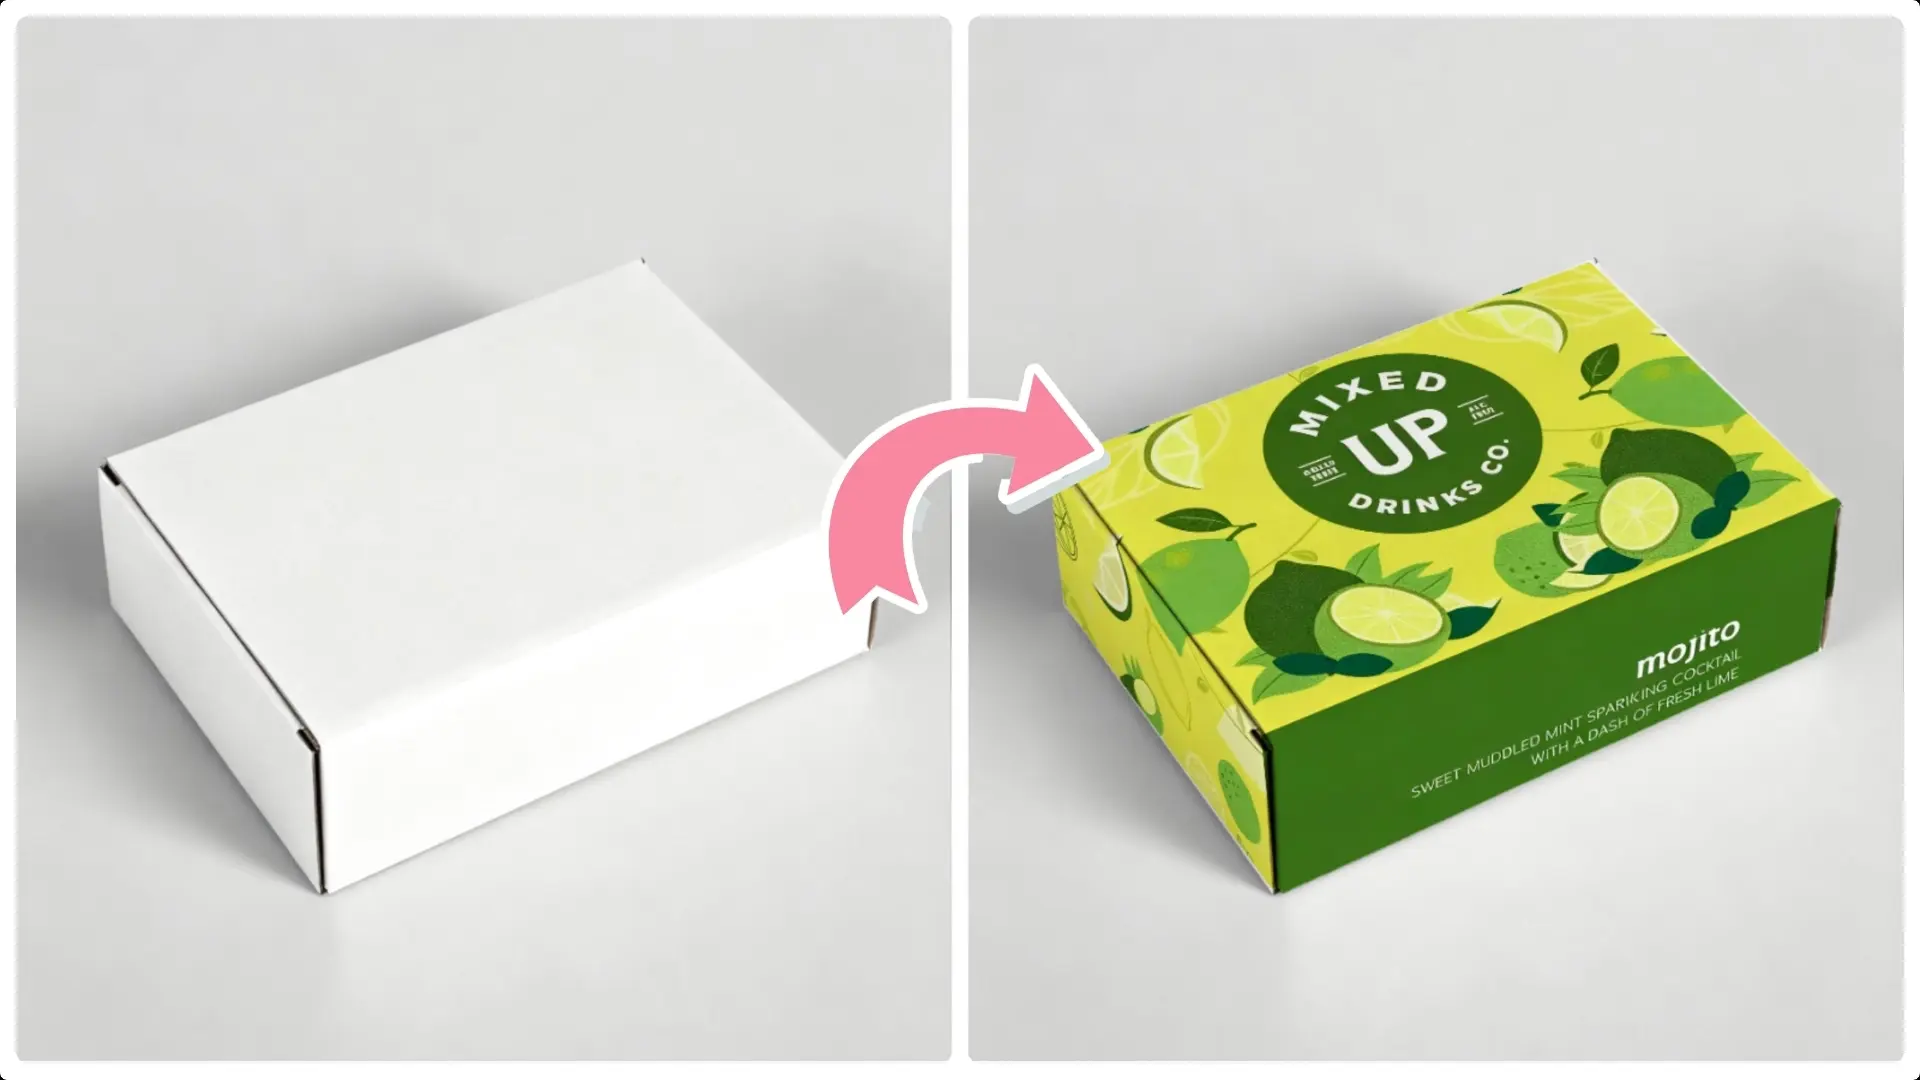
In this comprehensive guide, we will walk you through the process of applying a texture to a box using Photoshop's advanced tools, such as the vanishing point filter and blending techniques.
By following these straightforward steps, you'll be able to create lifelike textures that seamlessly integrate with your designs, unlocking new creative possibilities.
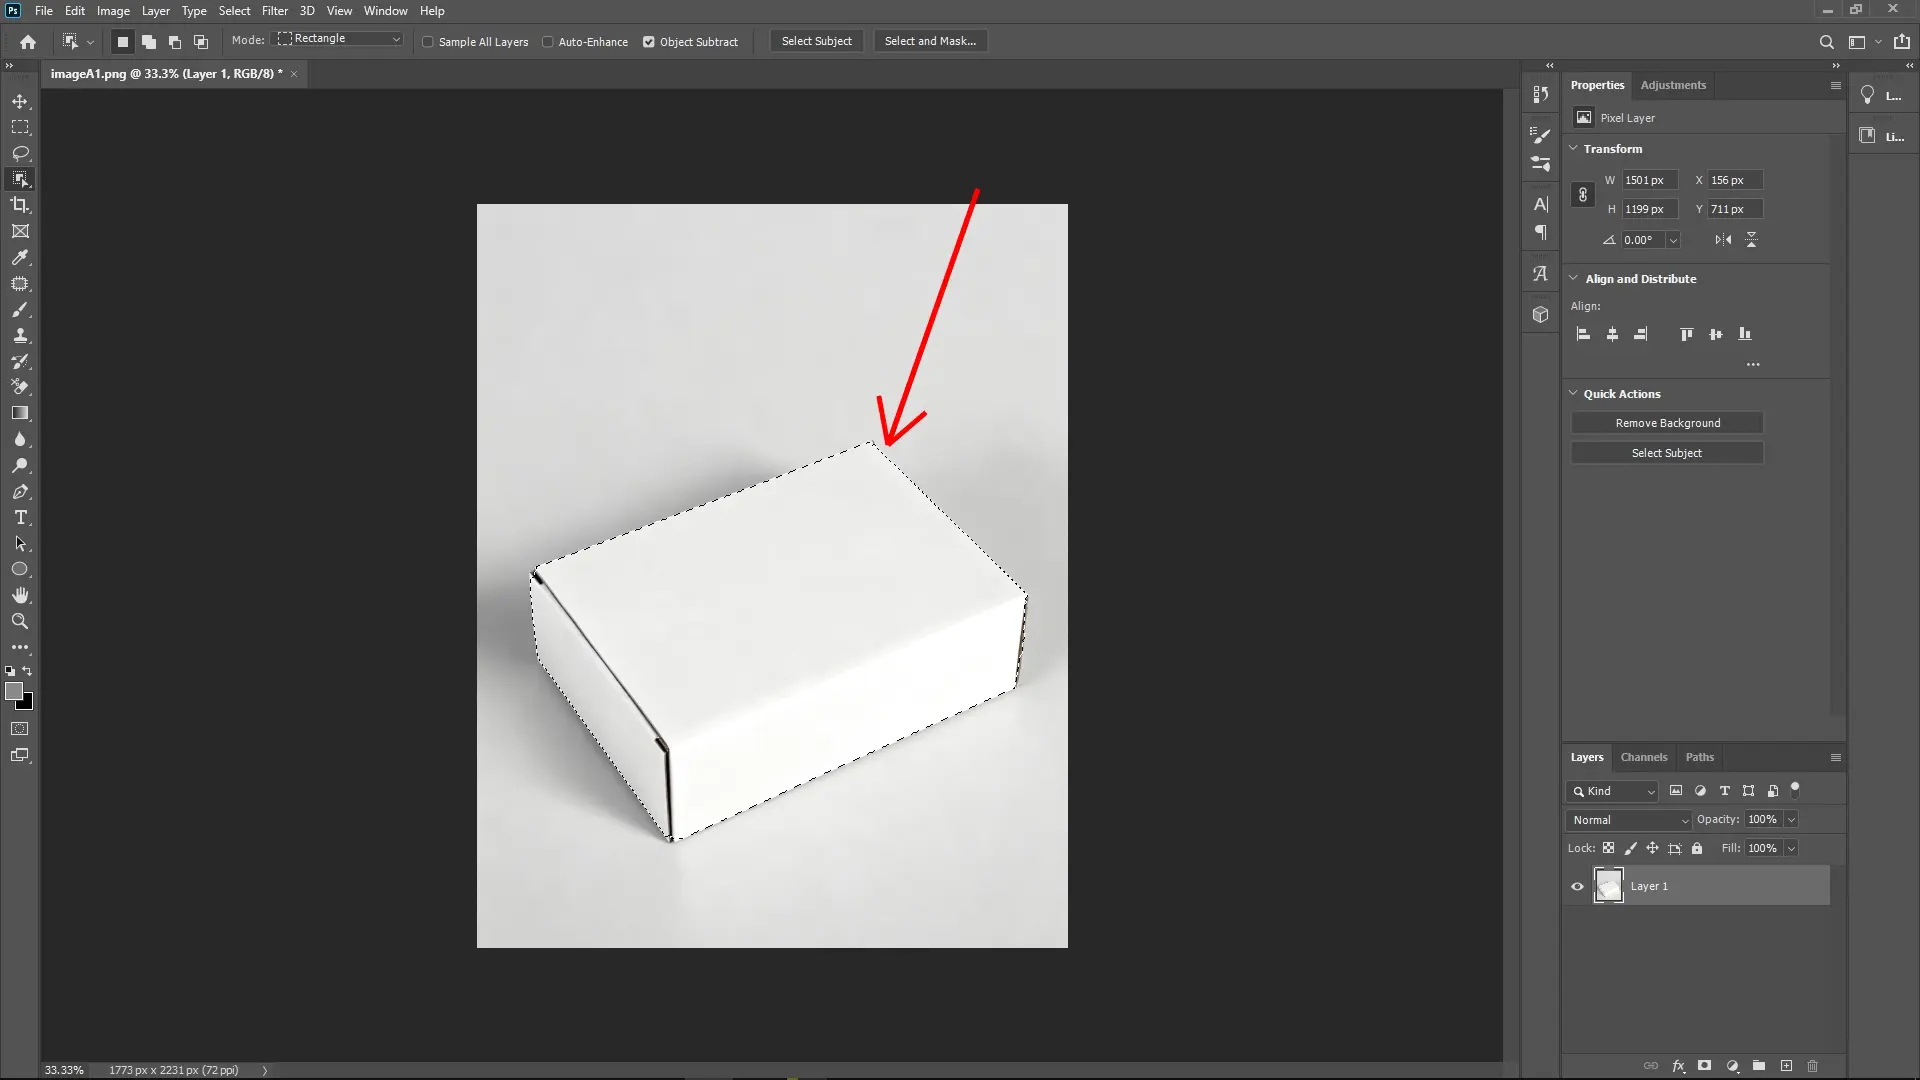
Step 1: Select the box area
Use the Object Selection Tool to carefully select the surface of the box where you want to apply the texture. Once selected, press Ctrl + J (Cmd + J on Mac) to duplicate the selection onto a new layer.


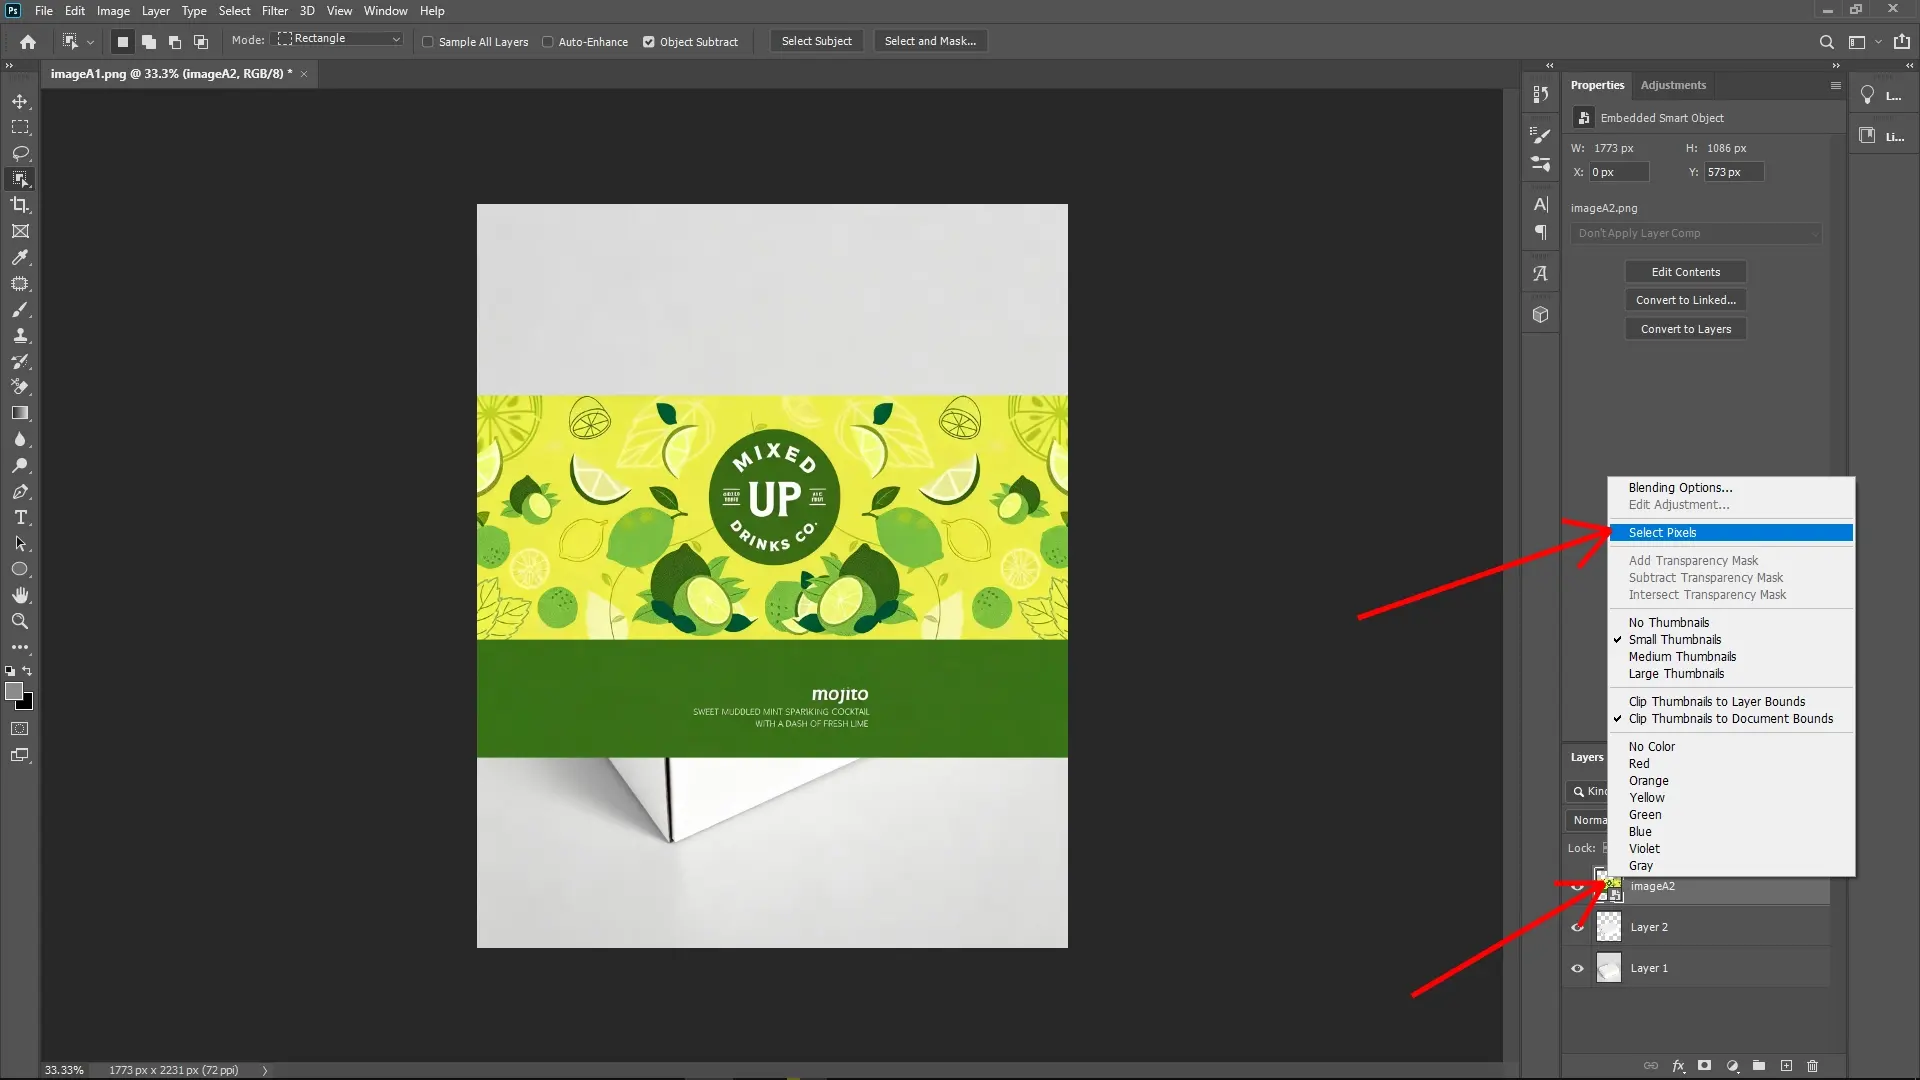
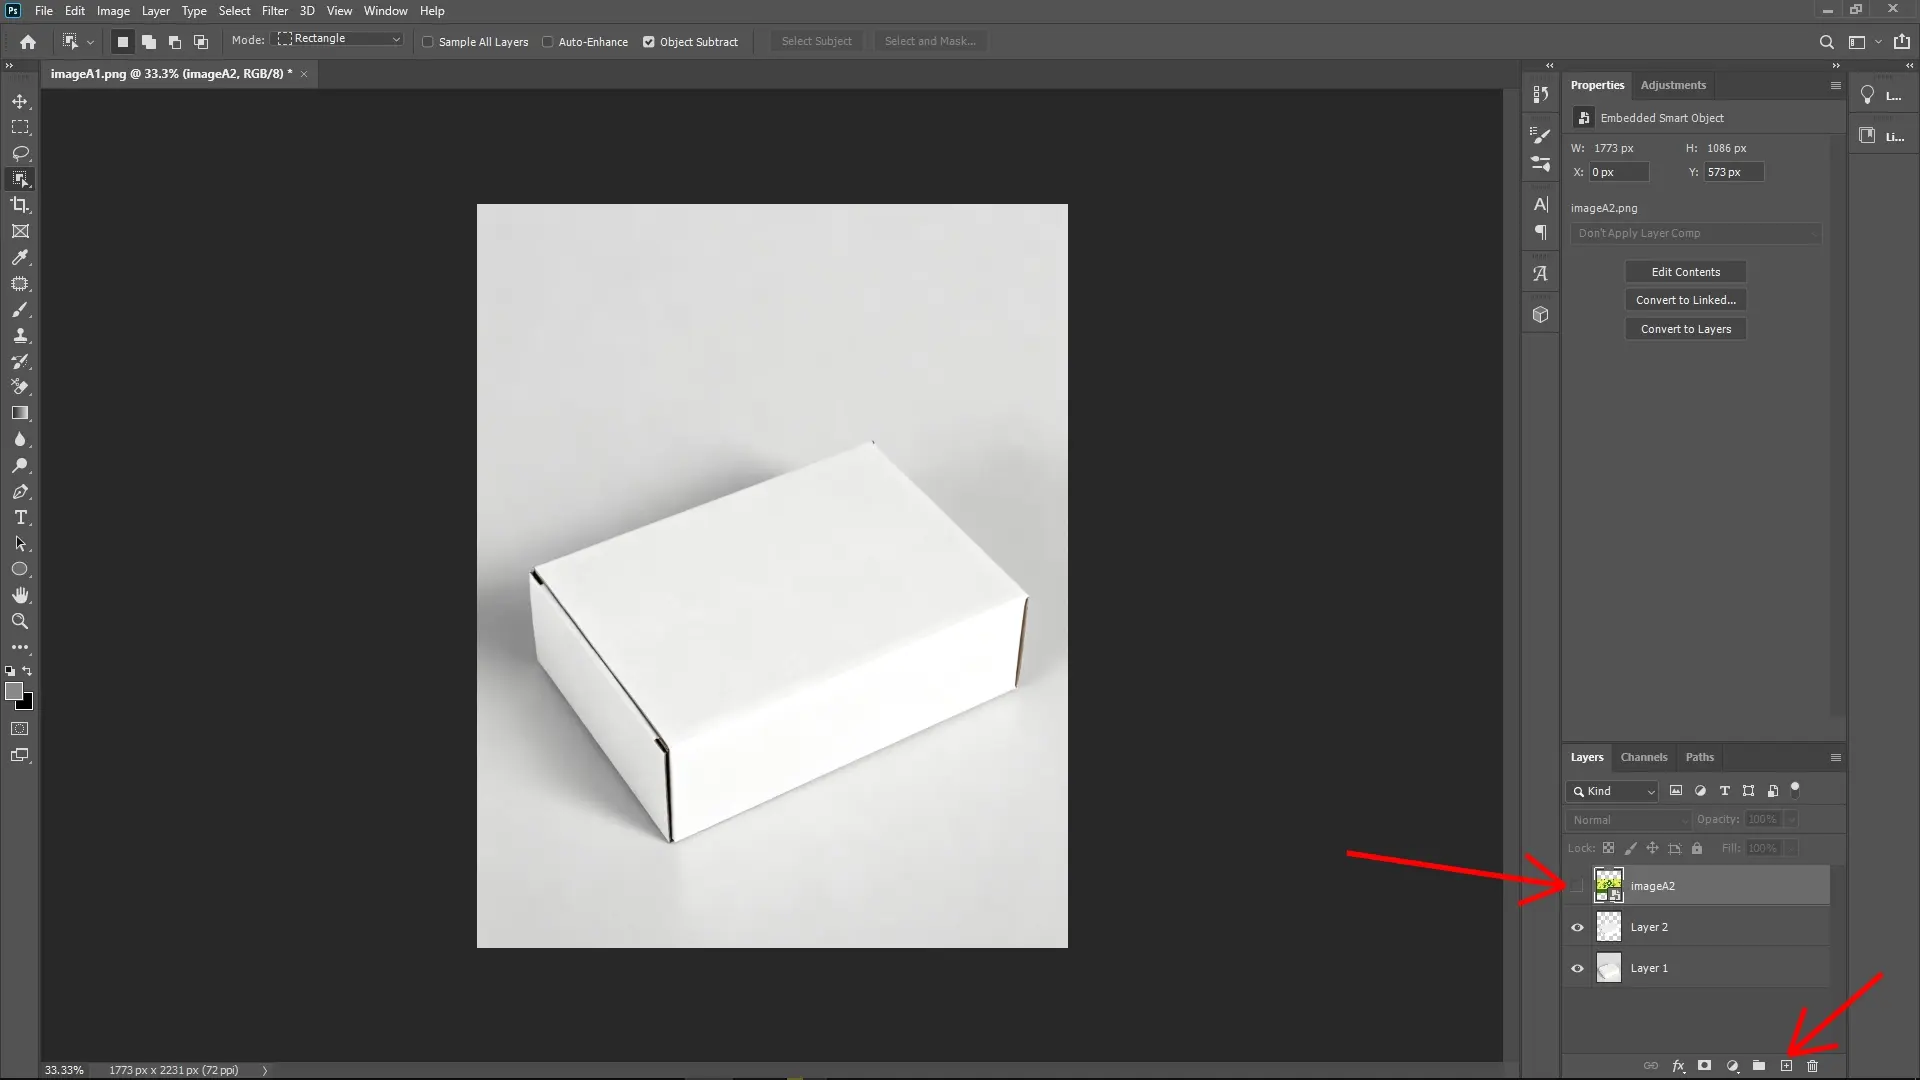
Step 2: Import the texture image
Drag and drop your texture or pattern image into your Photoshop document. With the texture layer active, hold Ctrl (Cmd on Mac) and click on the layer thumbnail to load a selection of the visible parts of this texture, or right-click the layer and choose ‘Select Pixels’.
Step 3: Copy and prepare the texture
Press Ctrl + C to copy the selected texture area, then press Ctrl + D to deselect. Hide or temporarily disable the original texture layer to keep your workspace tidy.
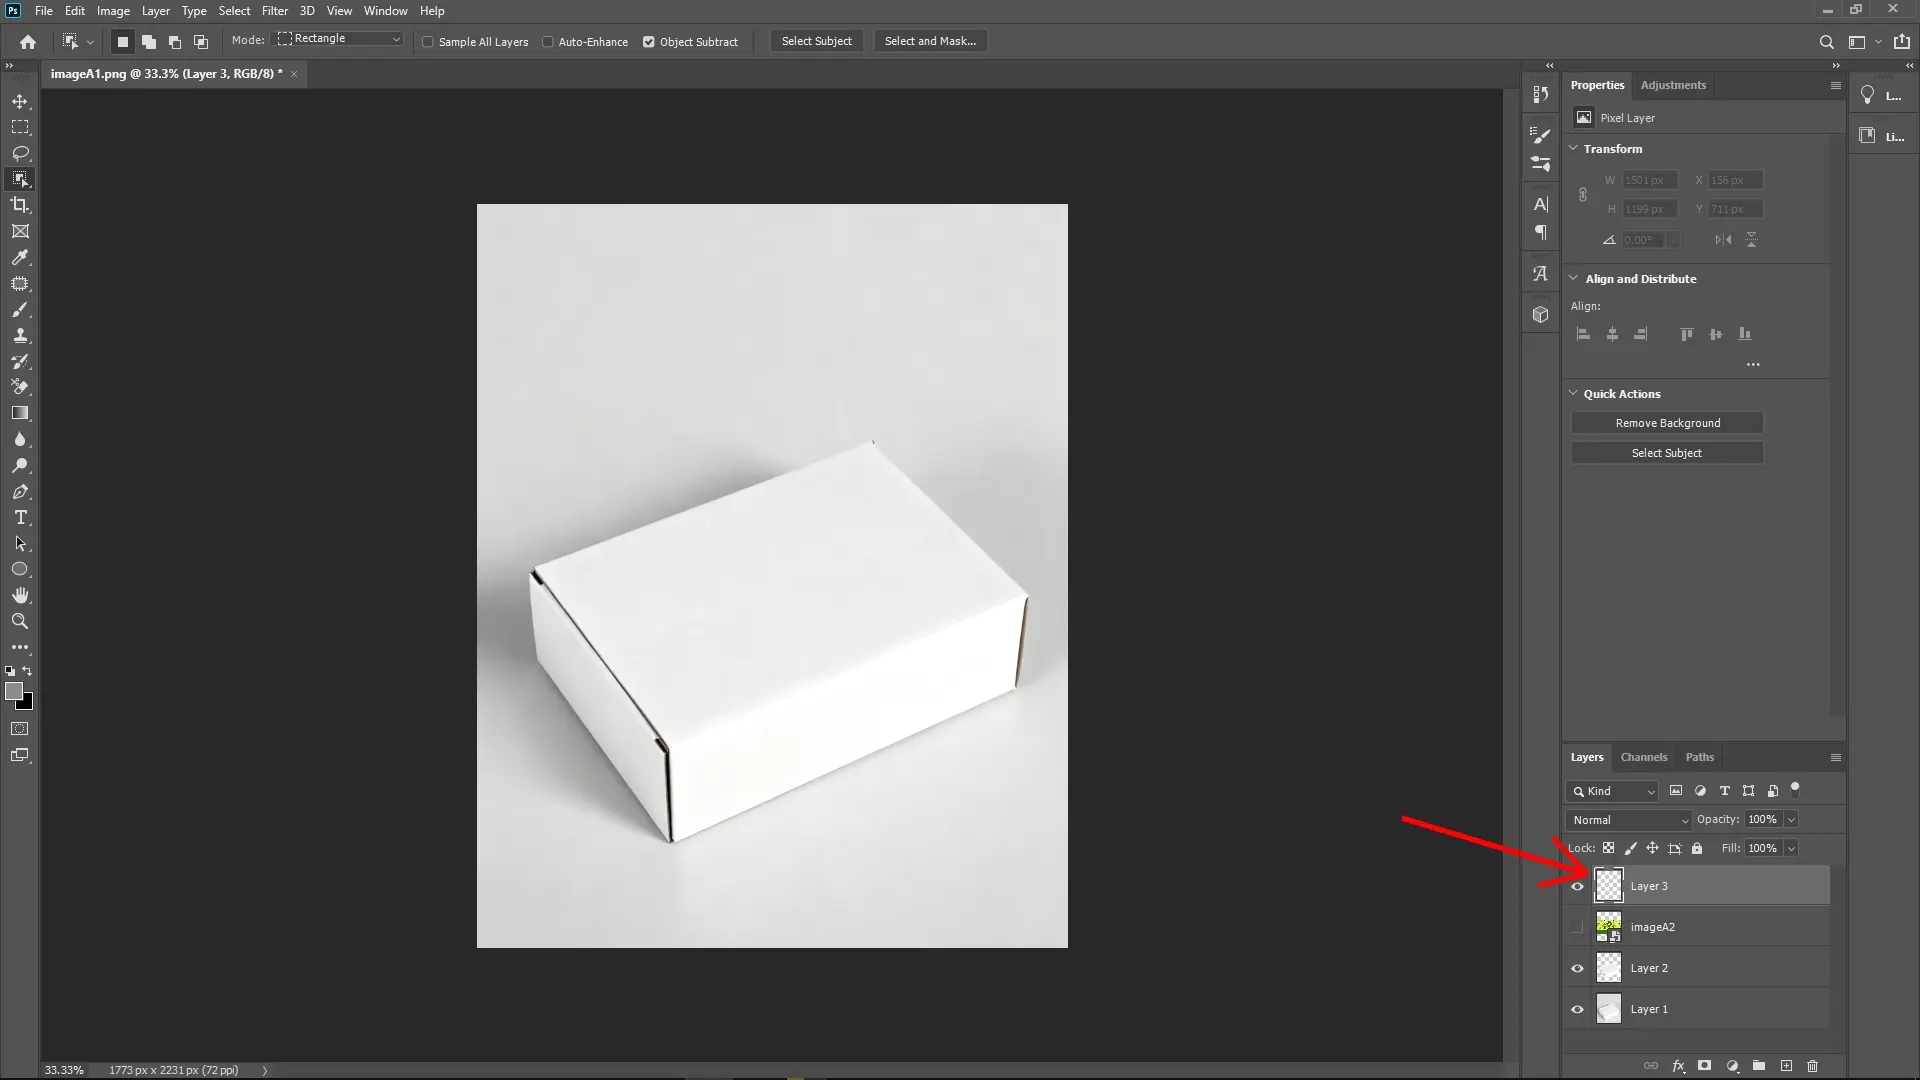
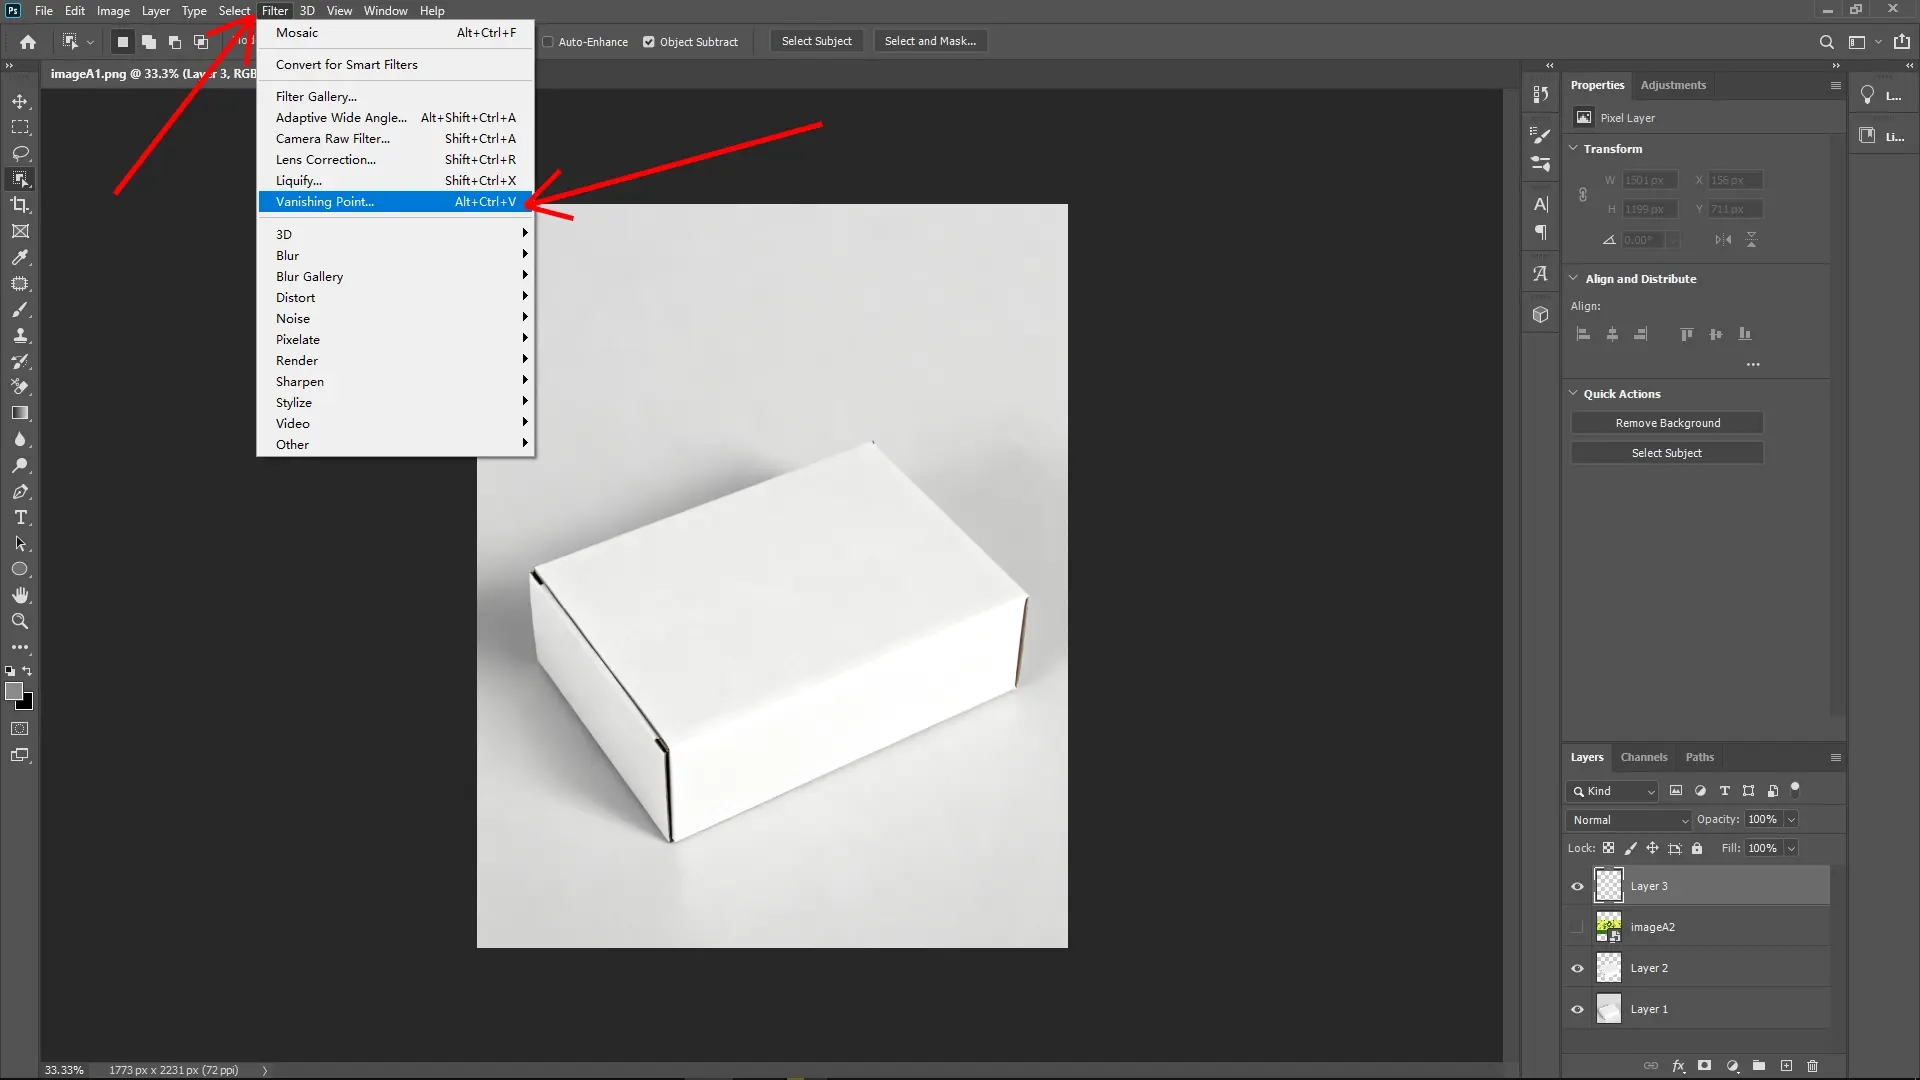
Step 4: Open the Vanishing Point filter
Create a new blank layer above the box layer. Then, from the menu, go to Filter > Vanishing Point. This tool allows you to create a perspective grid that helps to realistically place your texture.
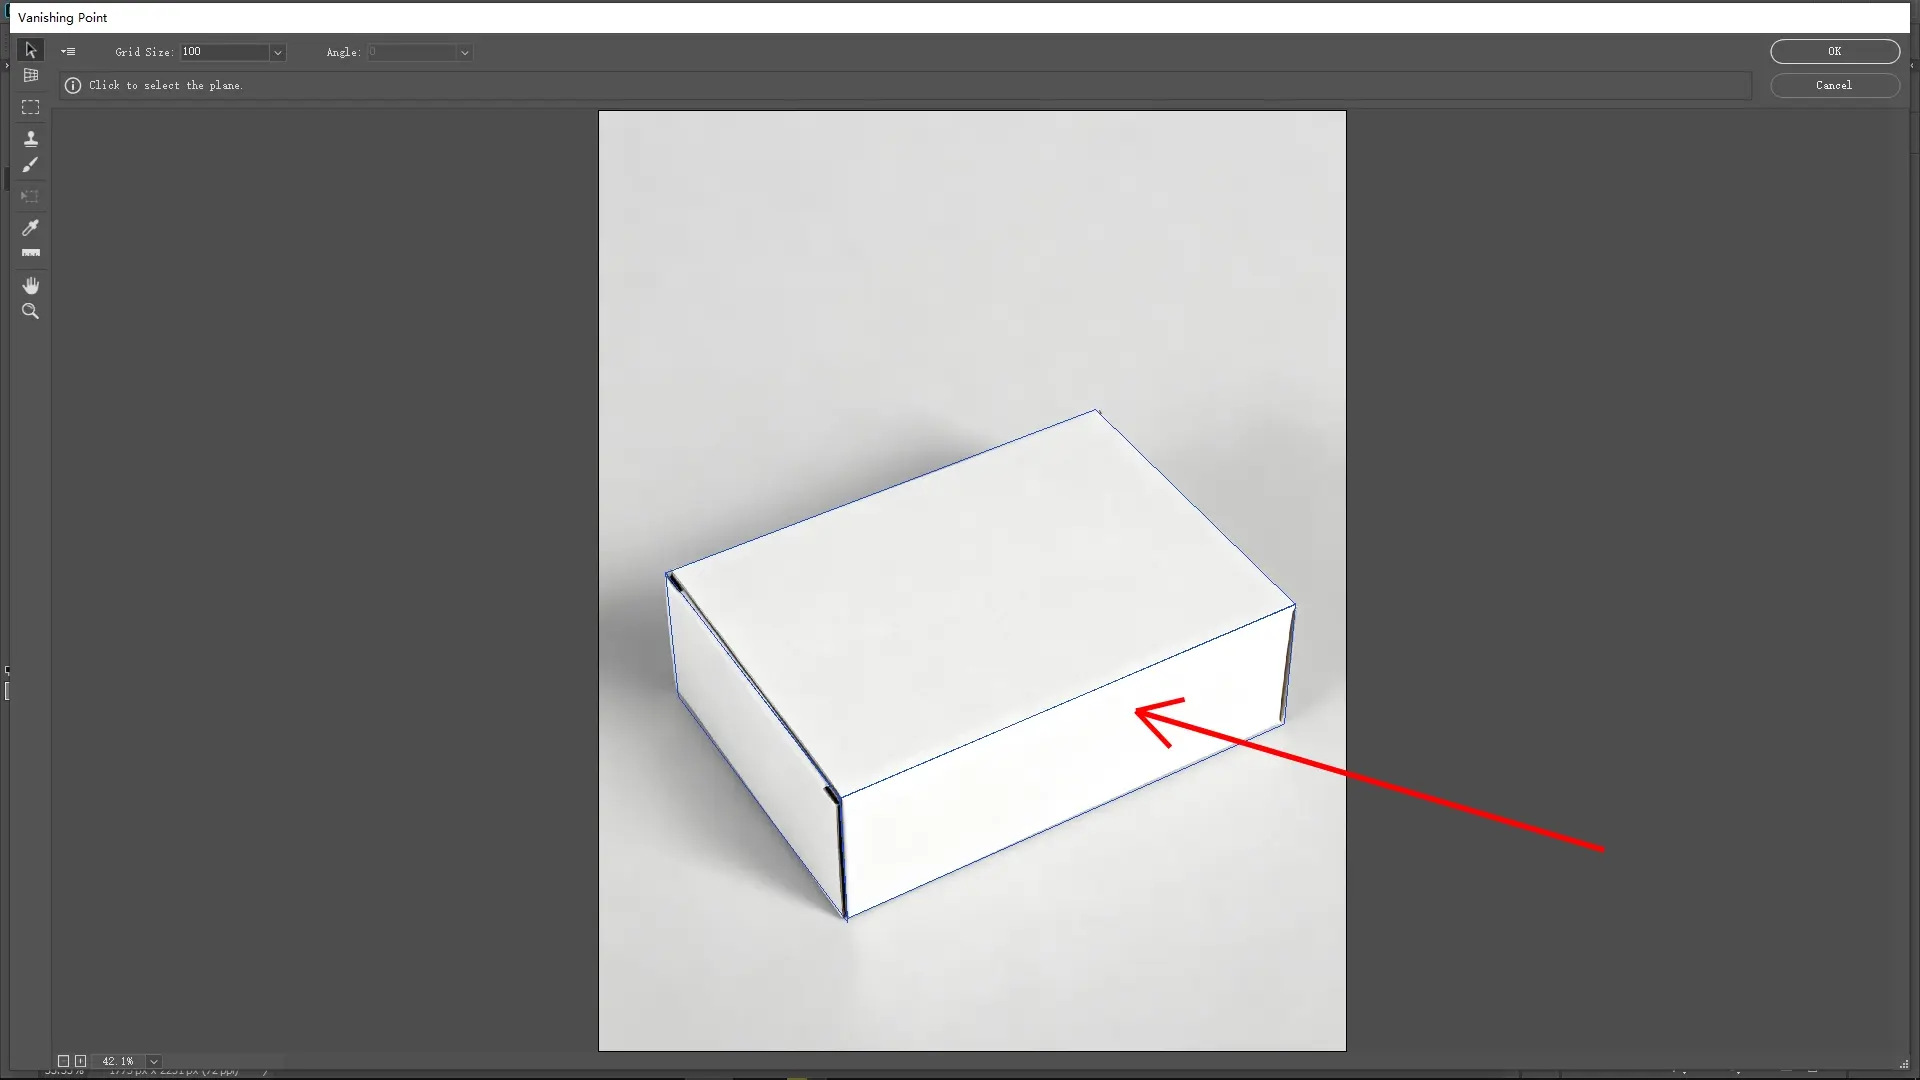
Step 5: Create the perspective grid
Using the Vanishing Point dialog, create a plane by clicking the four corners of the box's visible face, ensuring the grid aligns perfectly with the box edges. To map textures onto other sides of the box, hold Ctrl (Cmd) and drag to create additional planes corresponding to each side, maintaining accurate perspective.
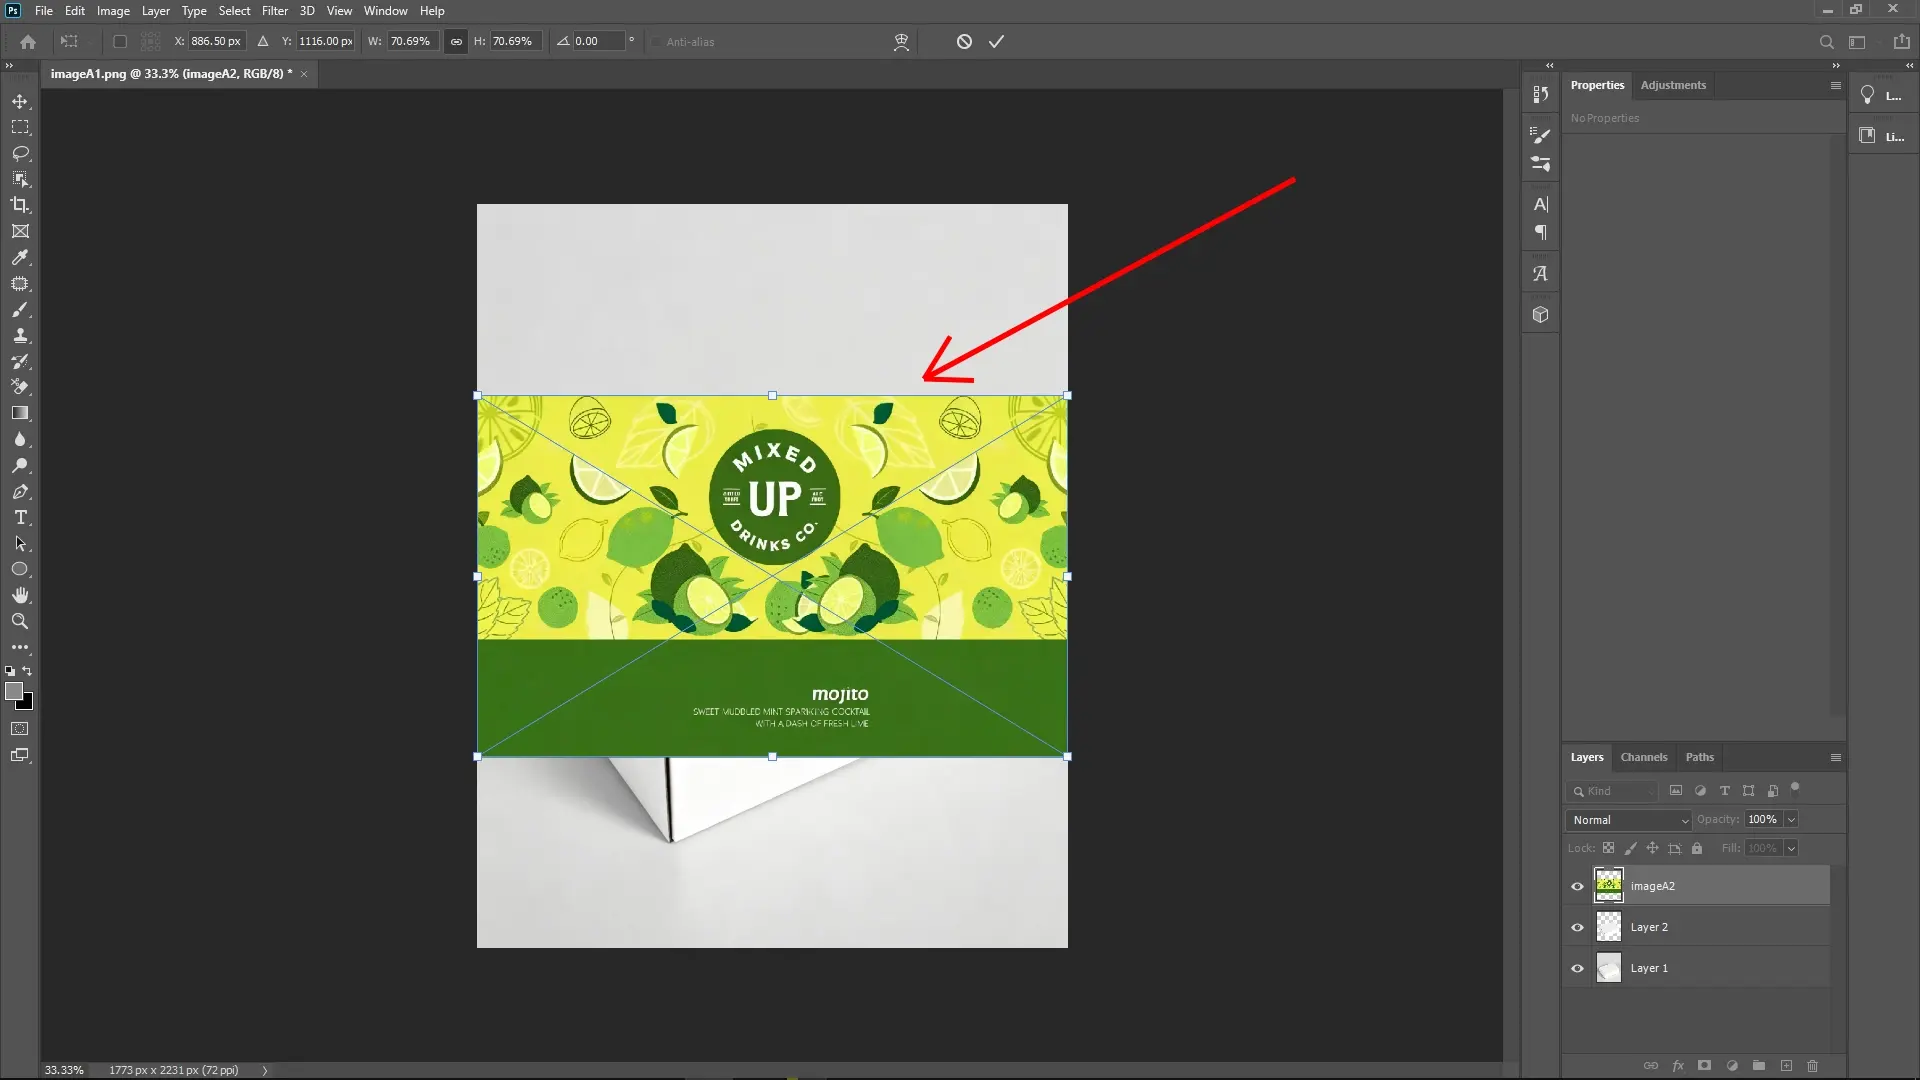
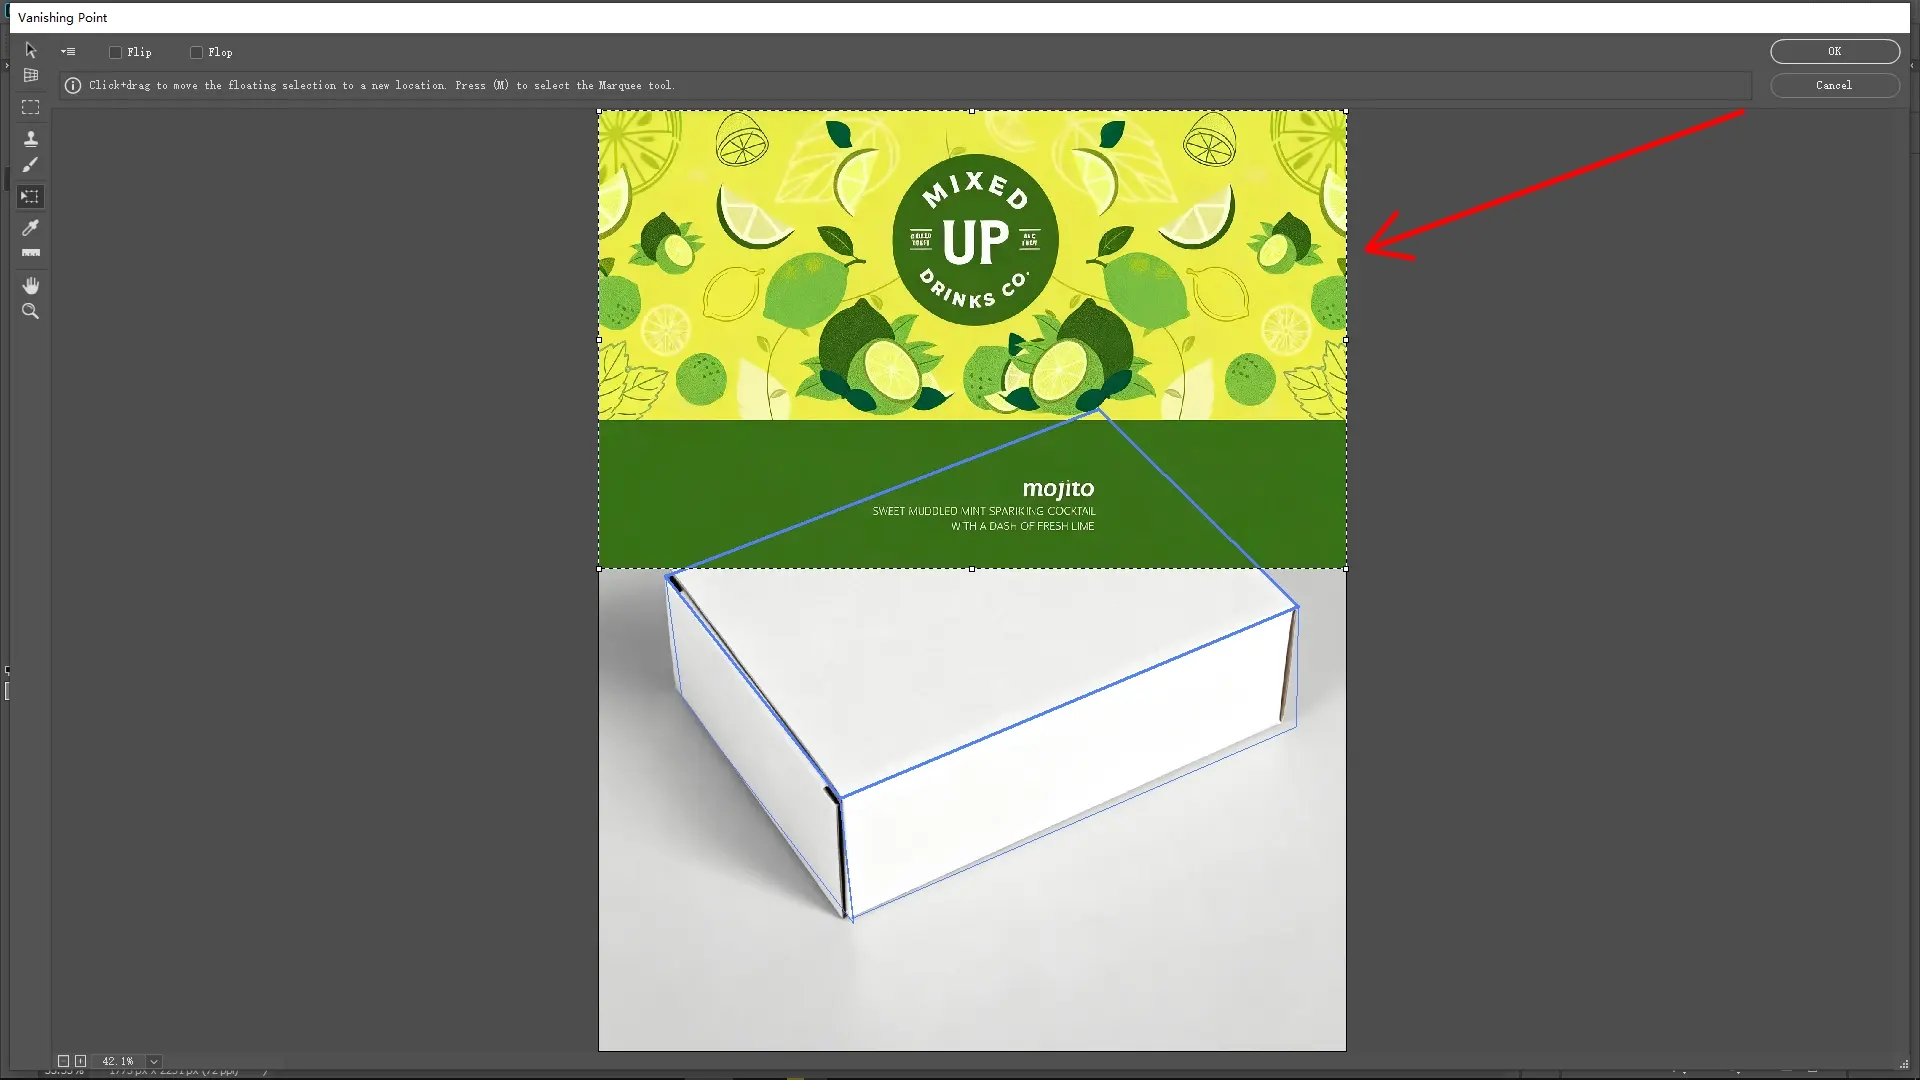
Step 6: Paste and transform your texture
Press Ctrl + V to paste the copied texture into the Vanishing Point window. Use Ctrl + T (Free Transform) to resize, rotate, and adjust the position of the texture so it fits naturally within the grid planes. Make sure to align the texture uniformly with the perspective guides.
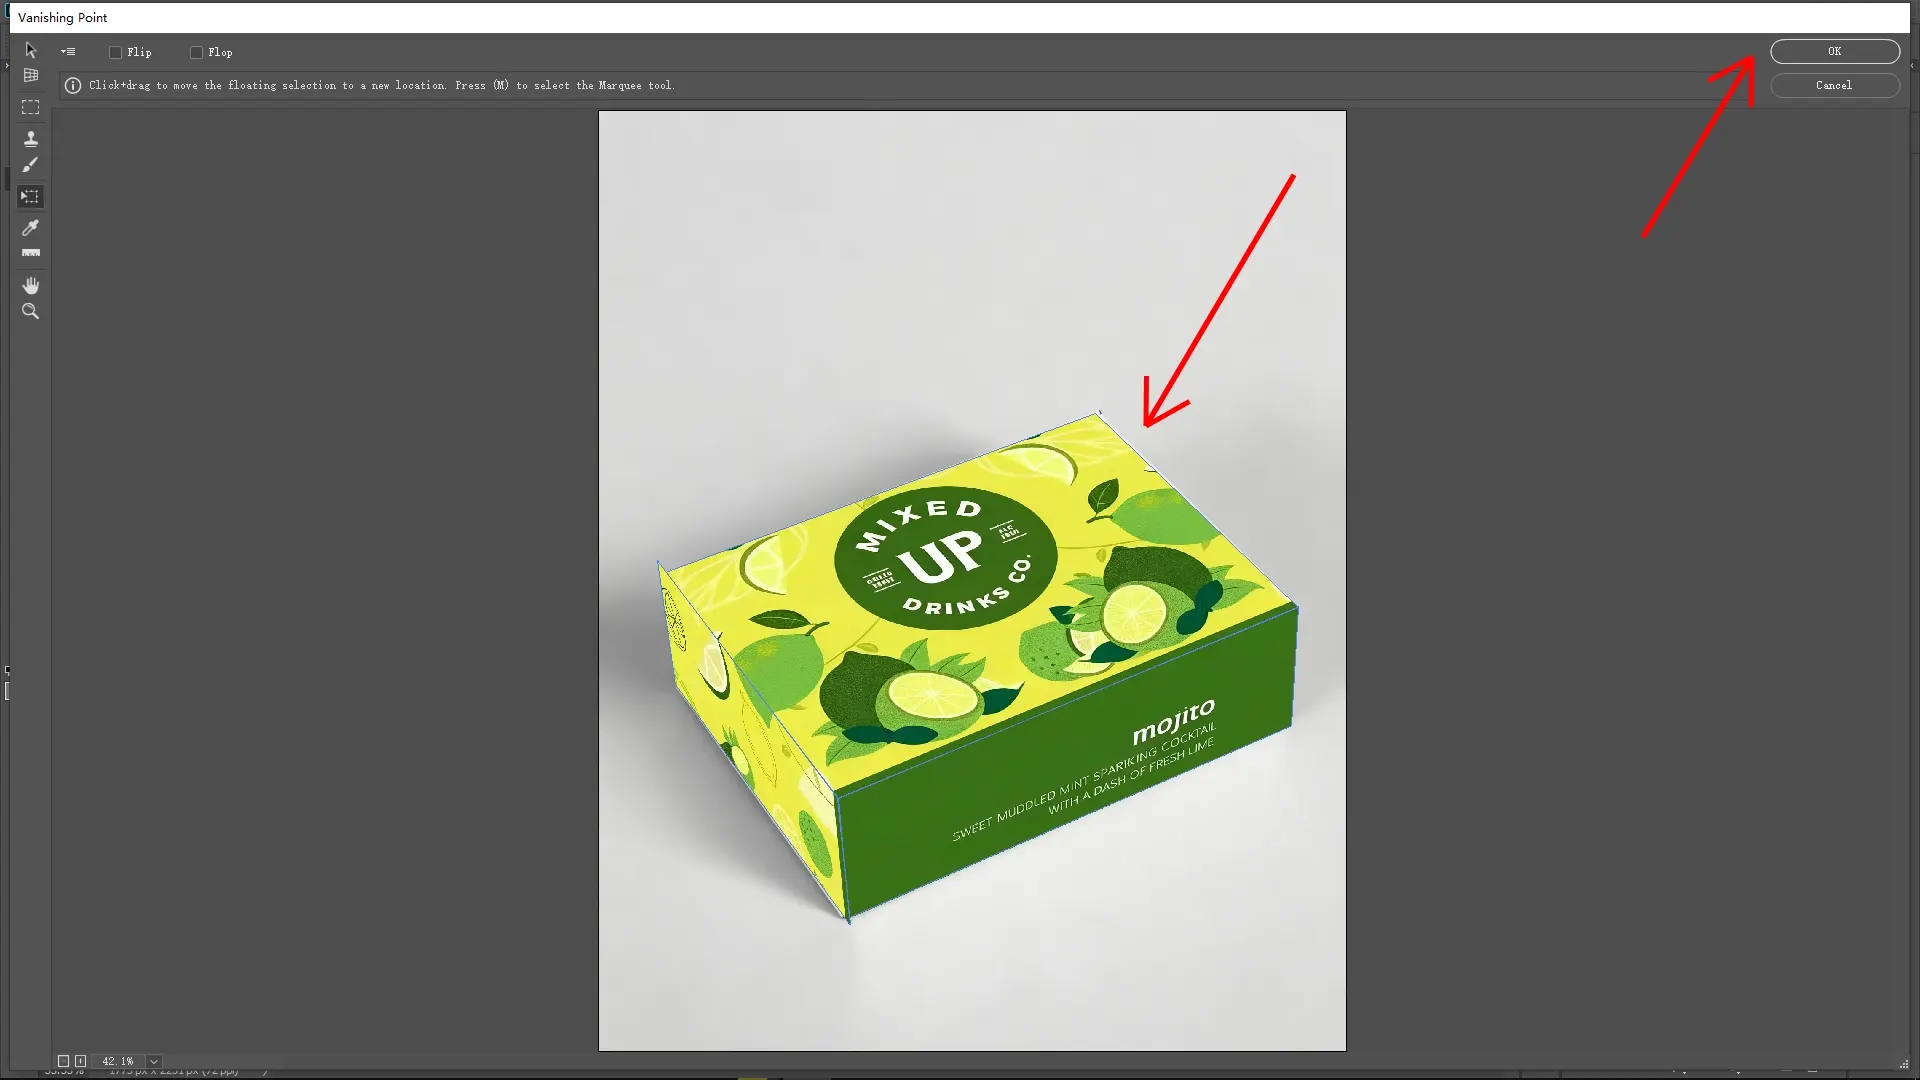
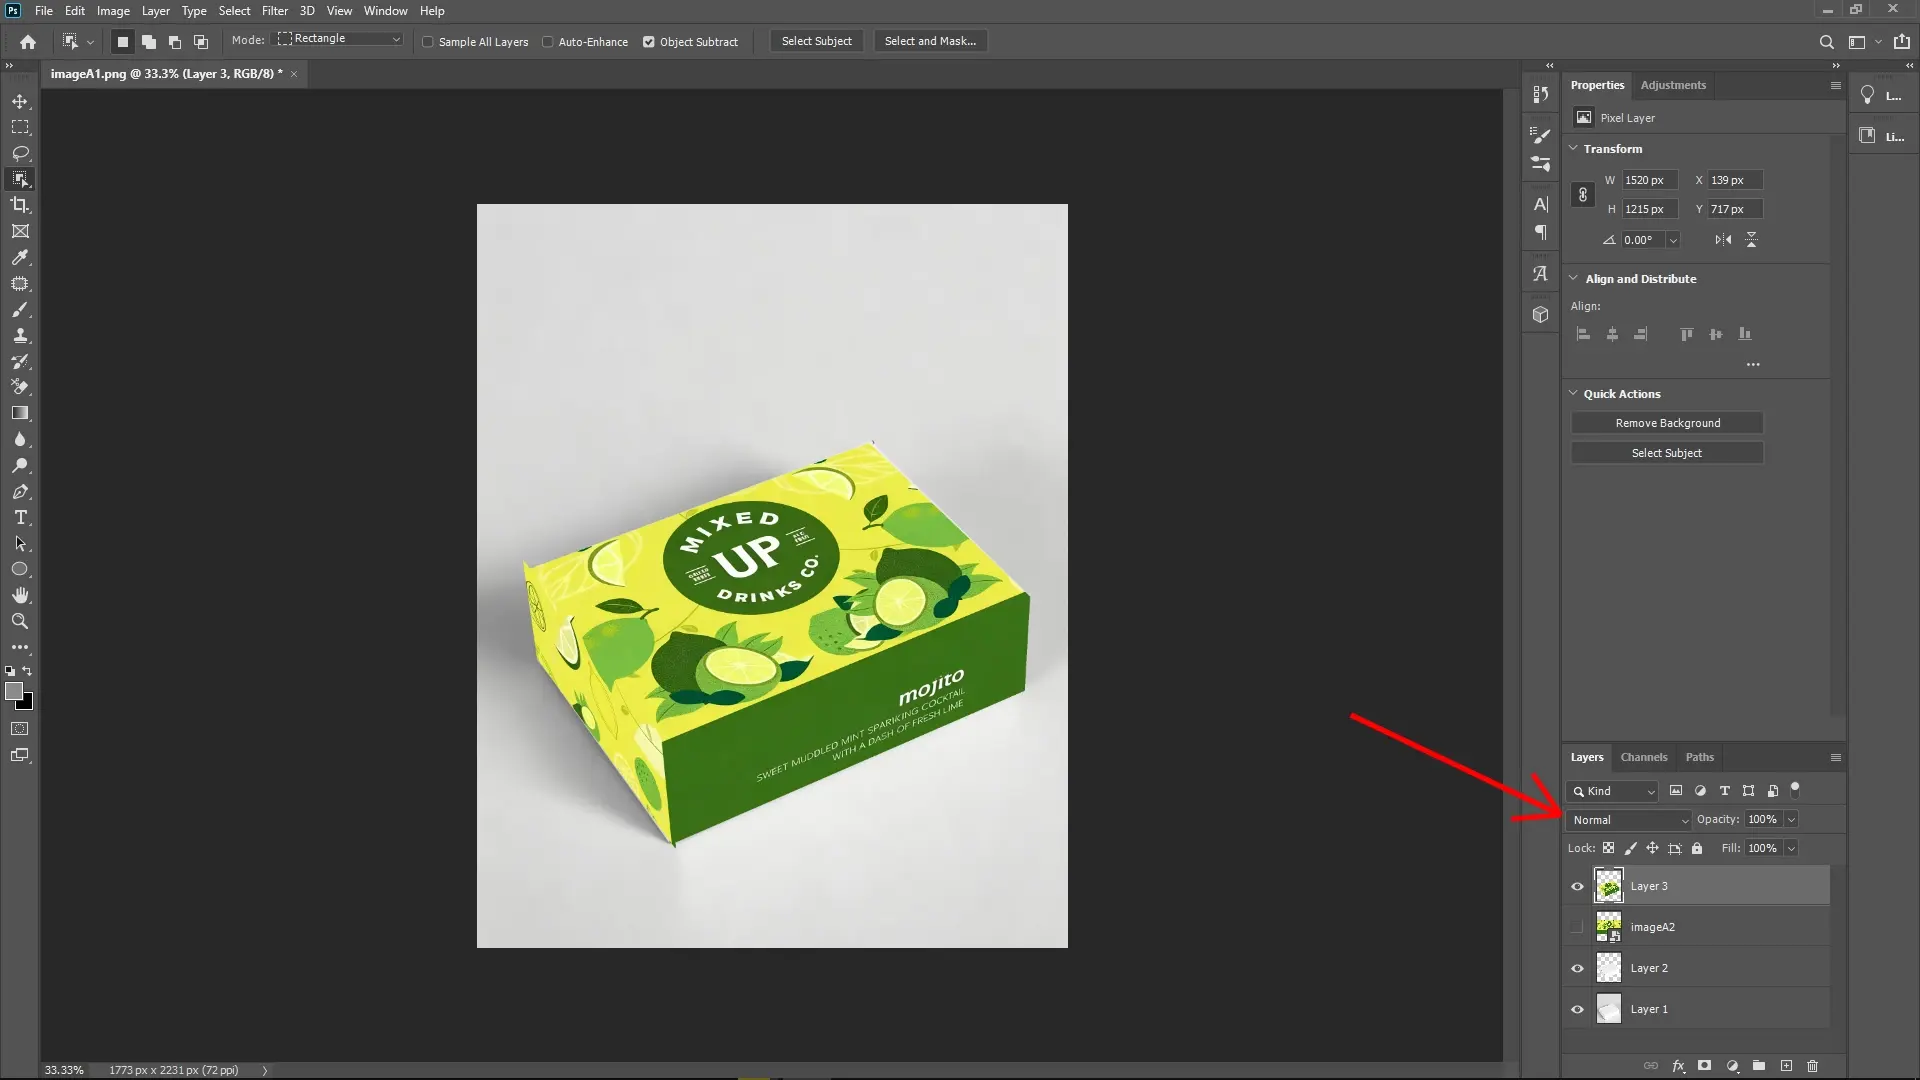
Step 7: Commit and adjust blending
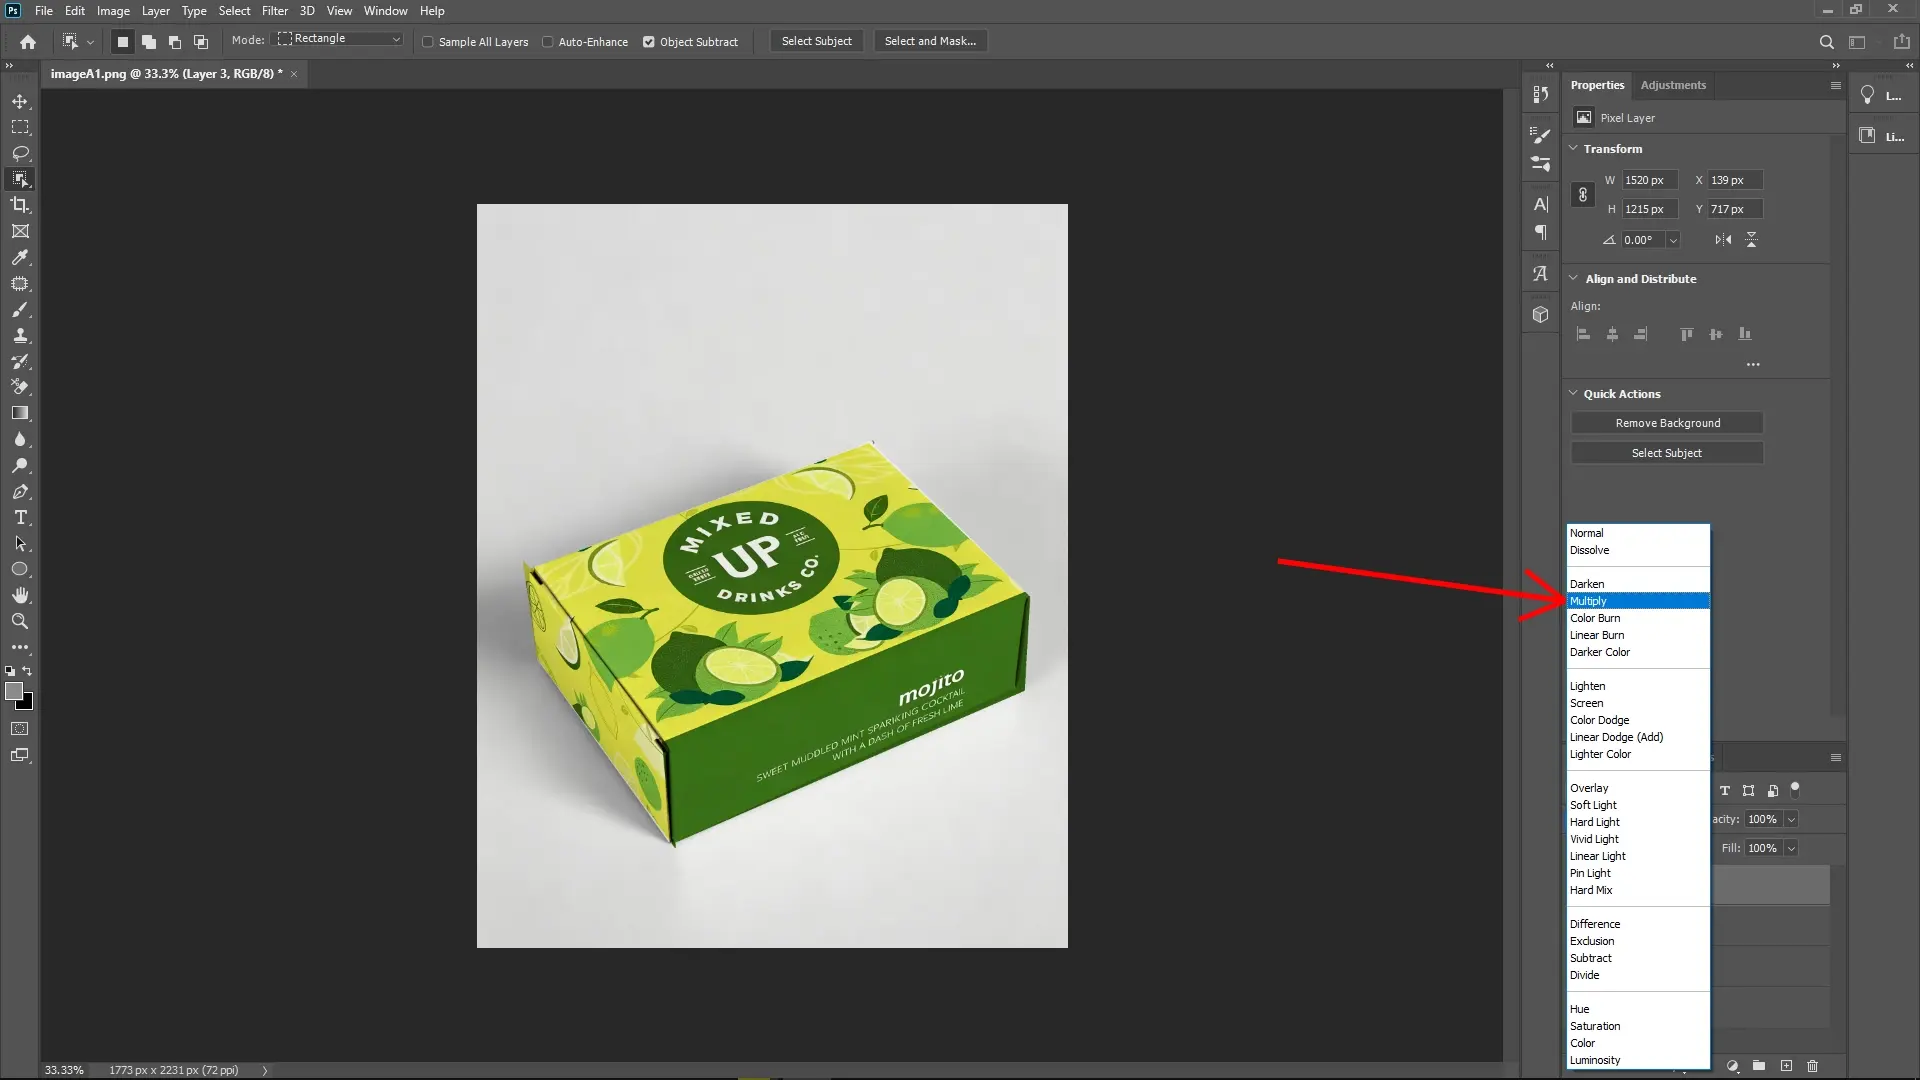
Click OK to commit the Vanishing Point changes. Back in the main document, set the texture layer’s blending mode to Multiply (or experiment with other modes like Overlay, Soft Light, depending on the effect you want) to seamlessly integrate the texture with the box.
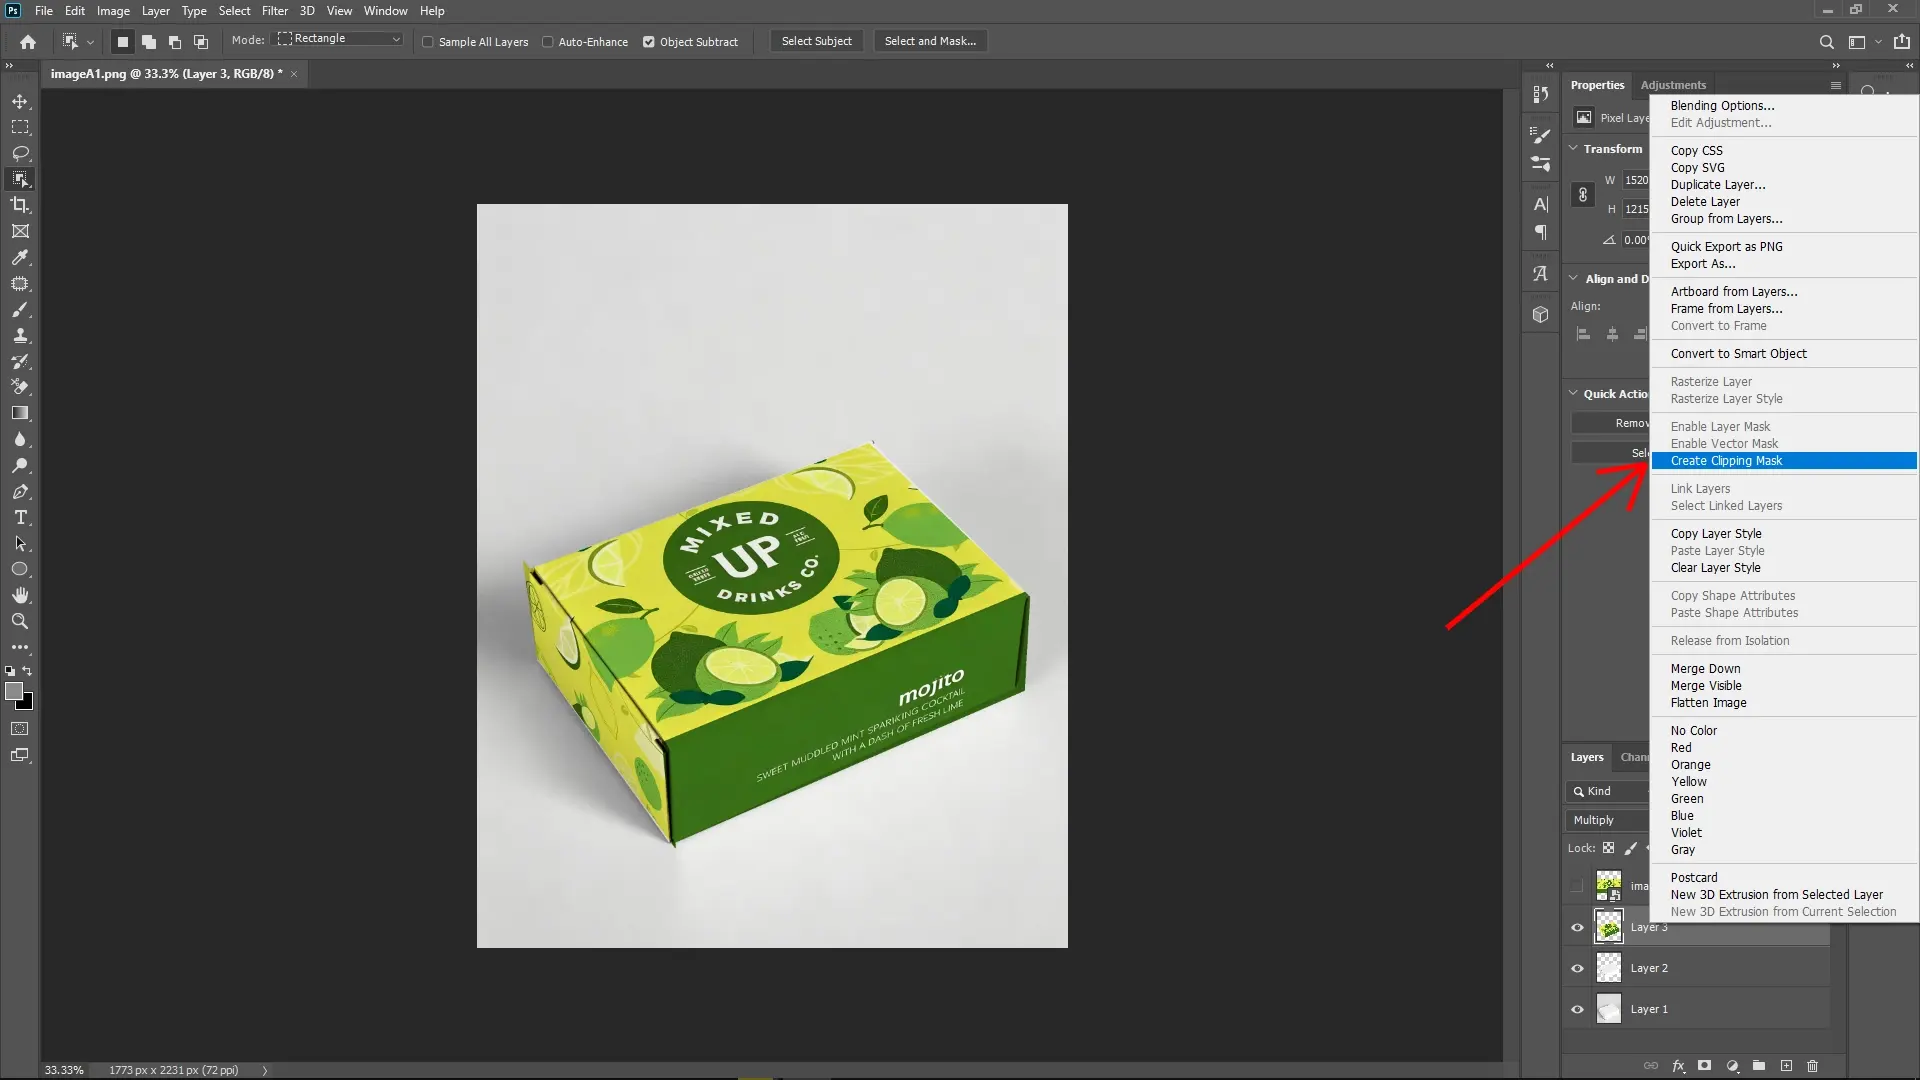
Step 8: Create a clipping mask
Drag the textured layer above the box’s base layer.

Right-click the texture layer and select Create Clipping Mask (or press Alt + Ctrl + G on Windows / Option + Cmd + G on Mac). This confines your texture strictly to the box shape, ensuring it doesn't spill over the edges.
Additional Tips
You can further refine the texture by adding layer masks and painting with black/white to hide or reveal parts of the texture.
Use adjustment layers (Hue/Saturation, Levels, Curves) clipped above the texture layer to tweak colors and contrast without affecting the original box.
To enhance realism, consider adding subtle shadows or highlights on a separate layer.
Write Reply