Create a Stunning Lego Pixel Effect in Photoshop
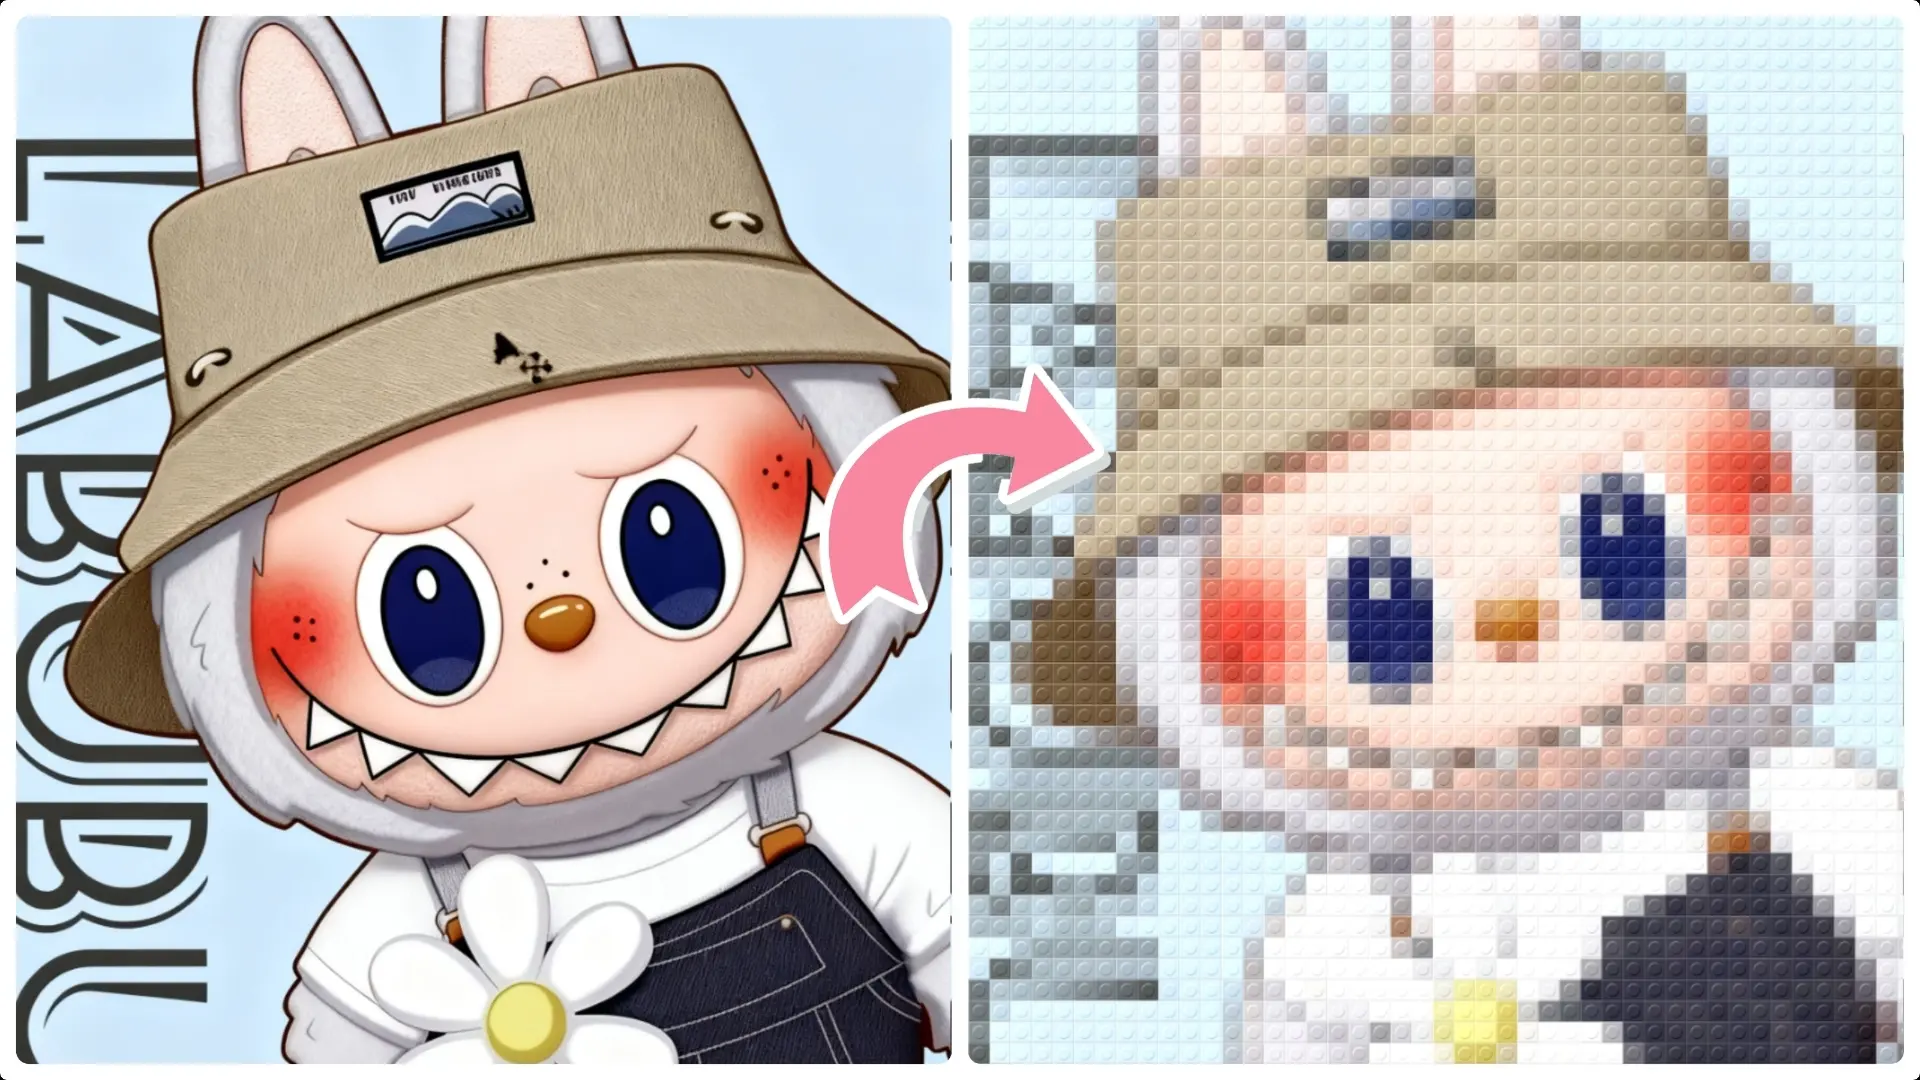
Discover how to transform your images into captivating Lego-style visuals with our concise Photoshop tutorial.
Follow our easy steps to add a playful and creative twist to your design projects using powerful filters and patterns.
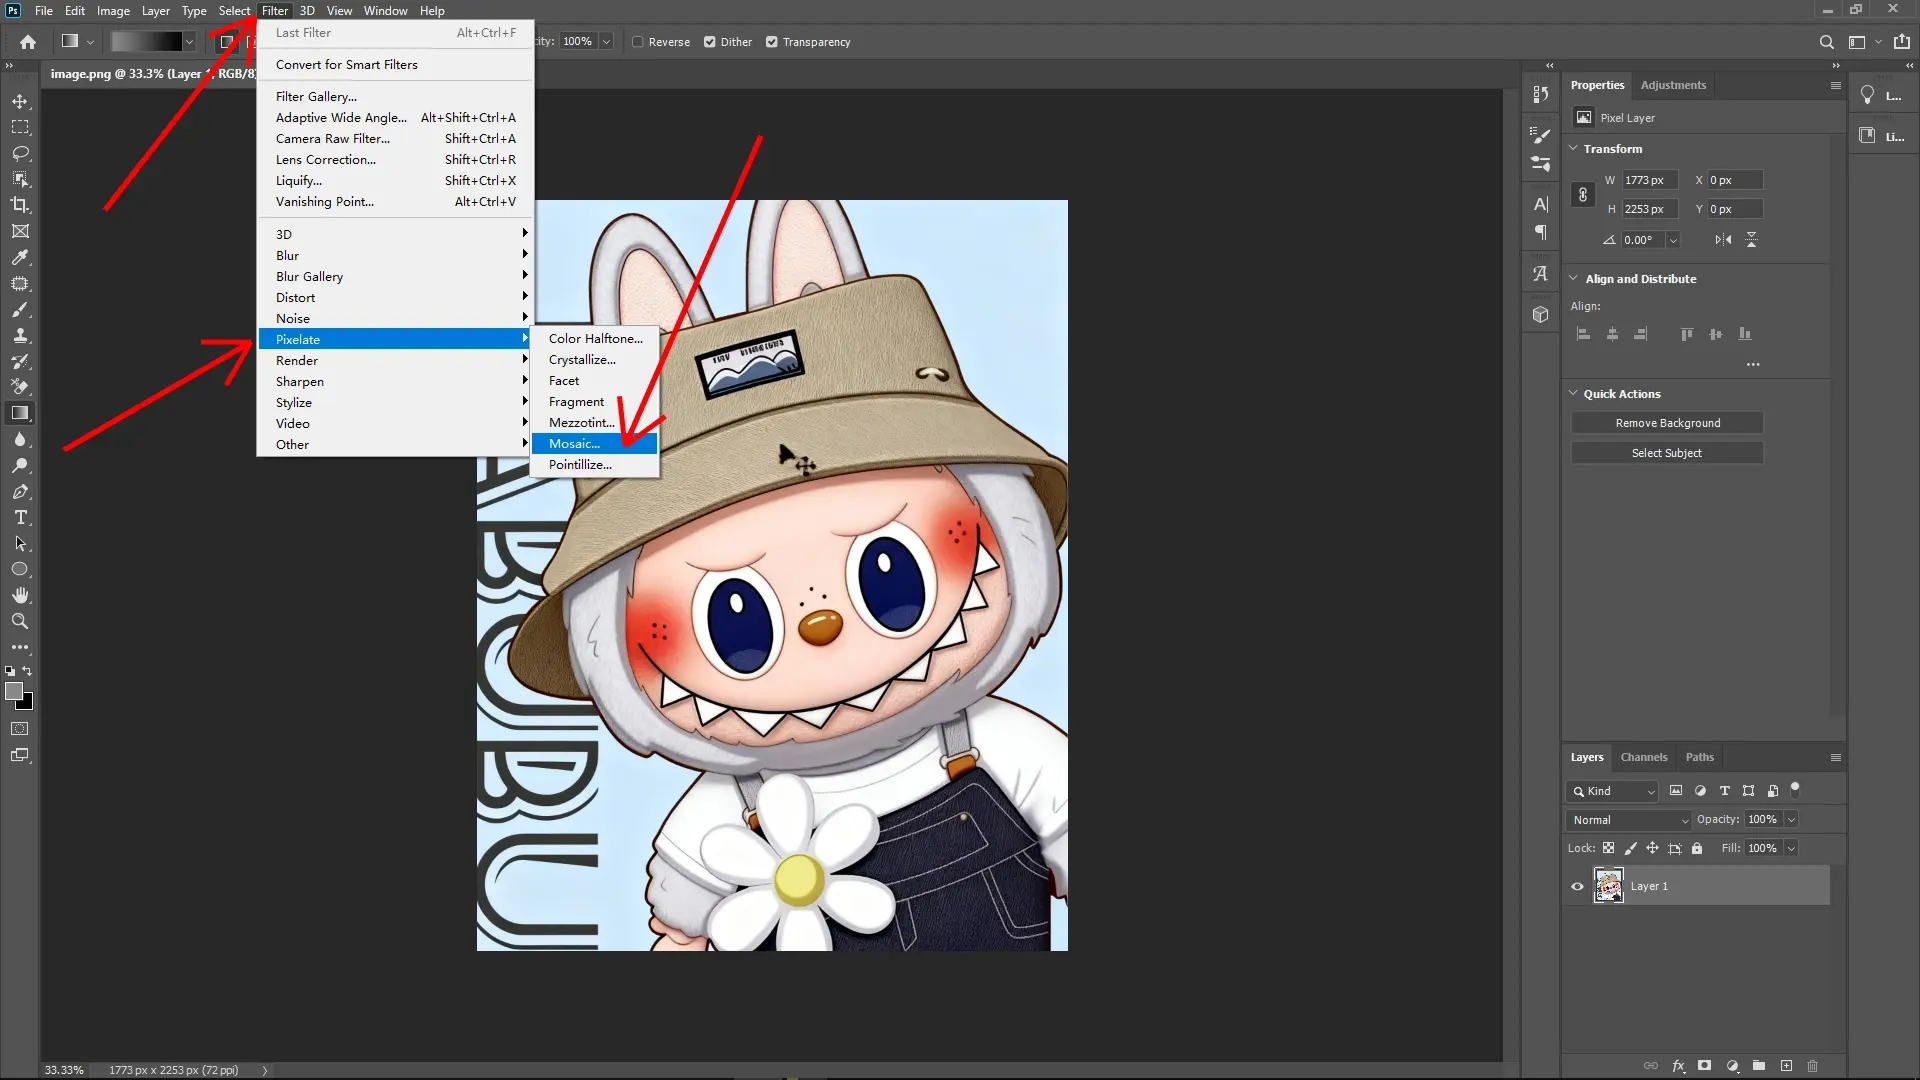
Step 1: Apply the Mosaic (Pixelation) Effect to the Image
Open an image in Photoshop that you want to convert into a Lego-style effect.
Go to Filter > Pixelate > Mosaic.
In the Mosaic dialog box, adjust the Cell Size to 40 pixels (or any size depending on your design preferences).
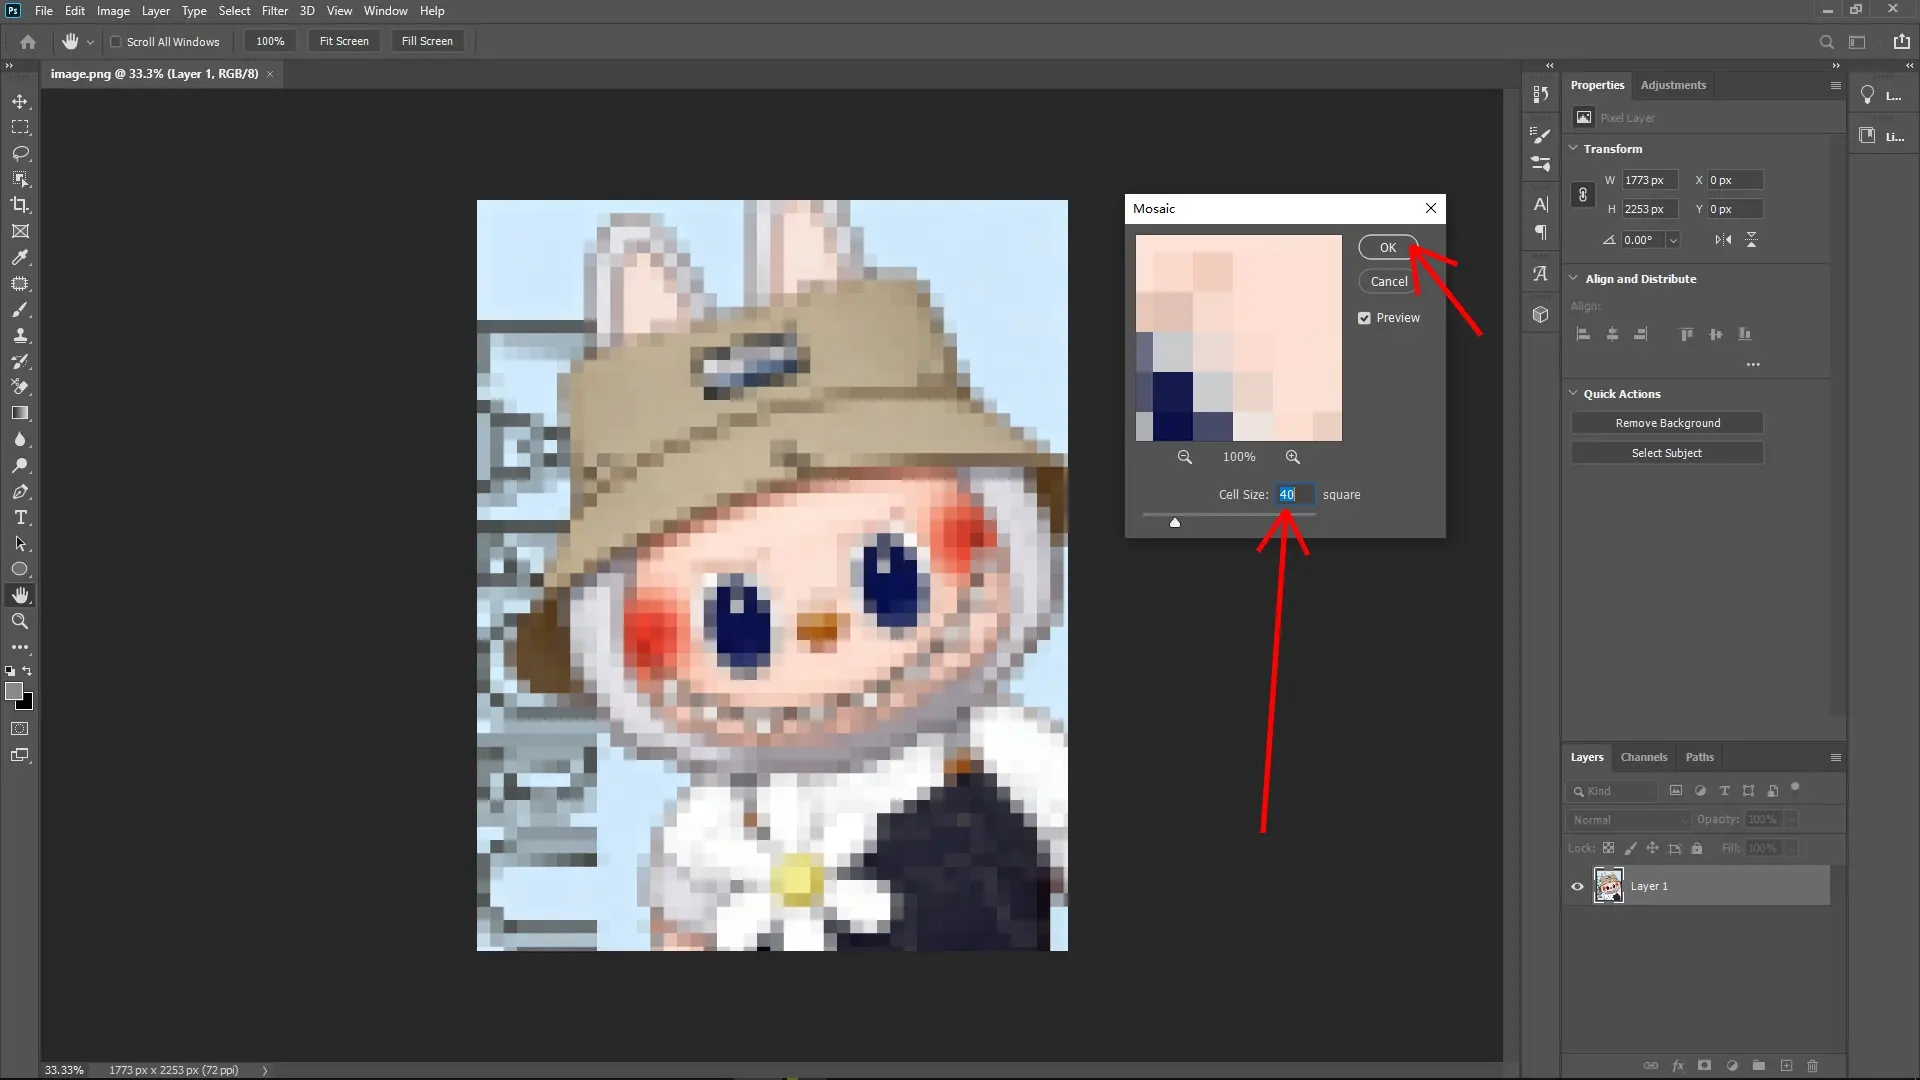
A larger value creates bigger, blocky pixels, whereas a smaller value creates finer details.
Click OK to apply the filter.
This step essentially converts your image into a pixelated, grid-style look.
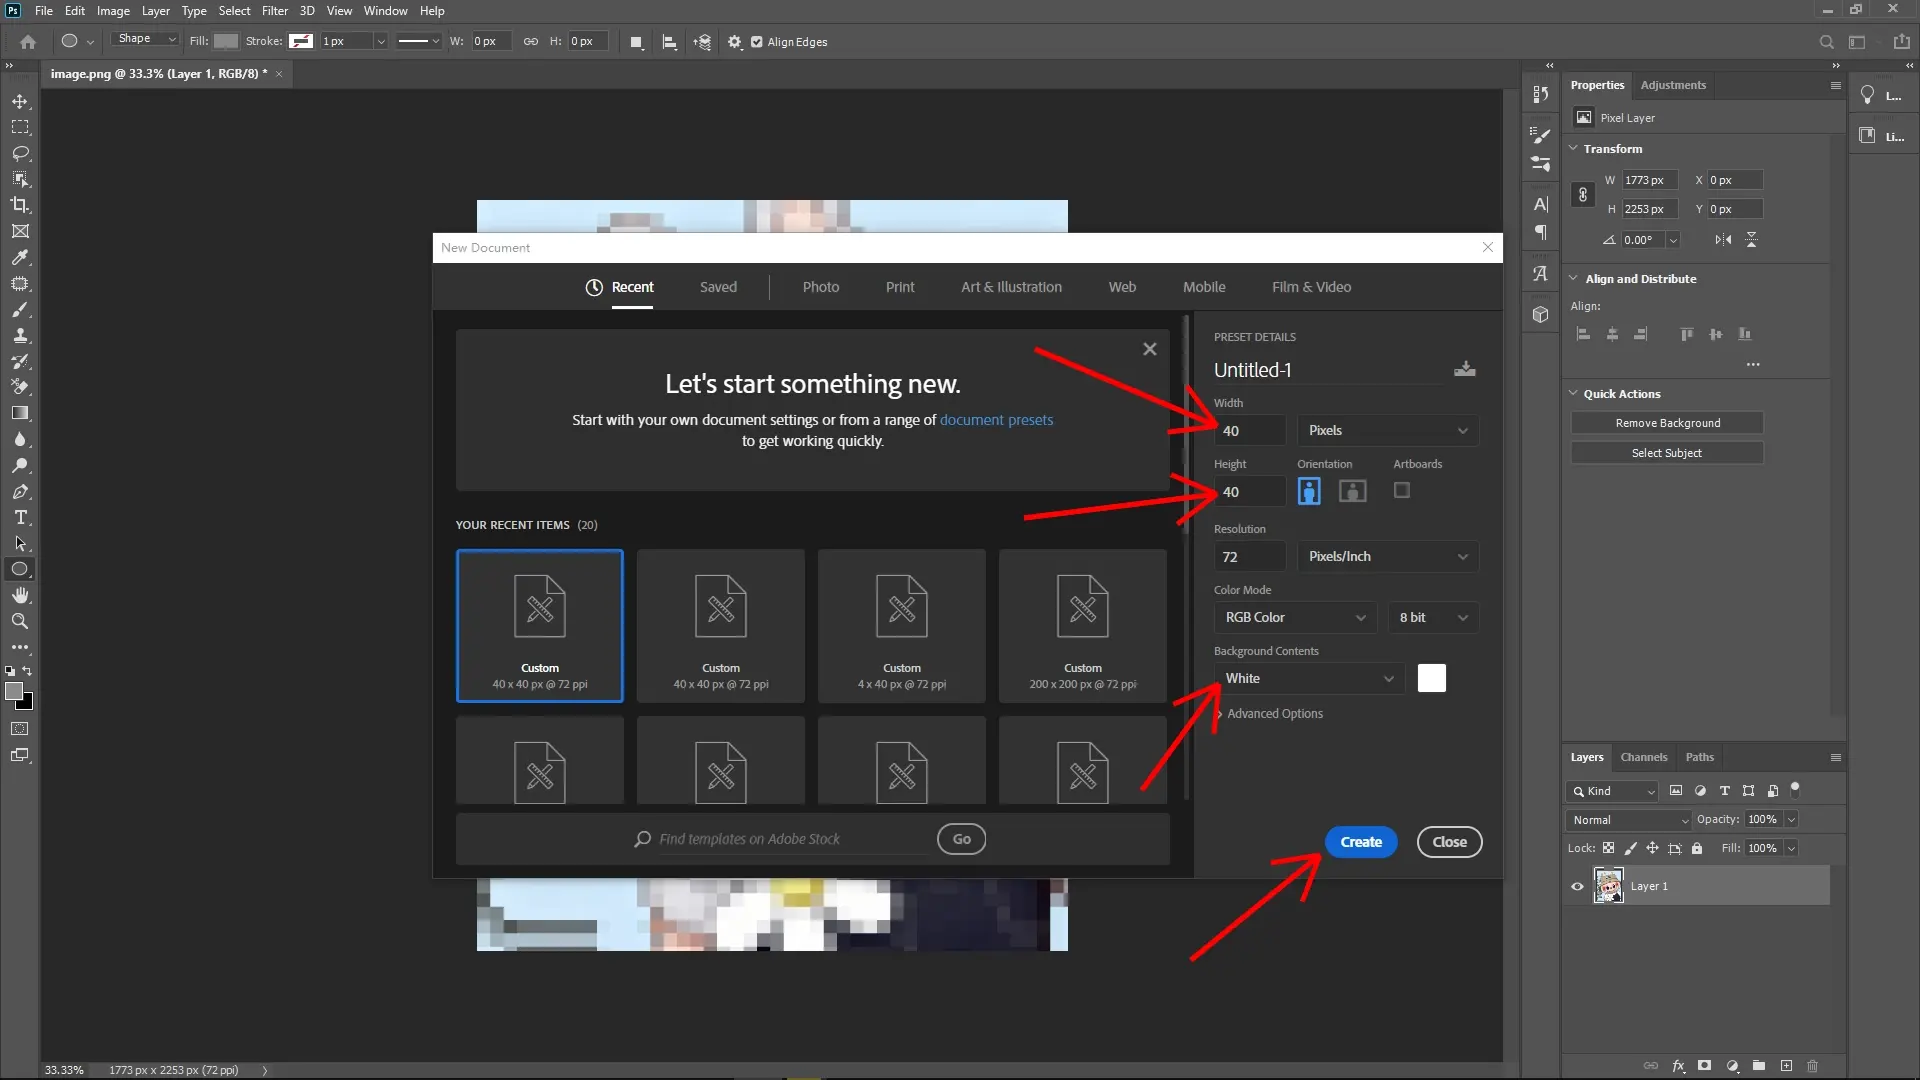
Step 2: Create a 40x40 Pixel Canvas
Go to File > New and create a new canvas with the following settings:
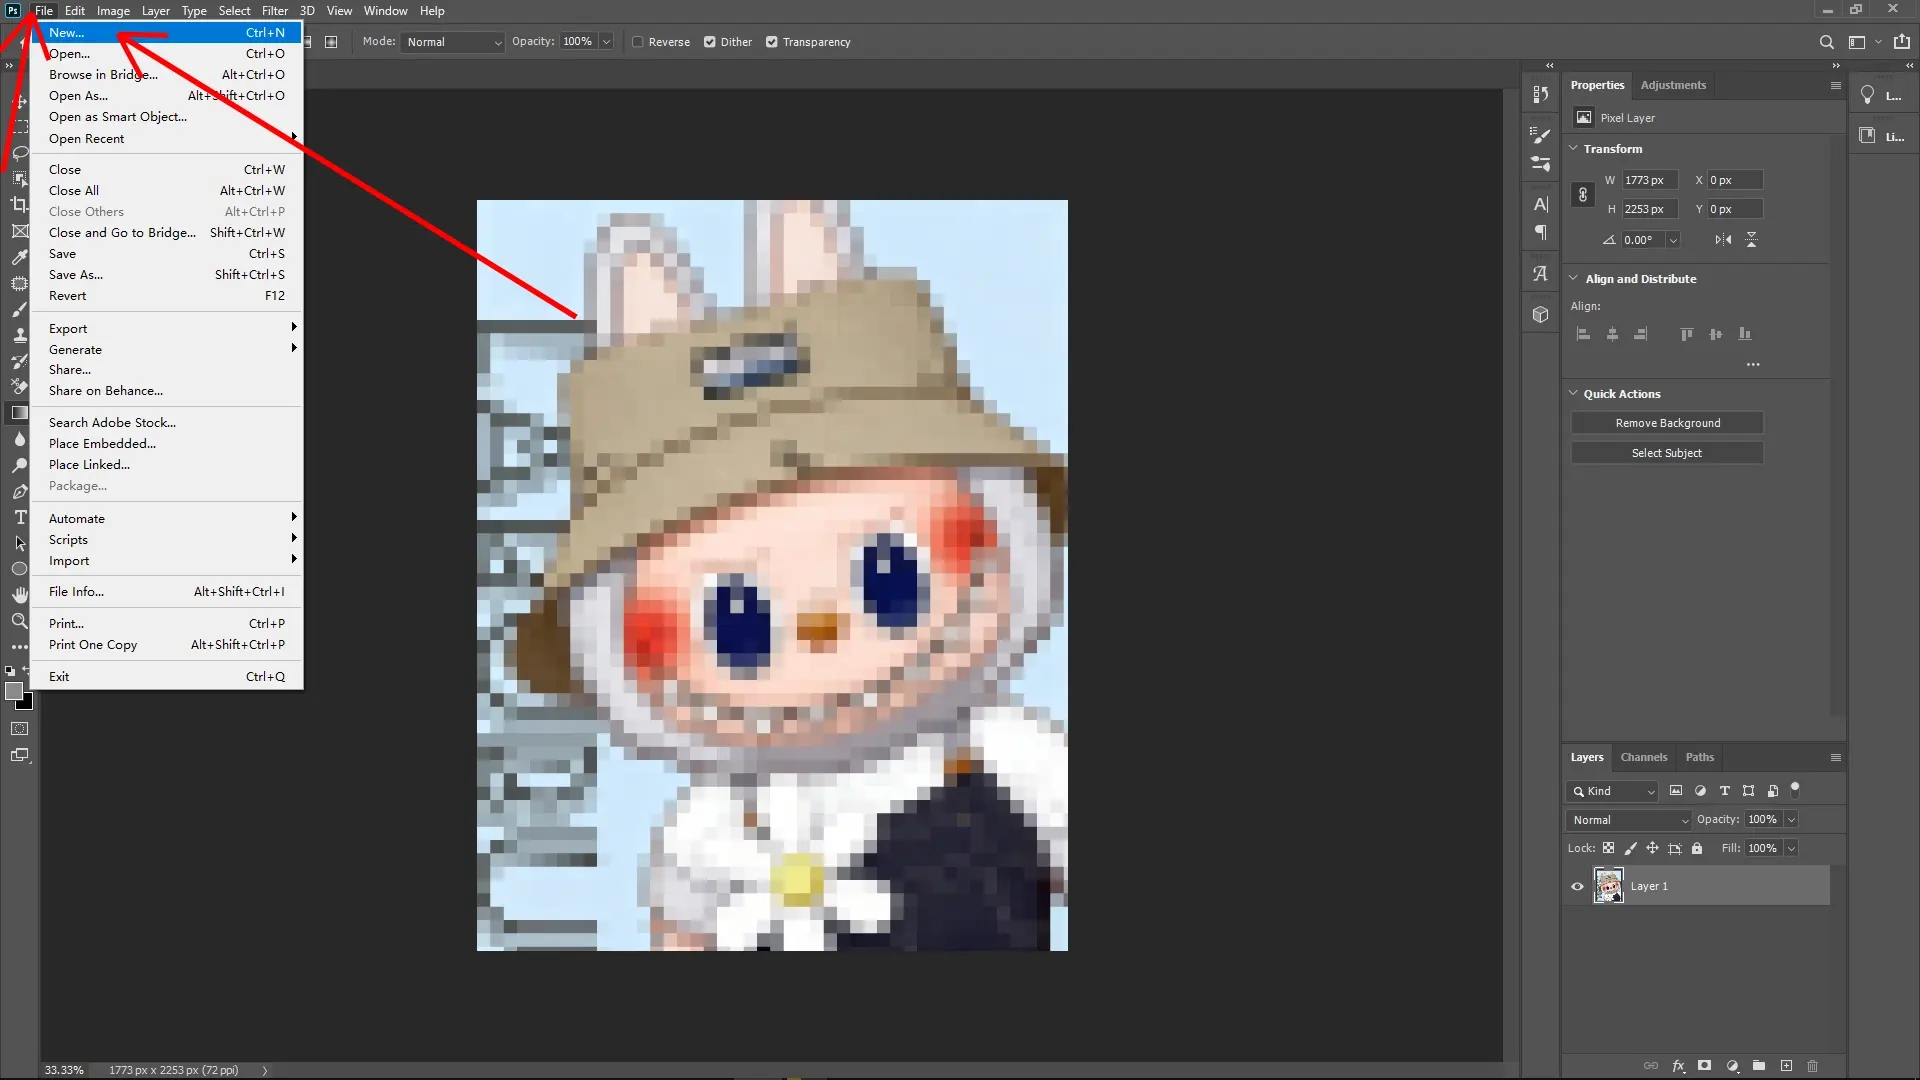
- Width: 40 pixels, Height: 40 pixels.
- Resolution: 72 pixels/inch (standard for web or on-screen design).
- Click Create (or OK).
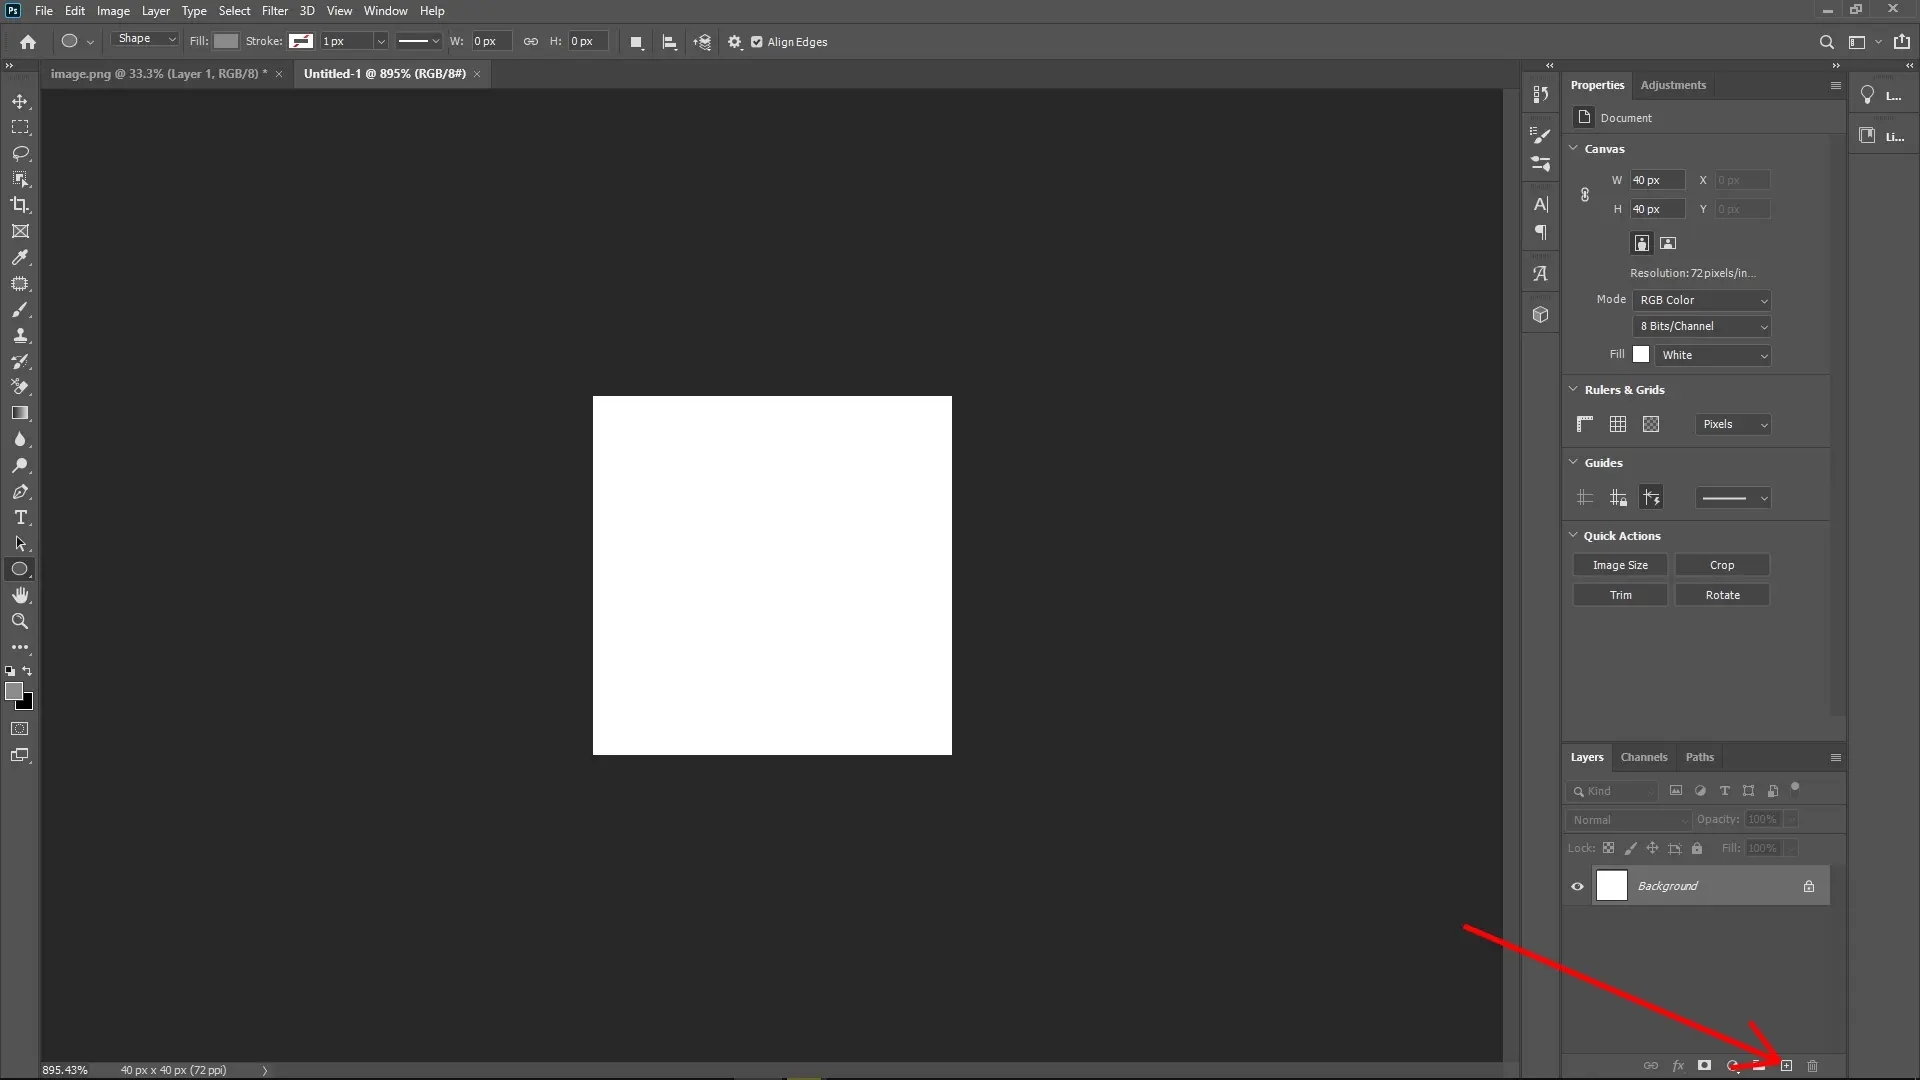
This small canvas will be used to design the Lego "studs" for your pattern.
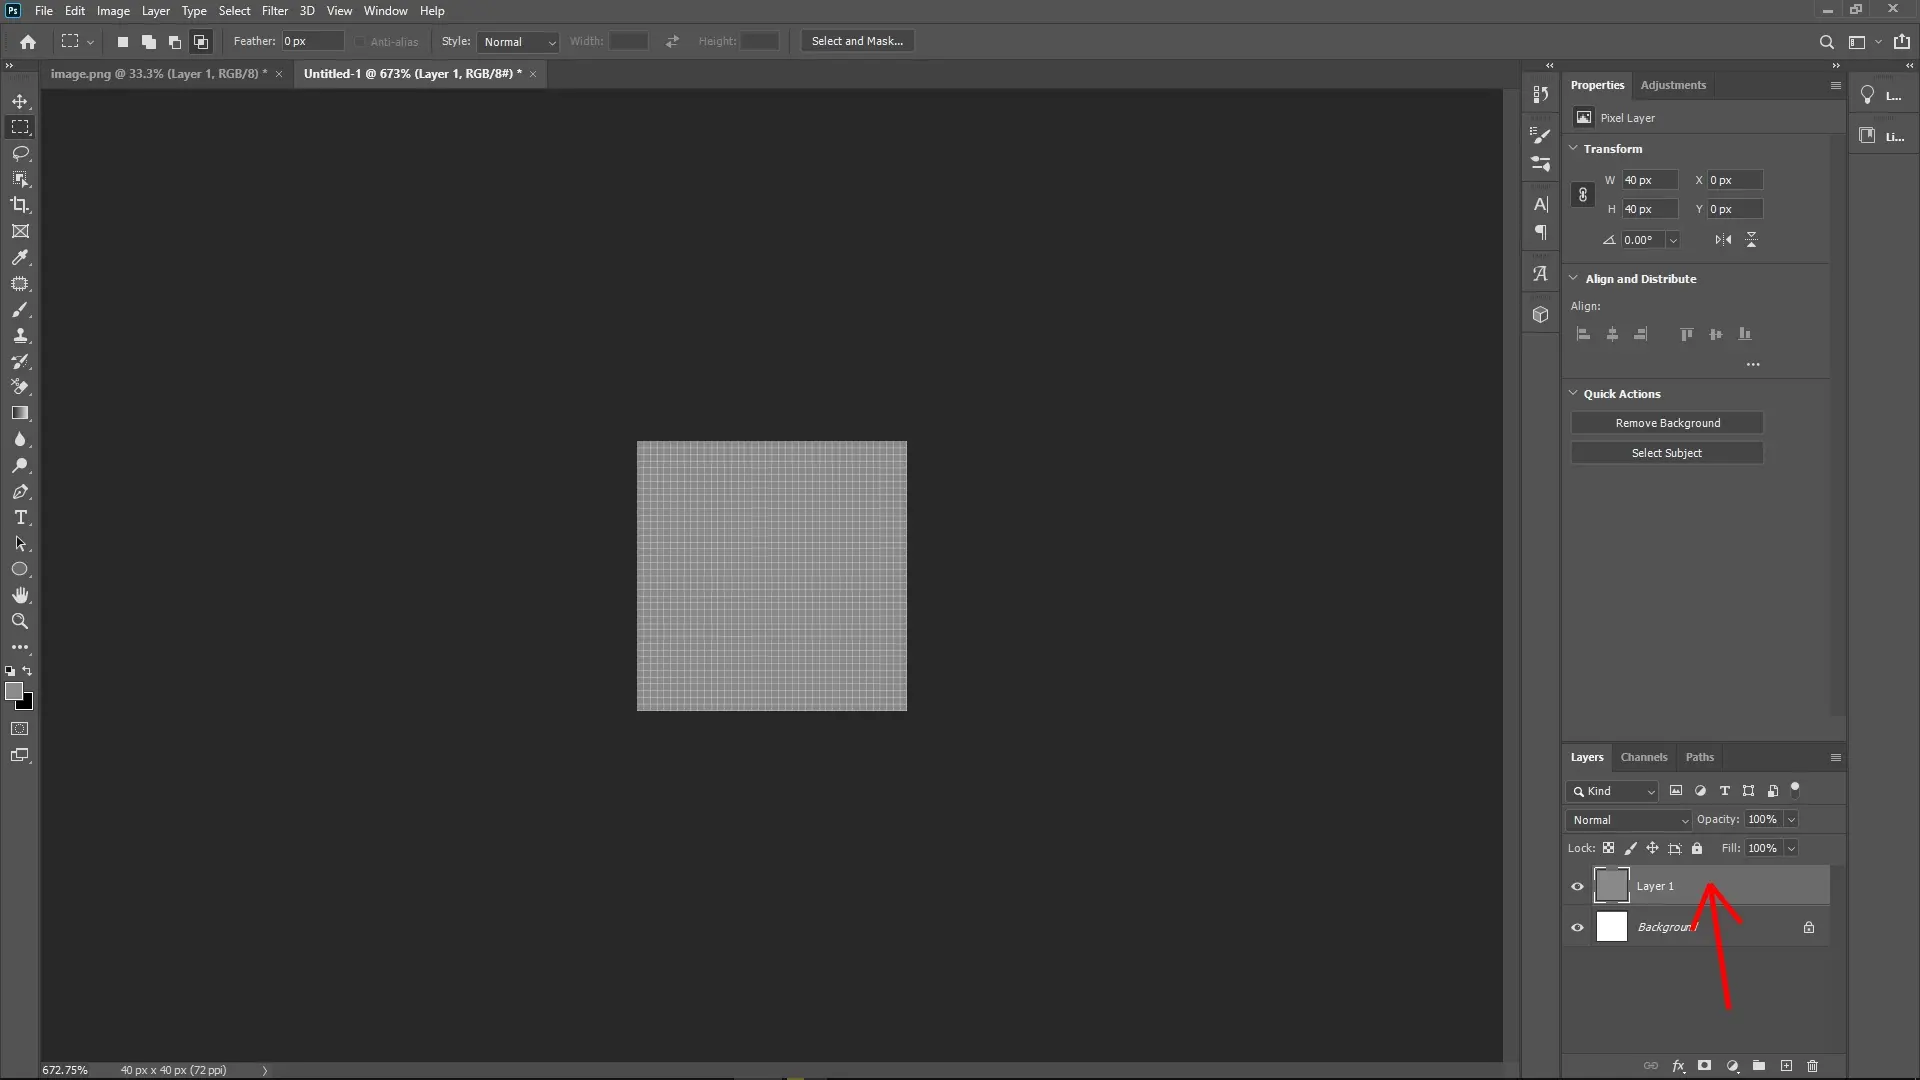
Step 3: Fill the Background with Gray
In the new 40x40 document, create a new layer.
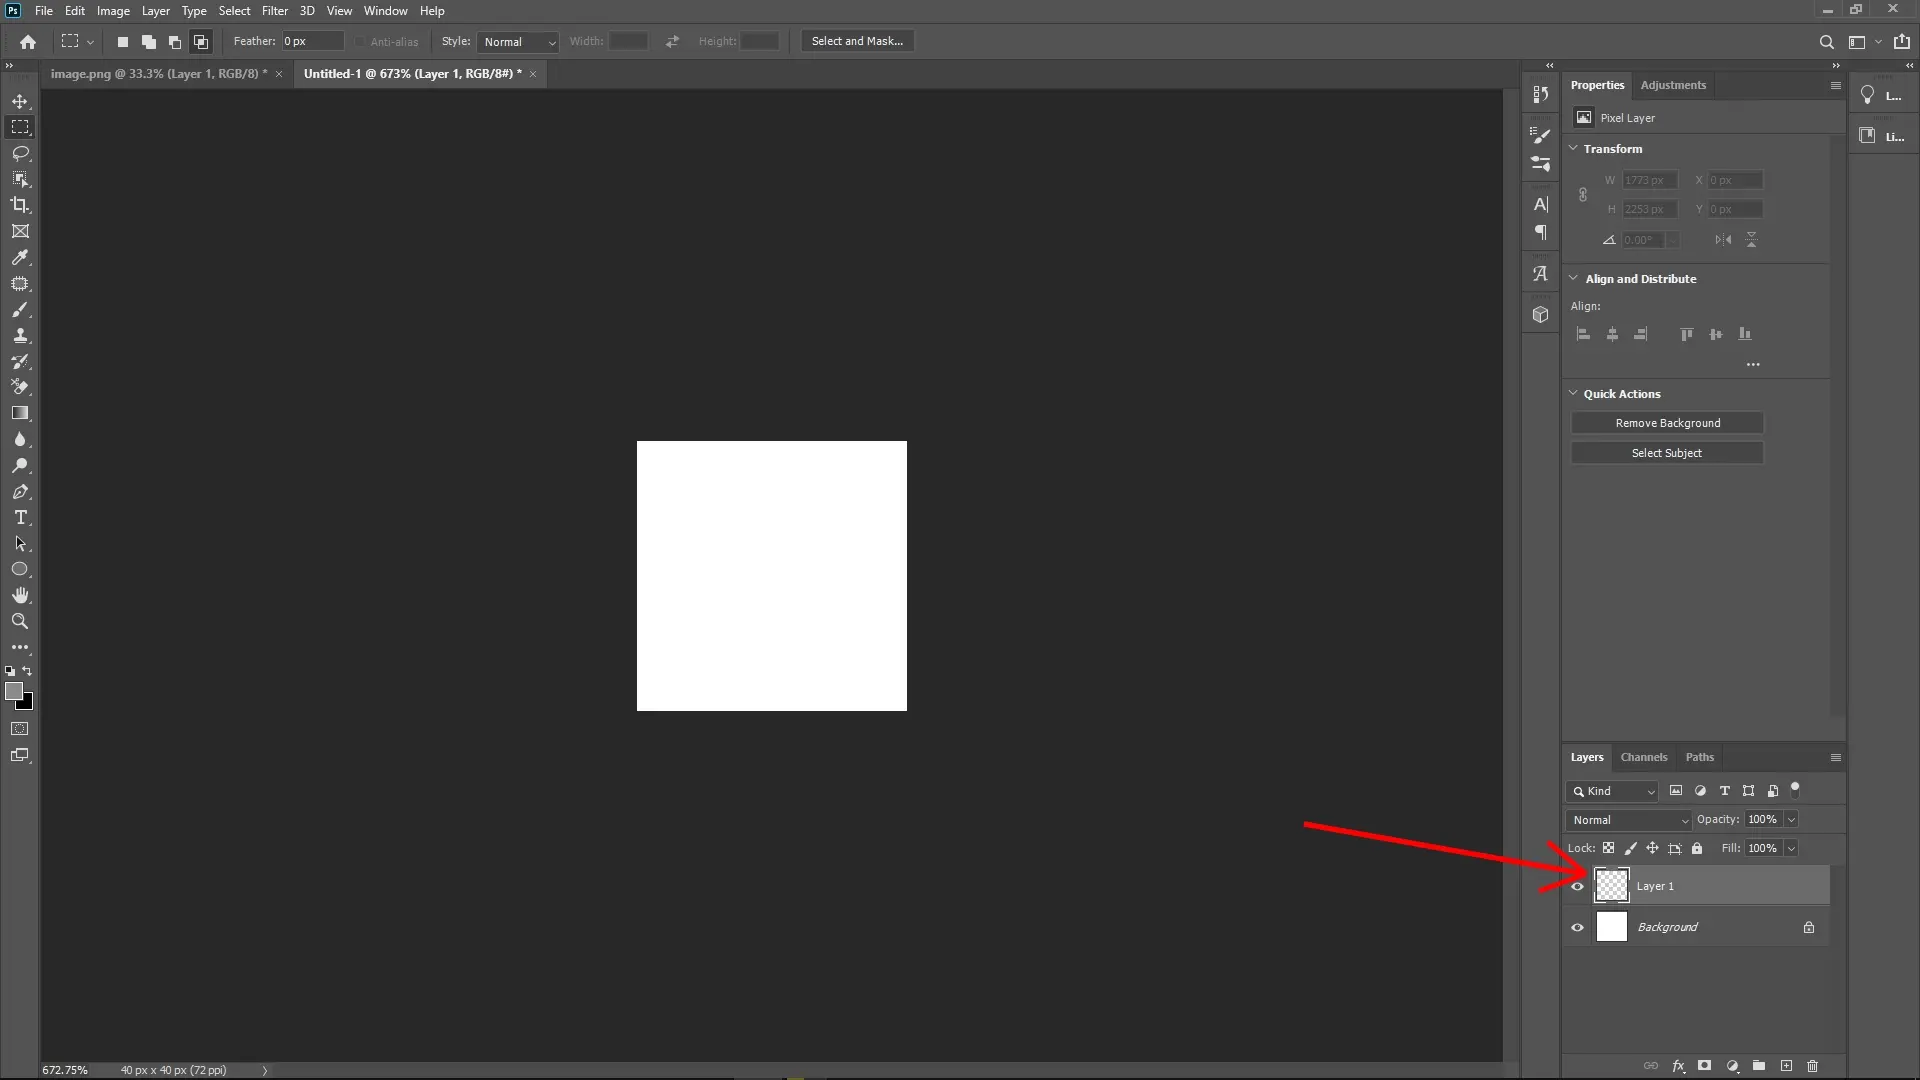
Set the foreground color to a mid-gray color (e.g., #808080) and press Alt + Delete on the canvas to fill the layer.
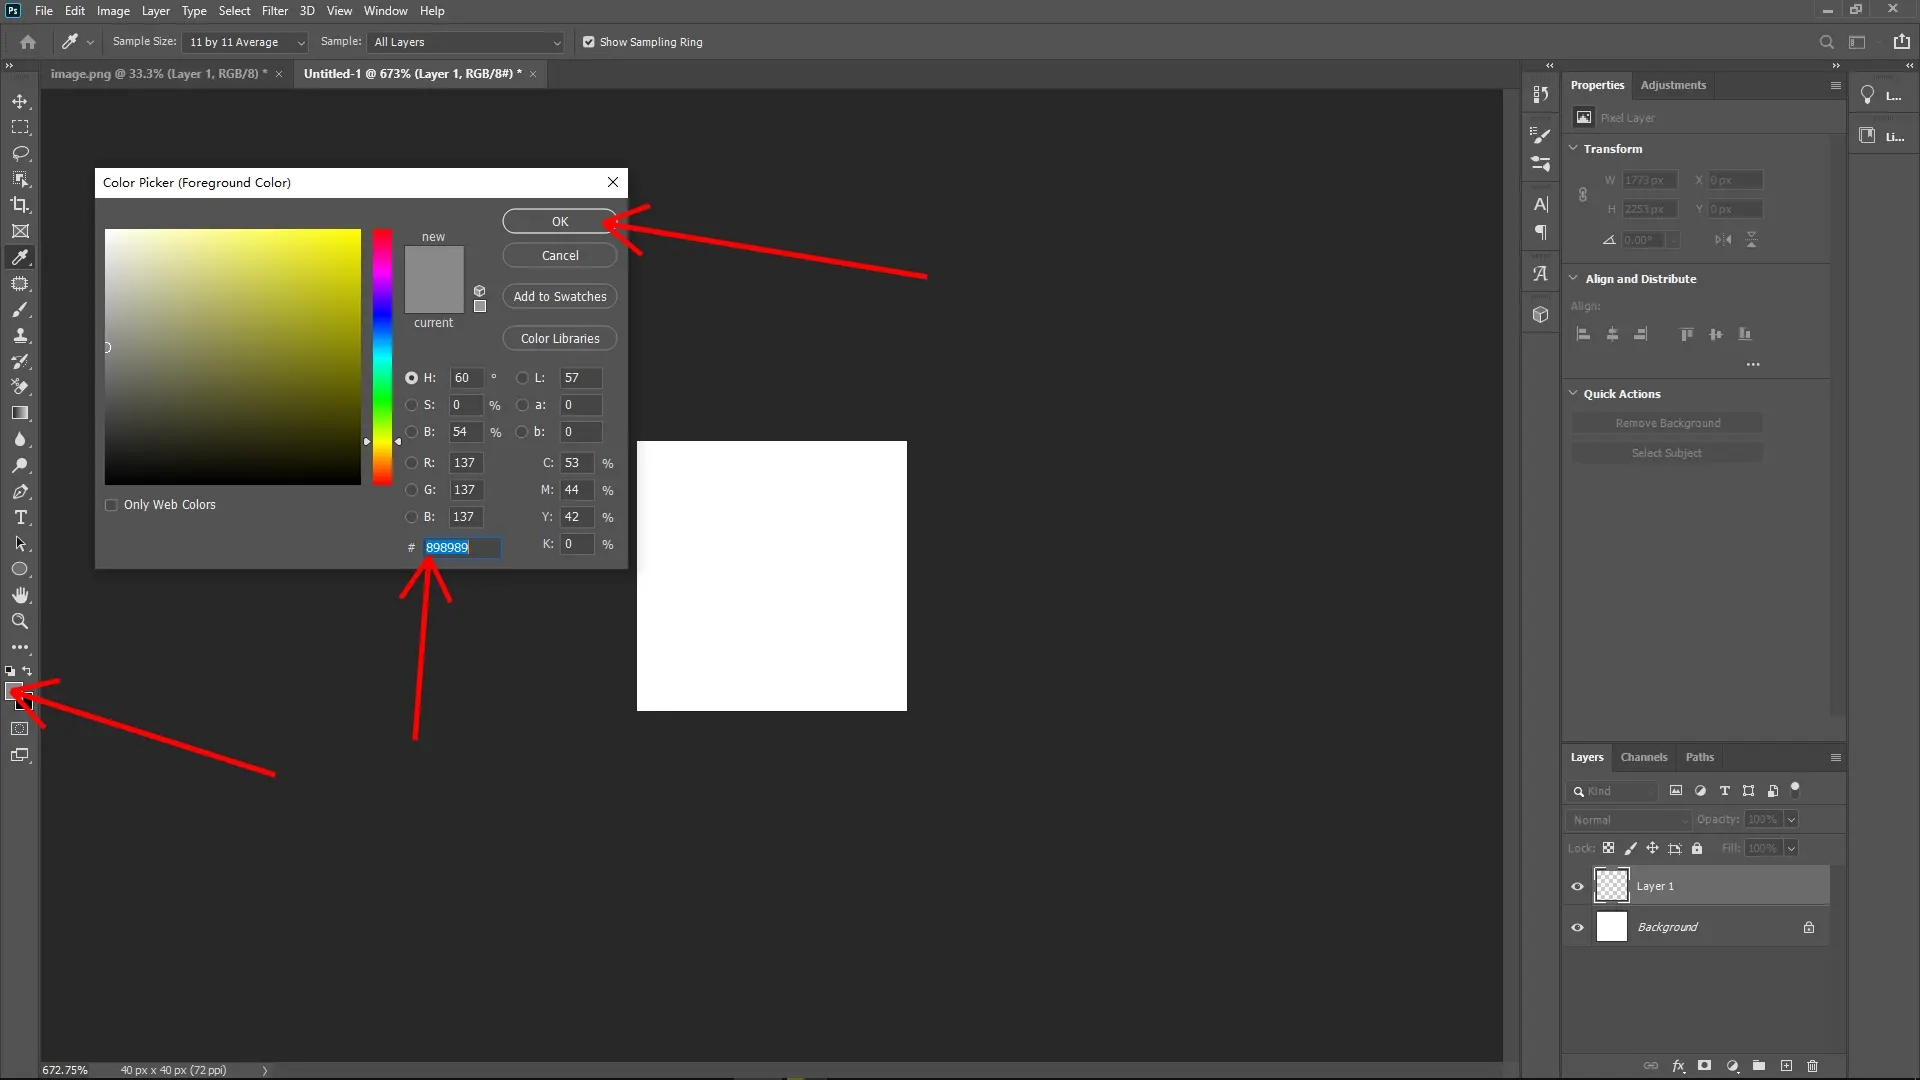
If you don’t see the gray color fill, ensure you are working on the correct new layer.
Step 4: Add Bevel and Emboss to the Gray Layer
Double-click the gray-filled layer in the Layers Panel to bring up the Layer Style dialog box.
Check and select Bevel & Emboss from the style options.
Adjust the following settings:
- Style: Inner Bevel
- Technique: Chisel Hard
- Depth: 180%
- Direction: Up
- Size: 1px
- Soften: 0px
- Angle: 120°, with an Altitude of 30°.
- Highlight Mode: Screen, Opacity: 70%.
- Shadow Mode: Multiply, Opacity: 30%.
- Click OK to apply the effect.
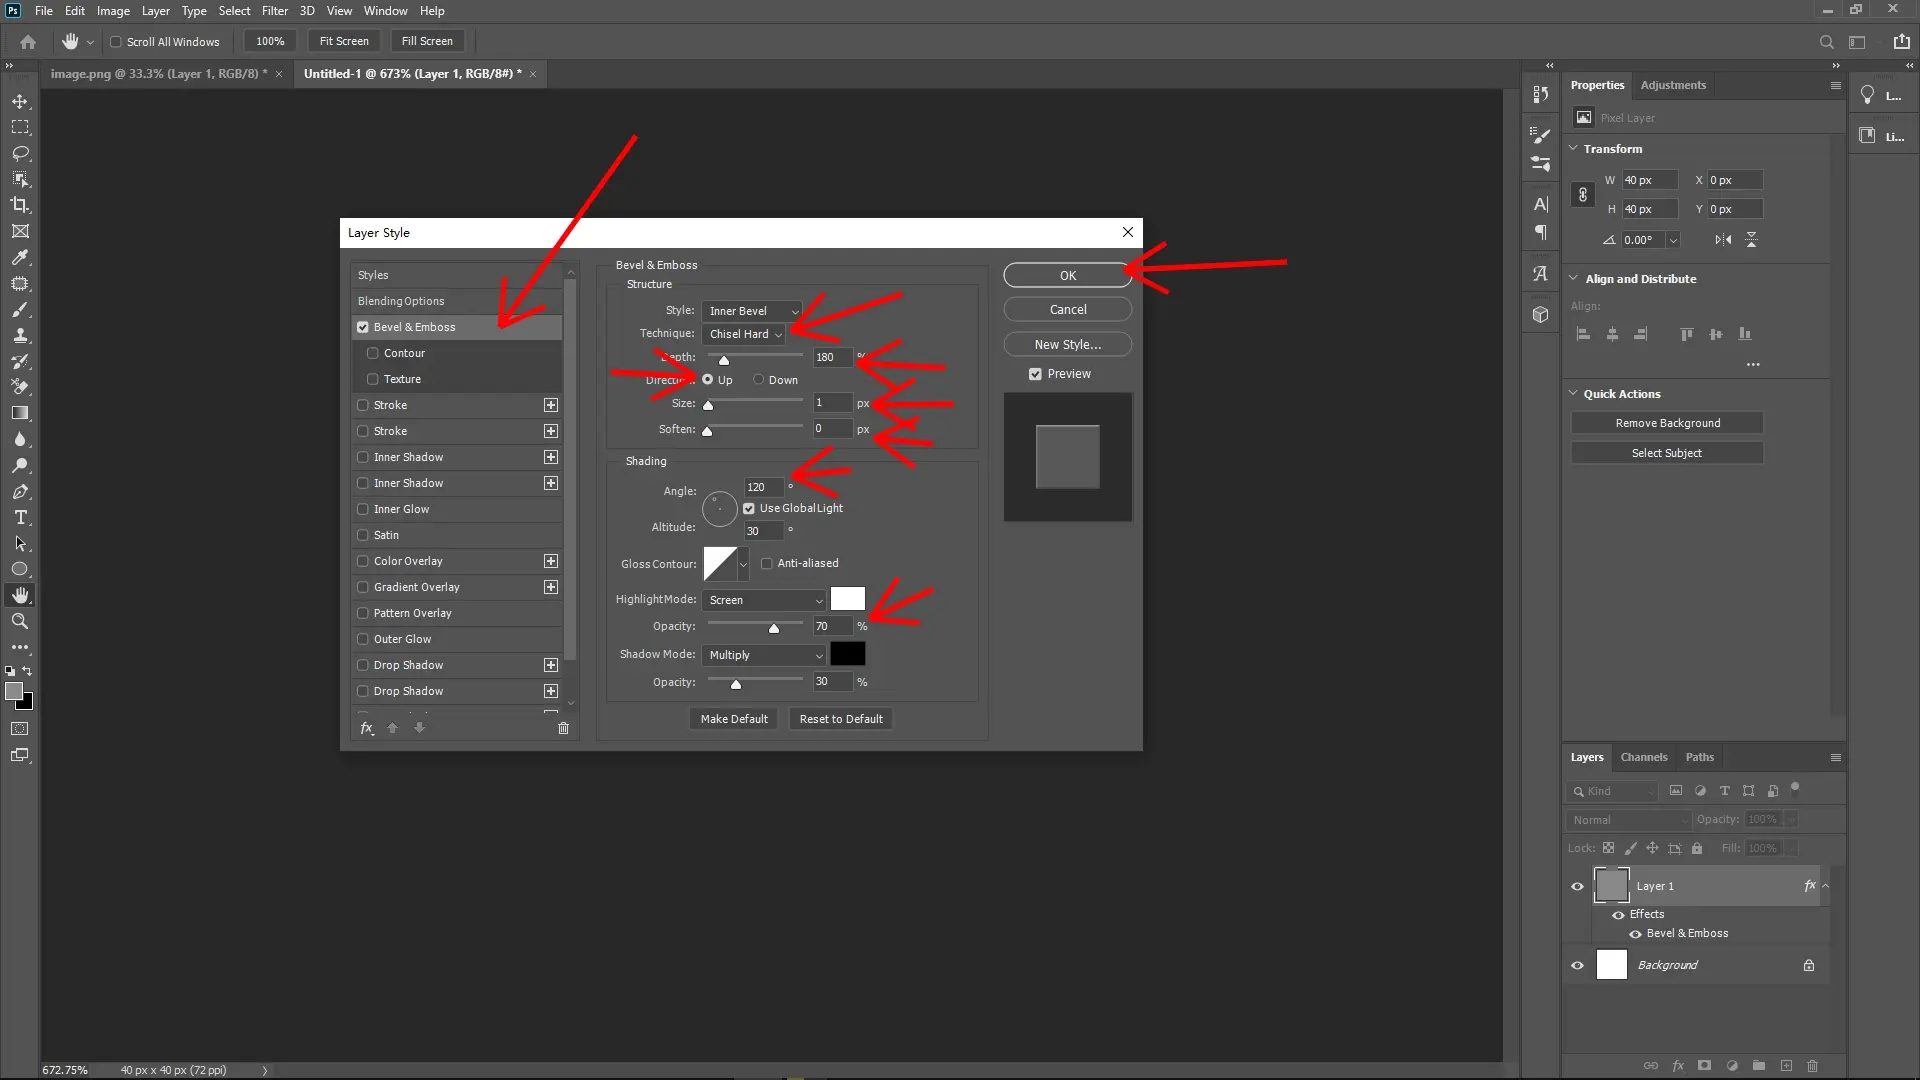
This creates the 3D effect resembling the Lego visual style.
Step 5: Add a Circle (Simulating Lego Stud)
Select the Ellipse Tool (U) from the toolbar, or press Shift+U to cycle through shape tools.
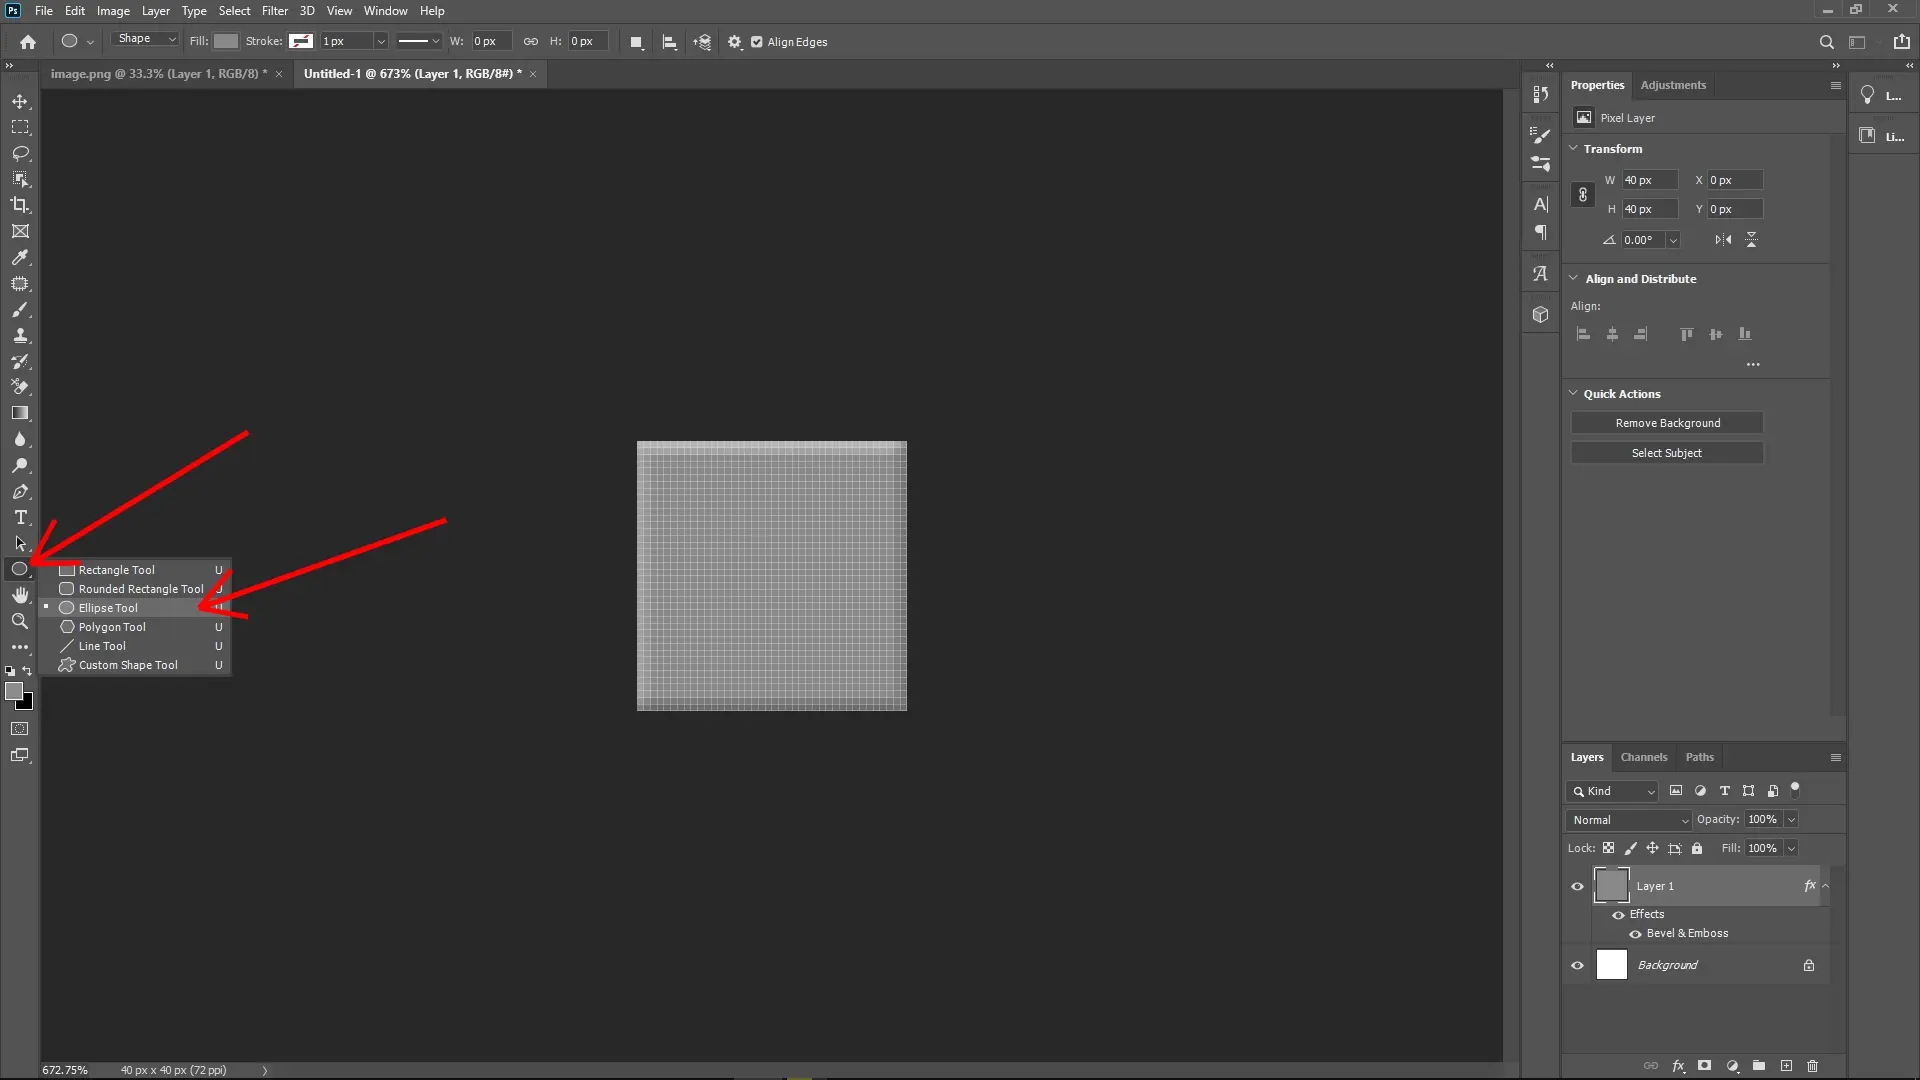
Hold down Shift while dragging to draw a perfect circle in the center of the canvas (Shift ensures the proportions are constrained).
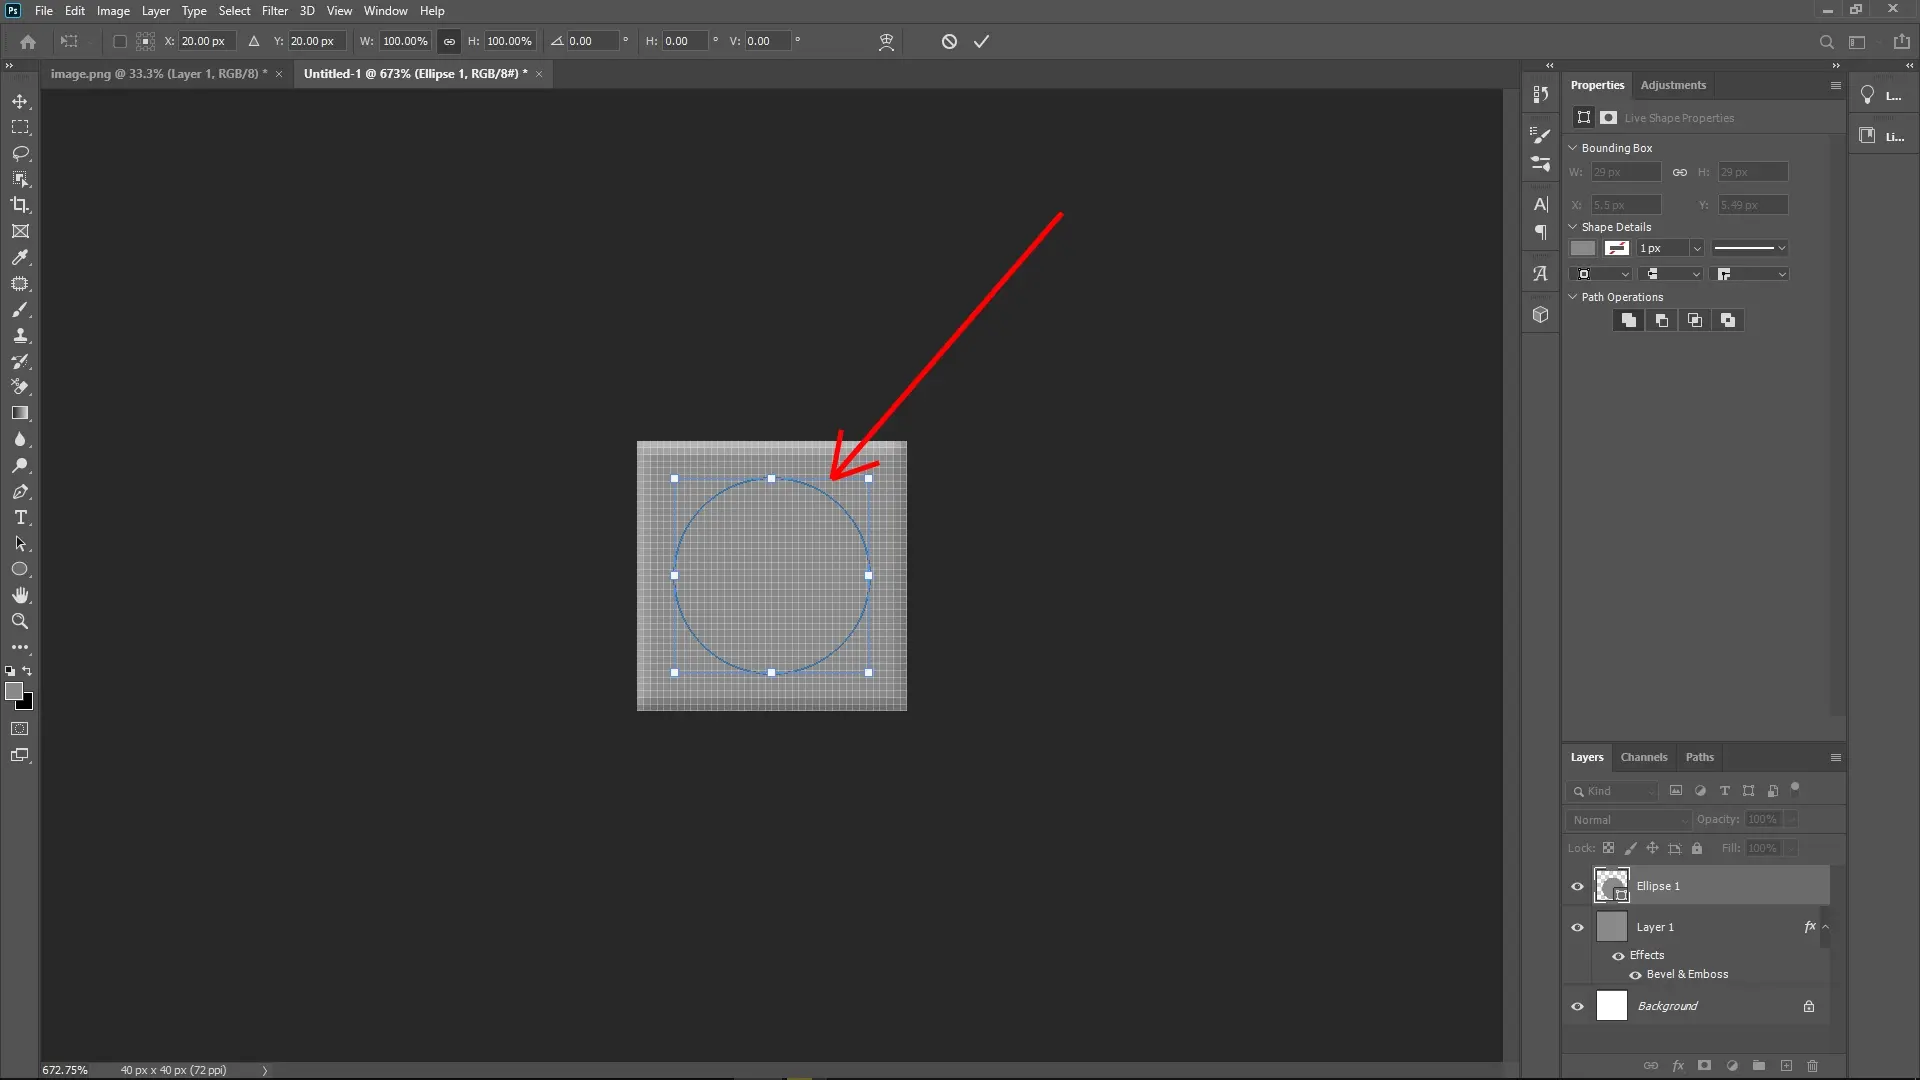
Position it near the center of the canvas to create the Lego stud effect accurately.
Copy the Bevel & Emboss effect from the gray layer onto this circle:
Press and hold Alt, then drag the Bevel & Emboss effect (from the gray-filled layer) onto the circle layer.
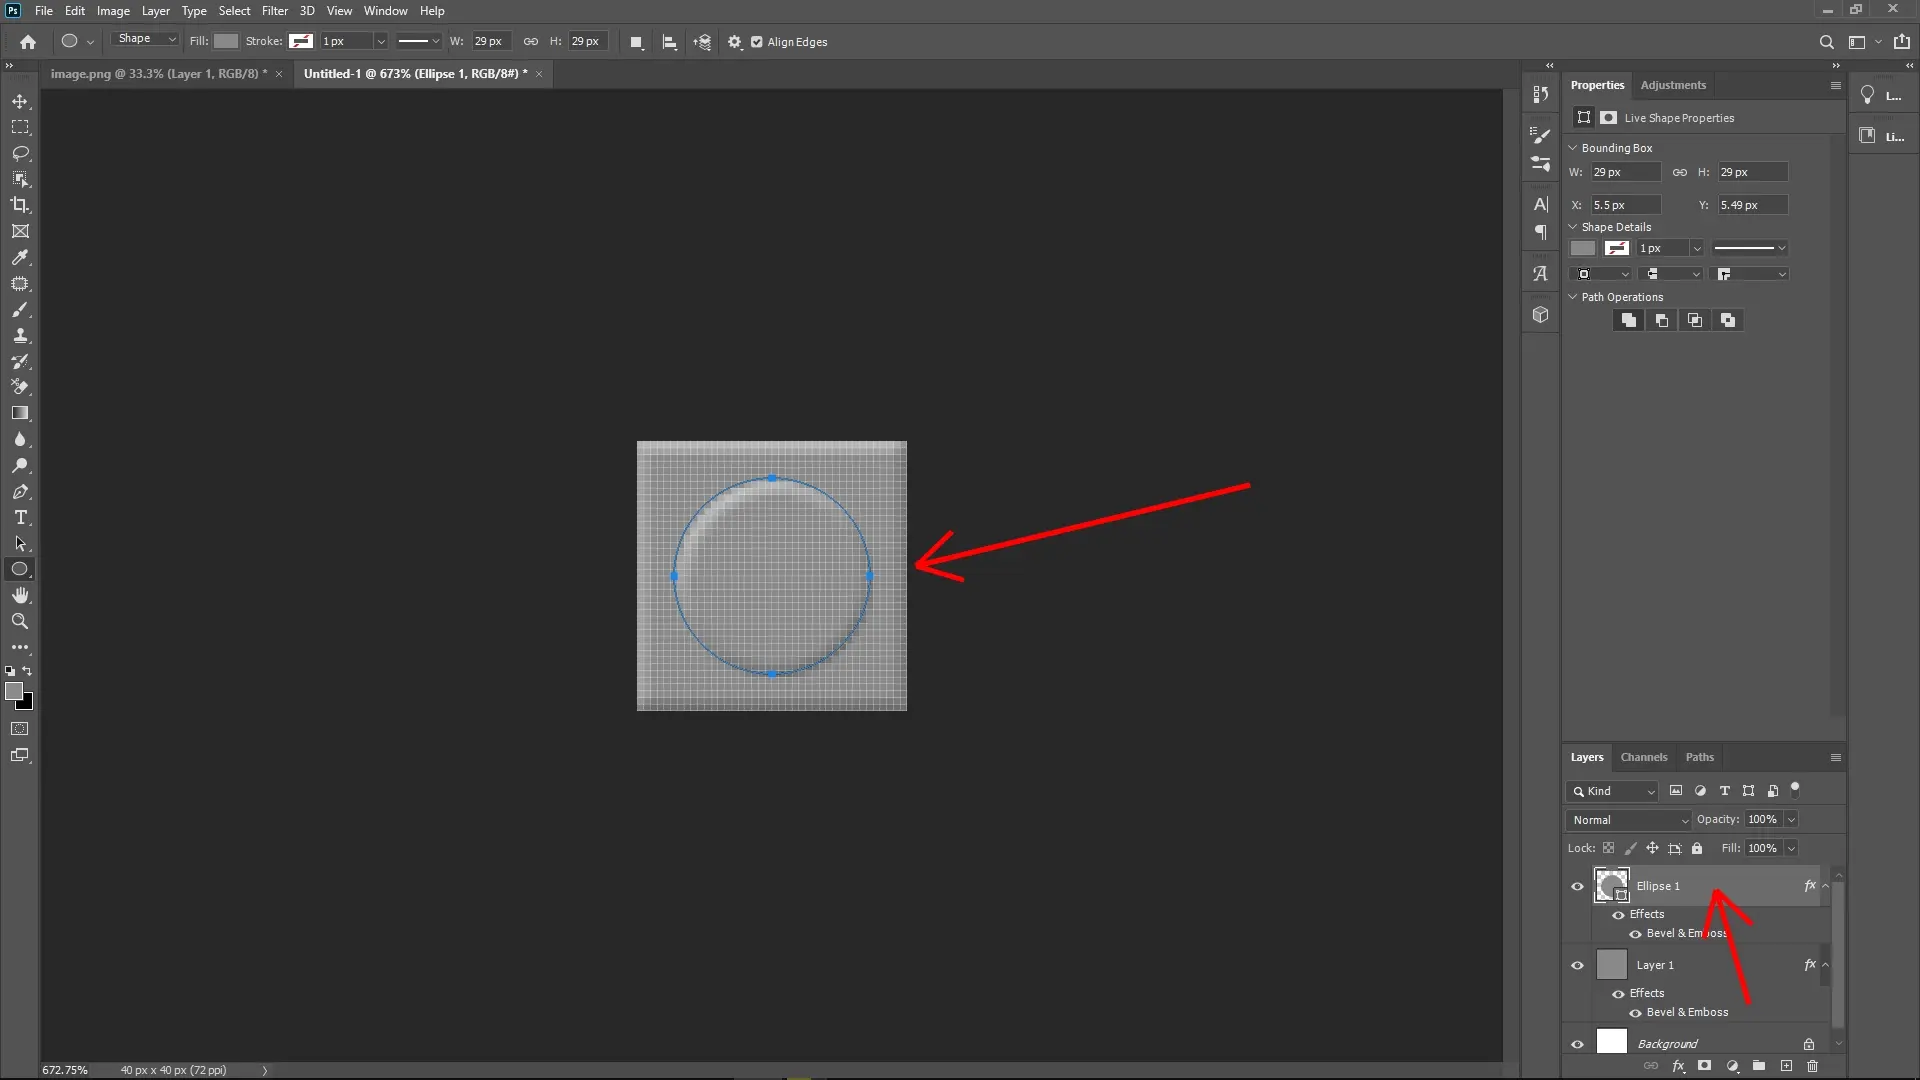
This copies the exact effect.
Step 6: Define the Pattern
Once your 40x40 design is ready (gray base with a circle resembling the Lego stud):
Go to Edit > Define Pattern.
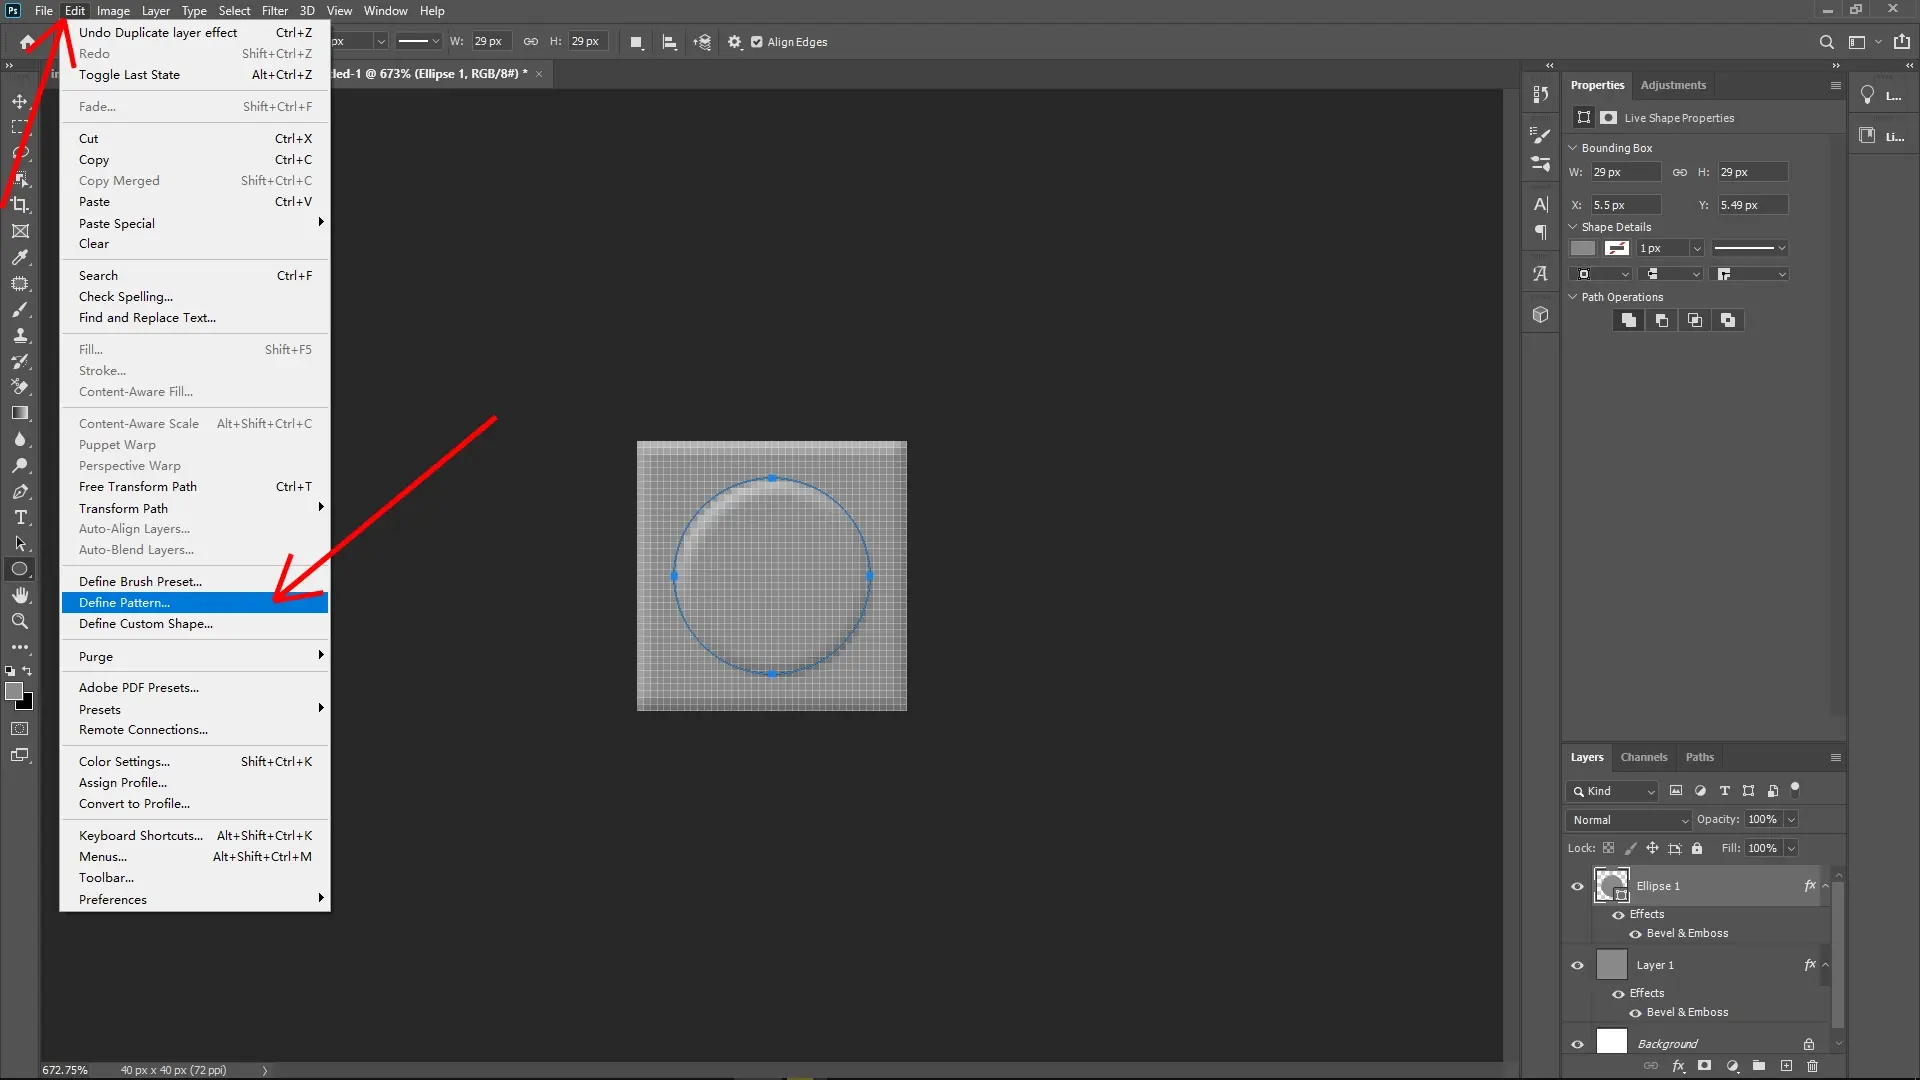
Name the pattern (e.g., Lego Stud Pattern) and click OK.
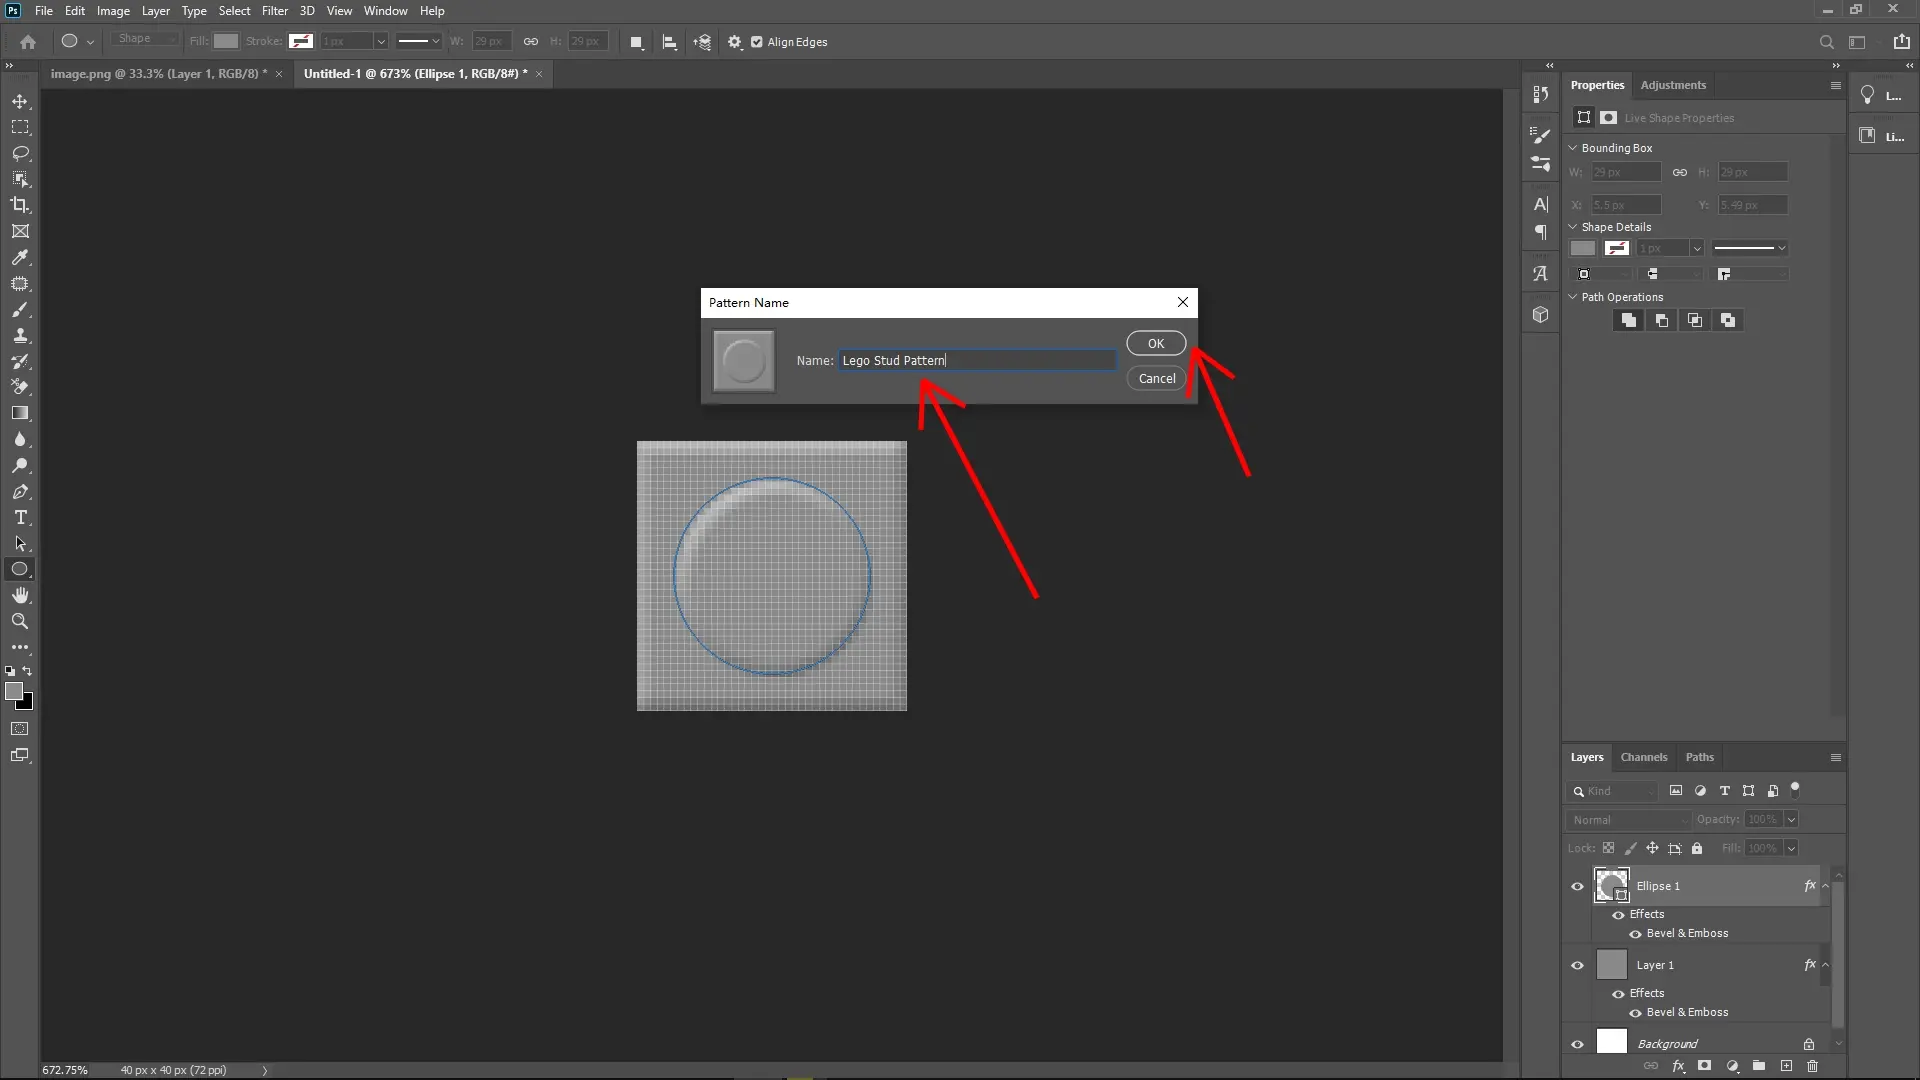
Your Lego-style pattern is now saved and reusable.
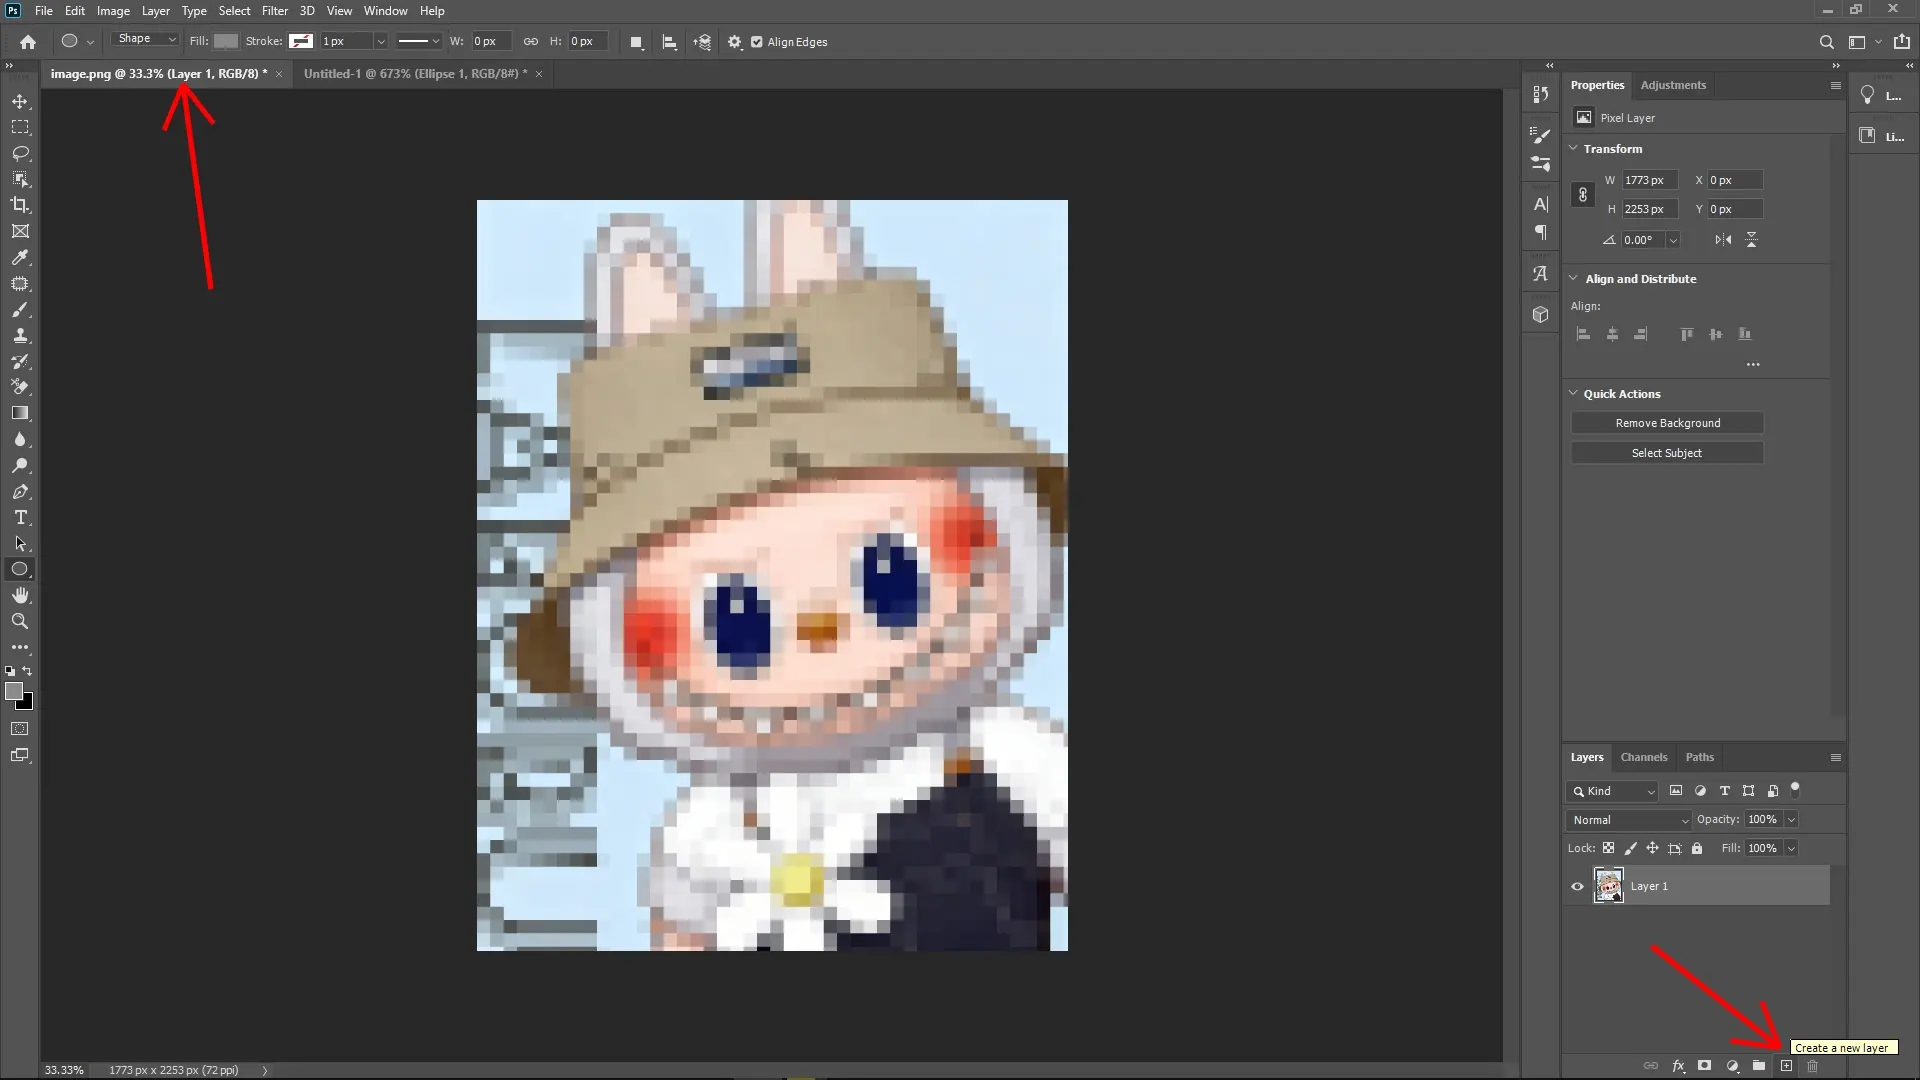
Step 7: Apply the Pattern to the Pixelated Image
Go back to the image that you pixelated in Step 1.
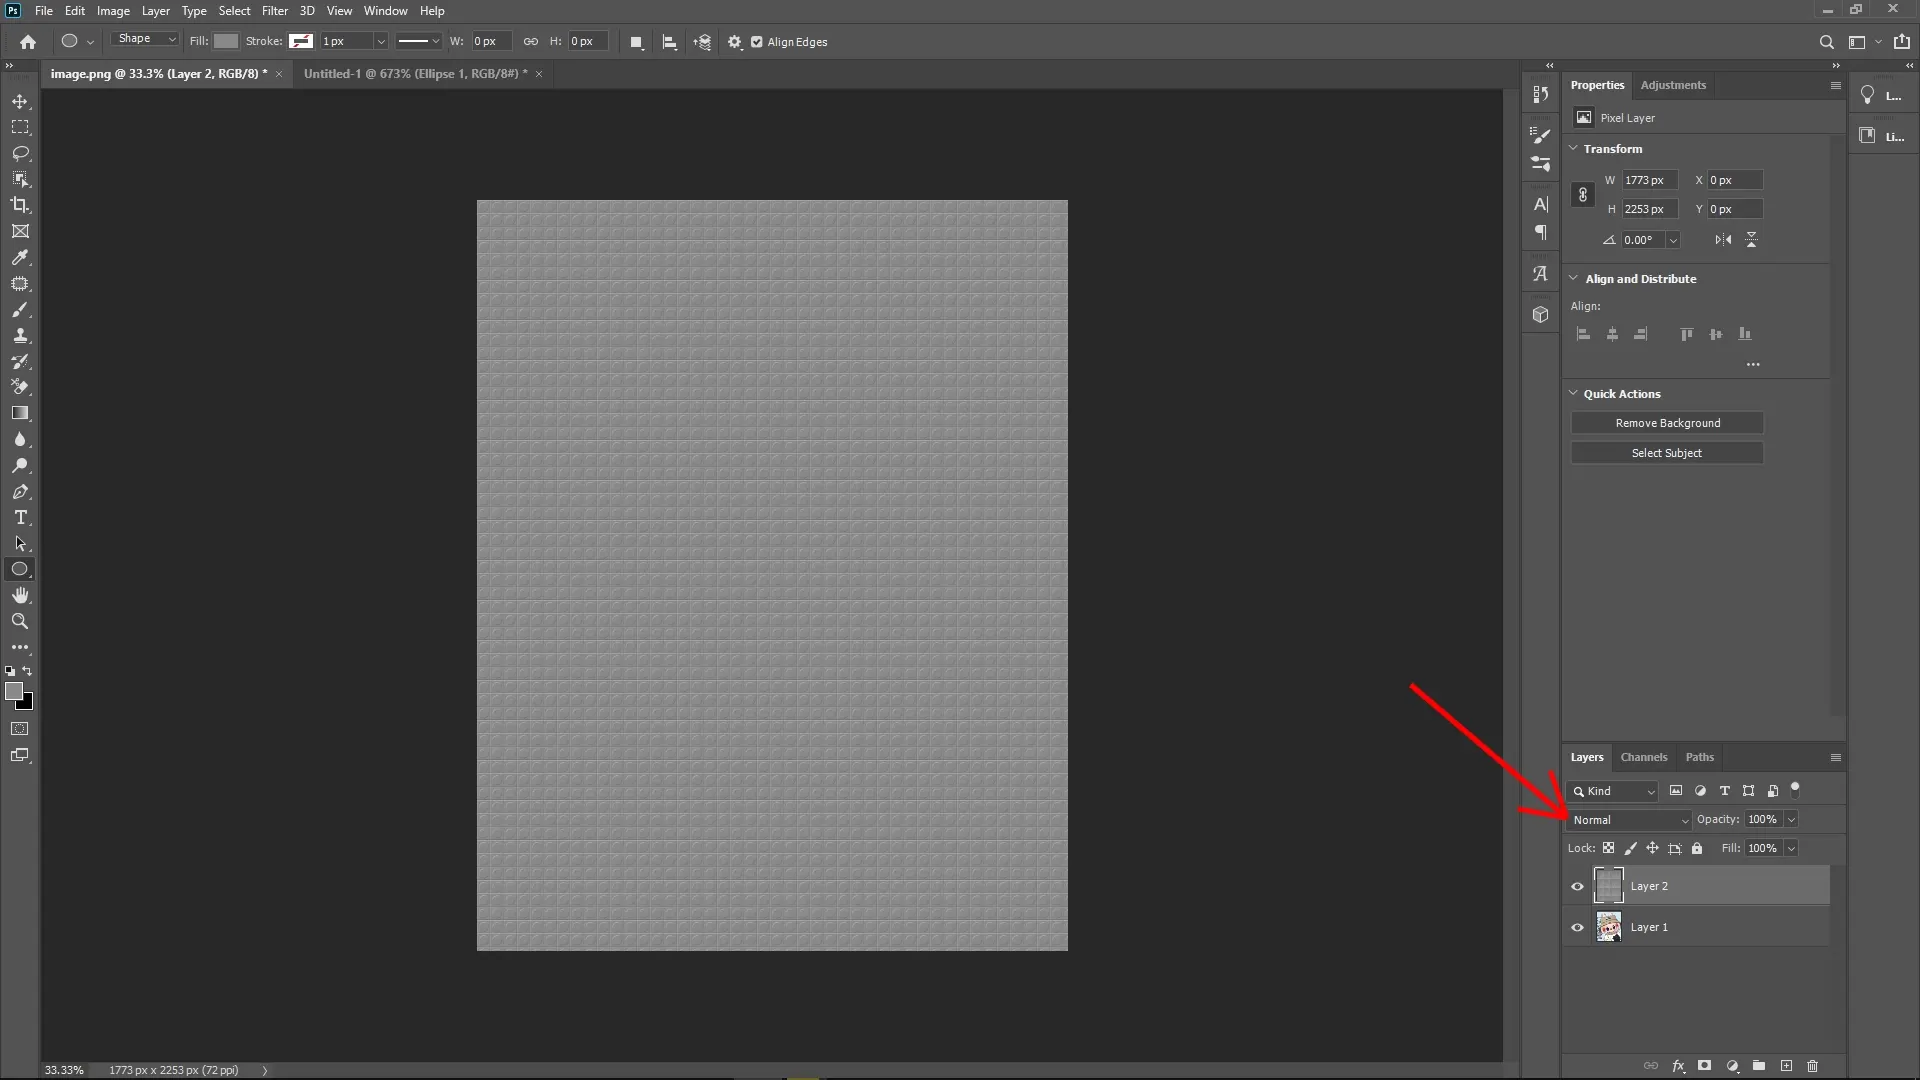
Create a new layer above the pixelated image layer.
Fill this new layer with your custom Lego pattern:
Go to Edit > Fill, or press Shift+F5.
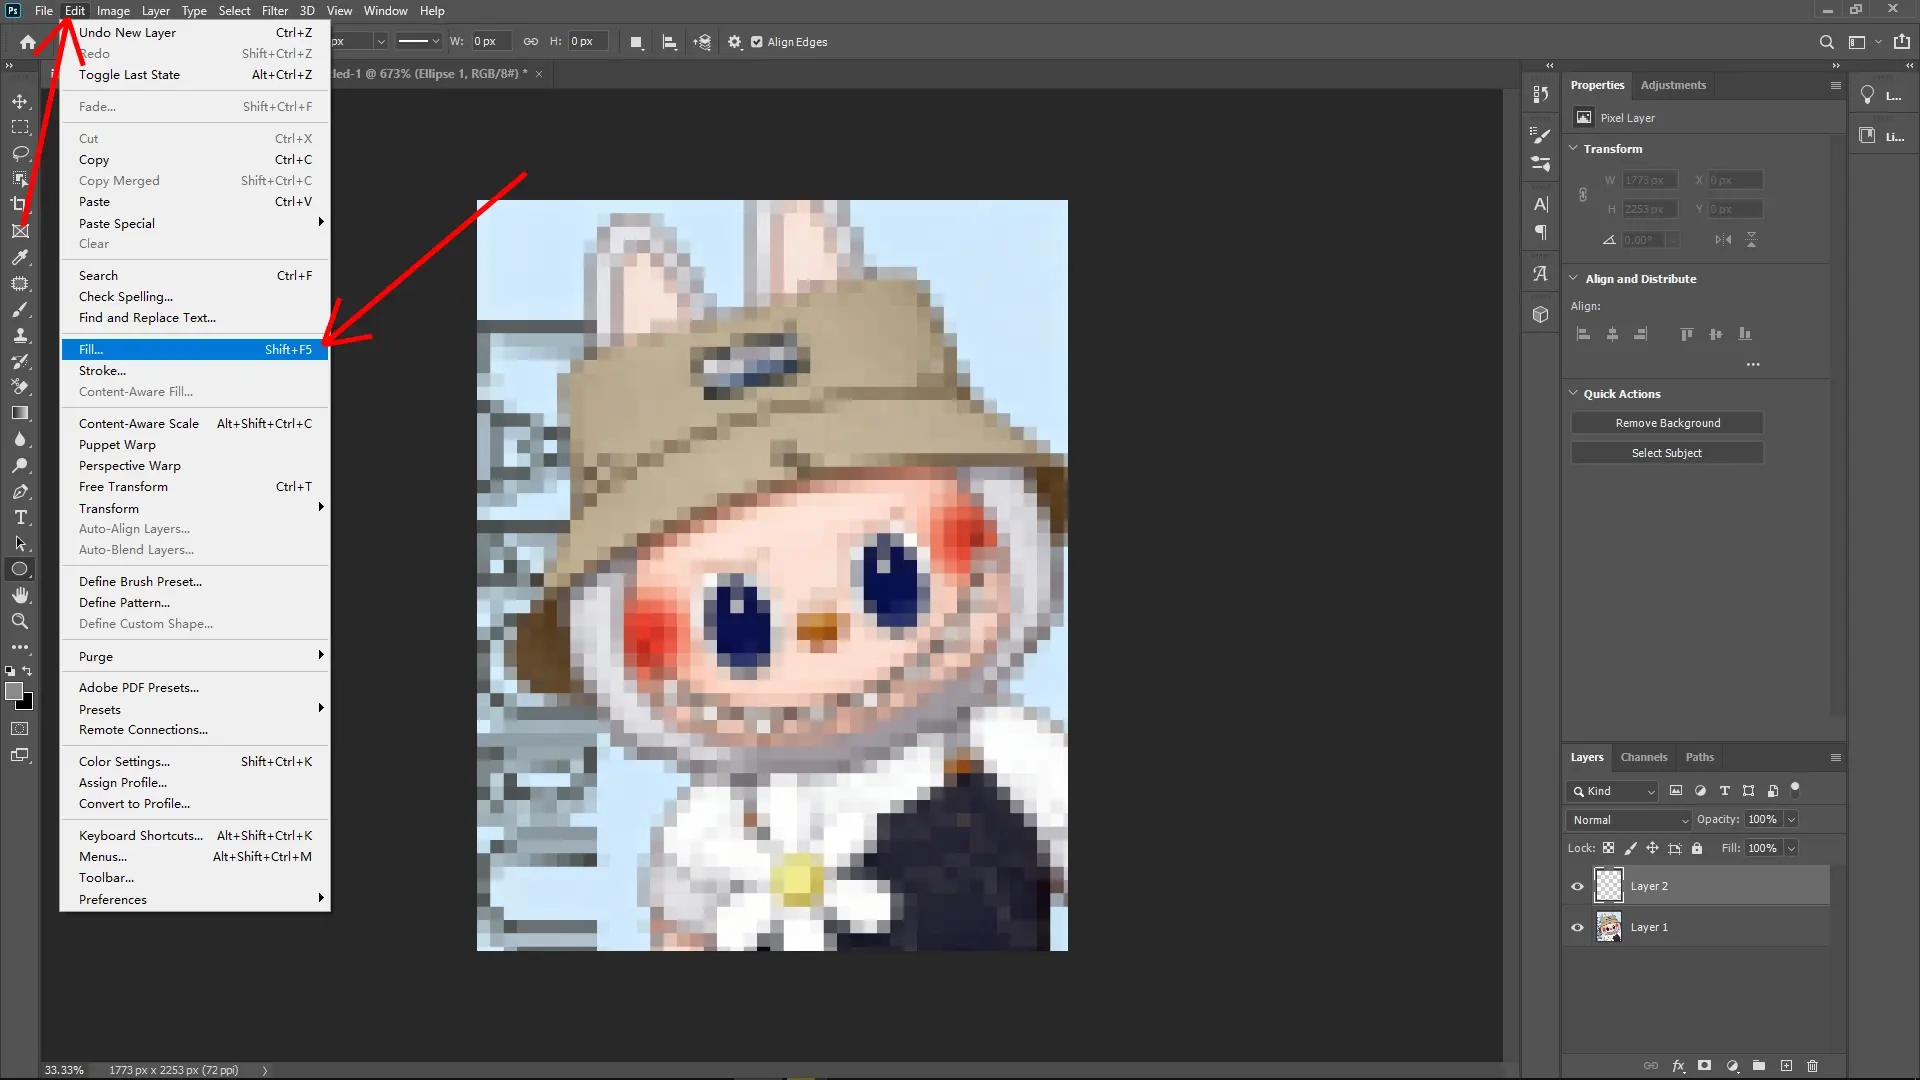
In the Fill dialog box, set Contents to Pattern, then choose the pattern you just created from the custom patterns dropdown.
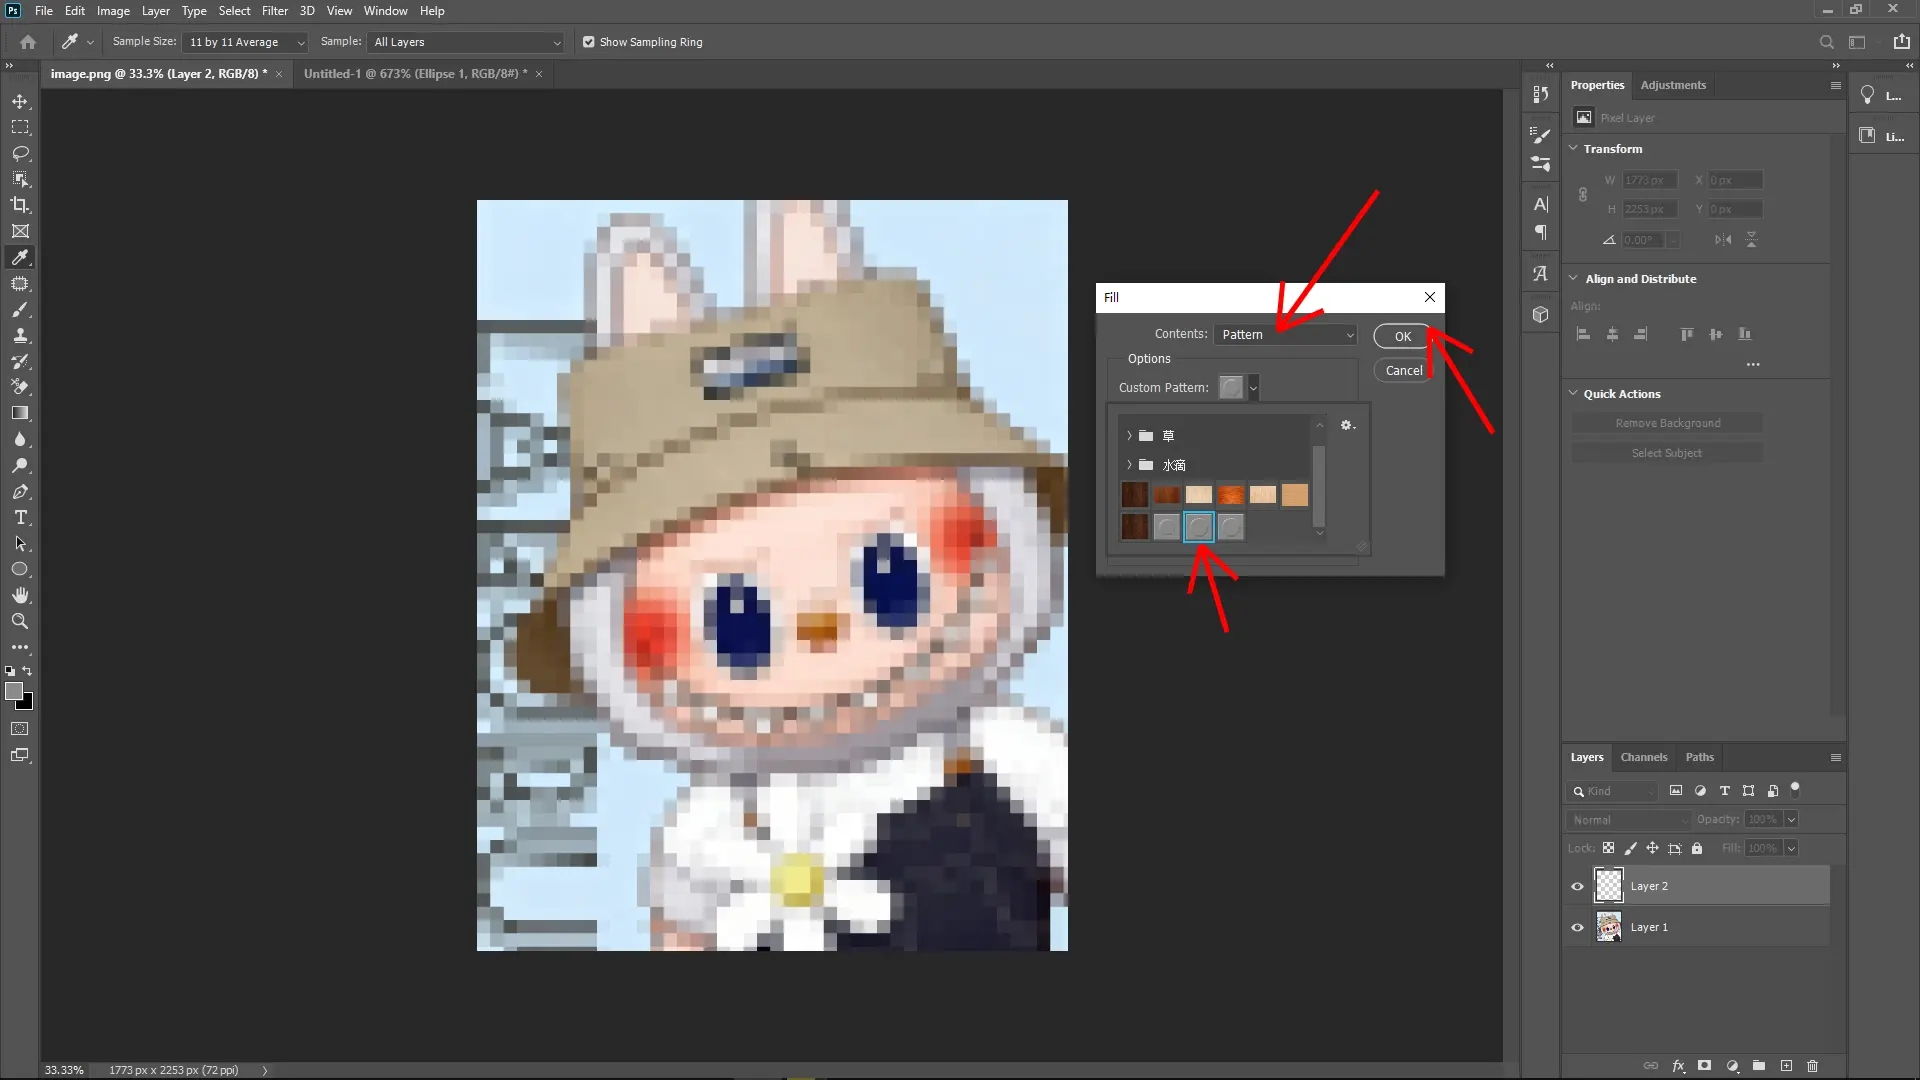
Click OK to fill the layer with the Lego stud pattern.
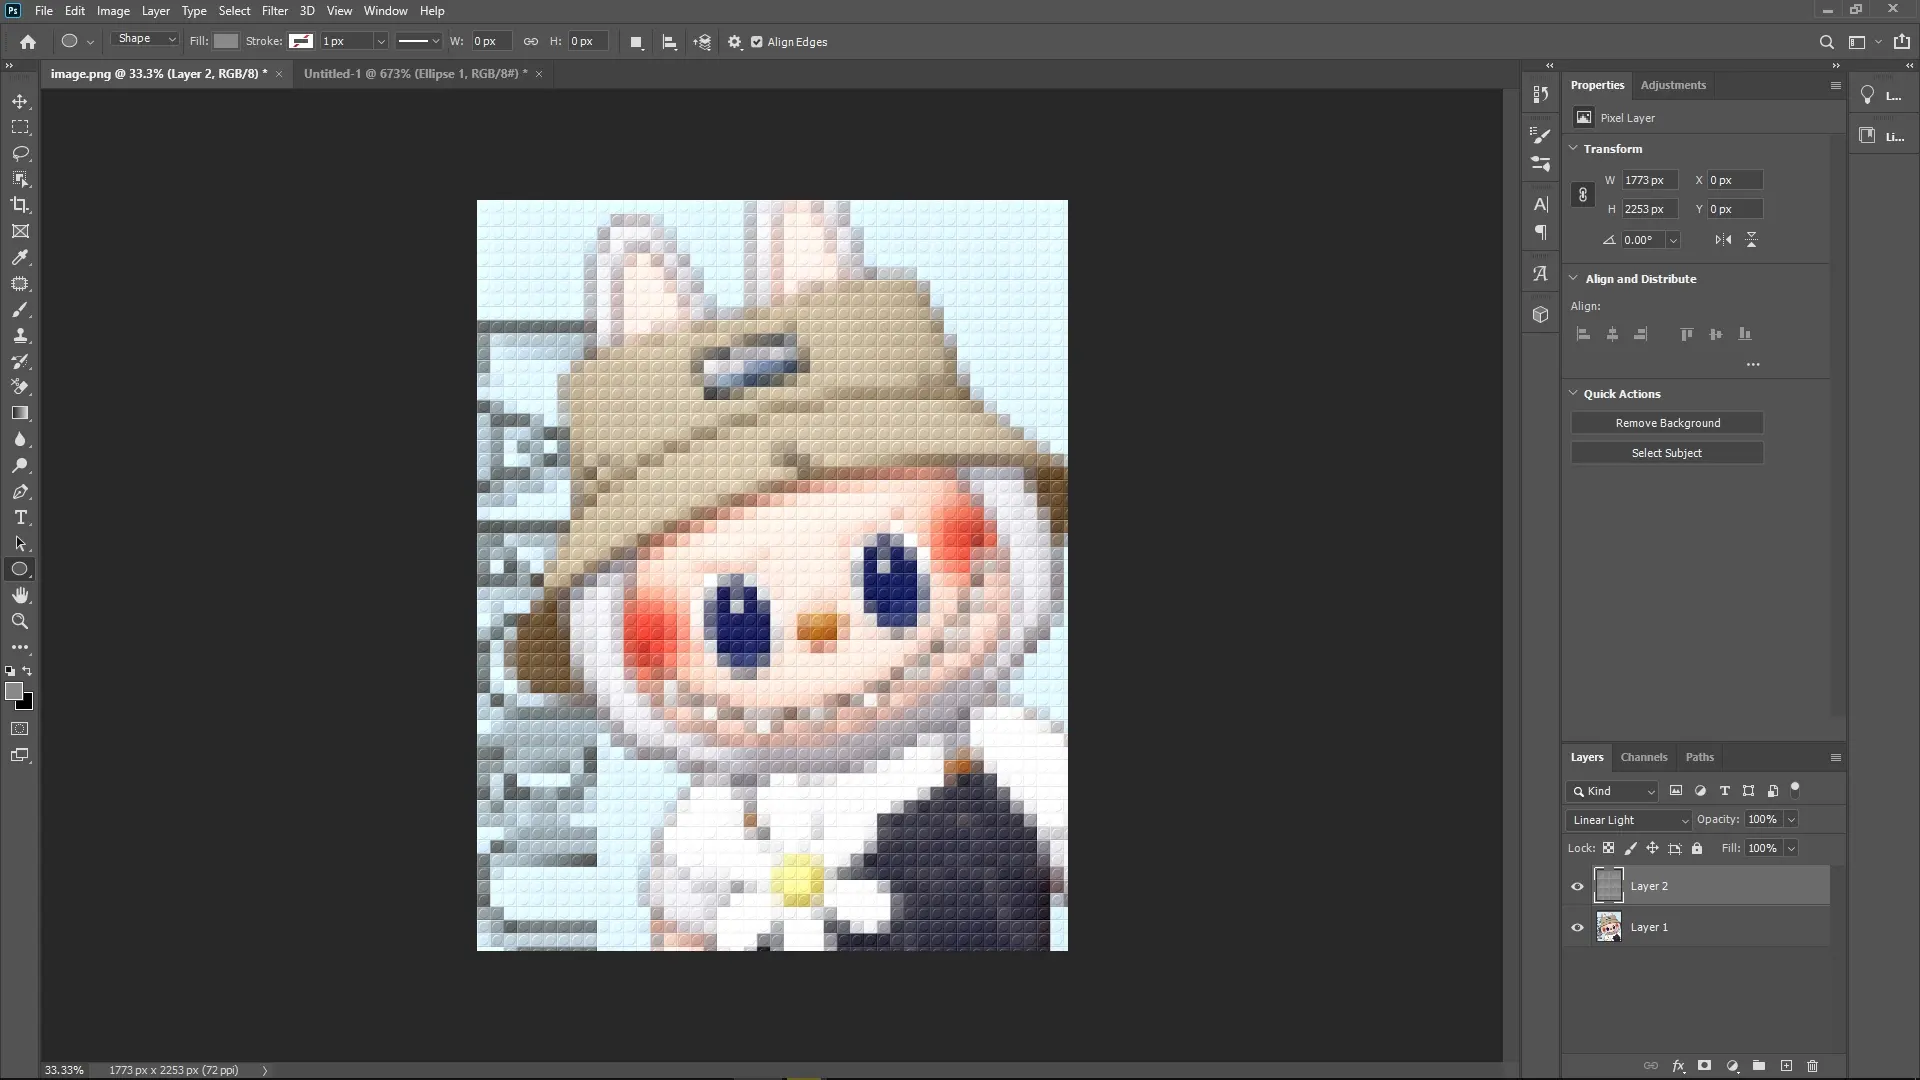
Step 8: Adjust the Blending Mode
On the pattern-filled layer, go to the Layers Panel.
Change the Blending Mode to Linear Light (or experiment with other modes to see what works best for your image).
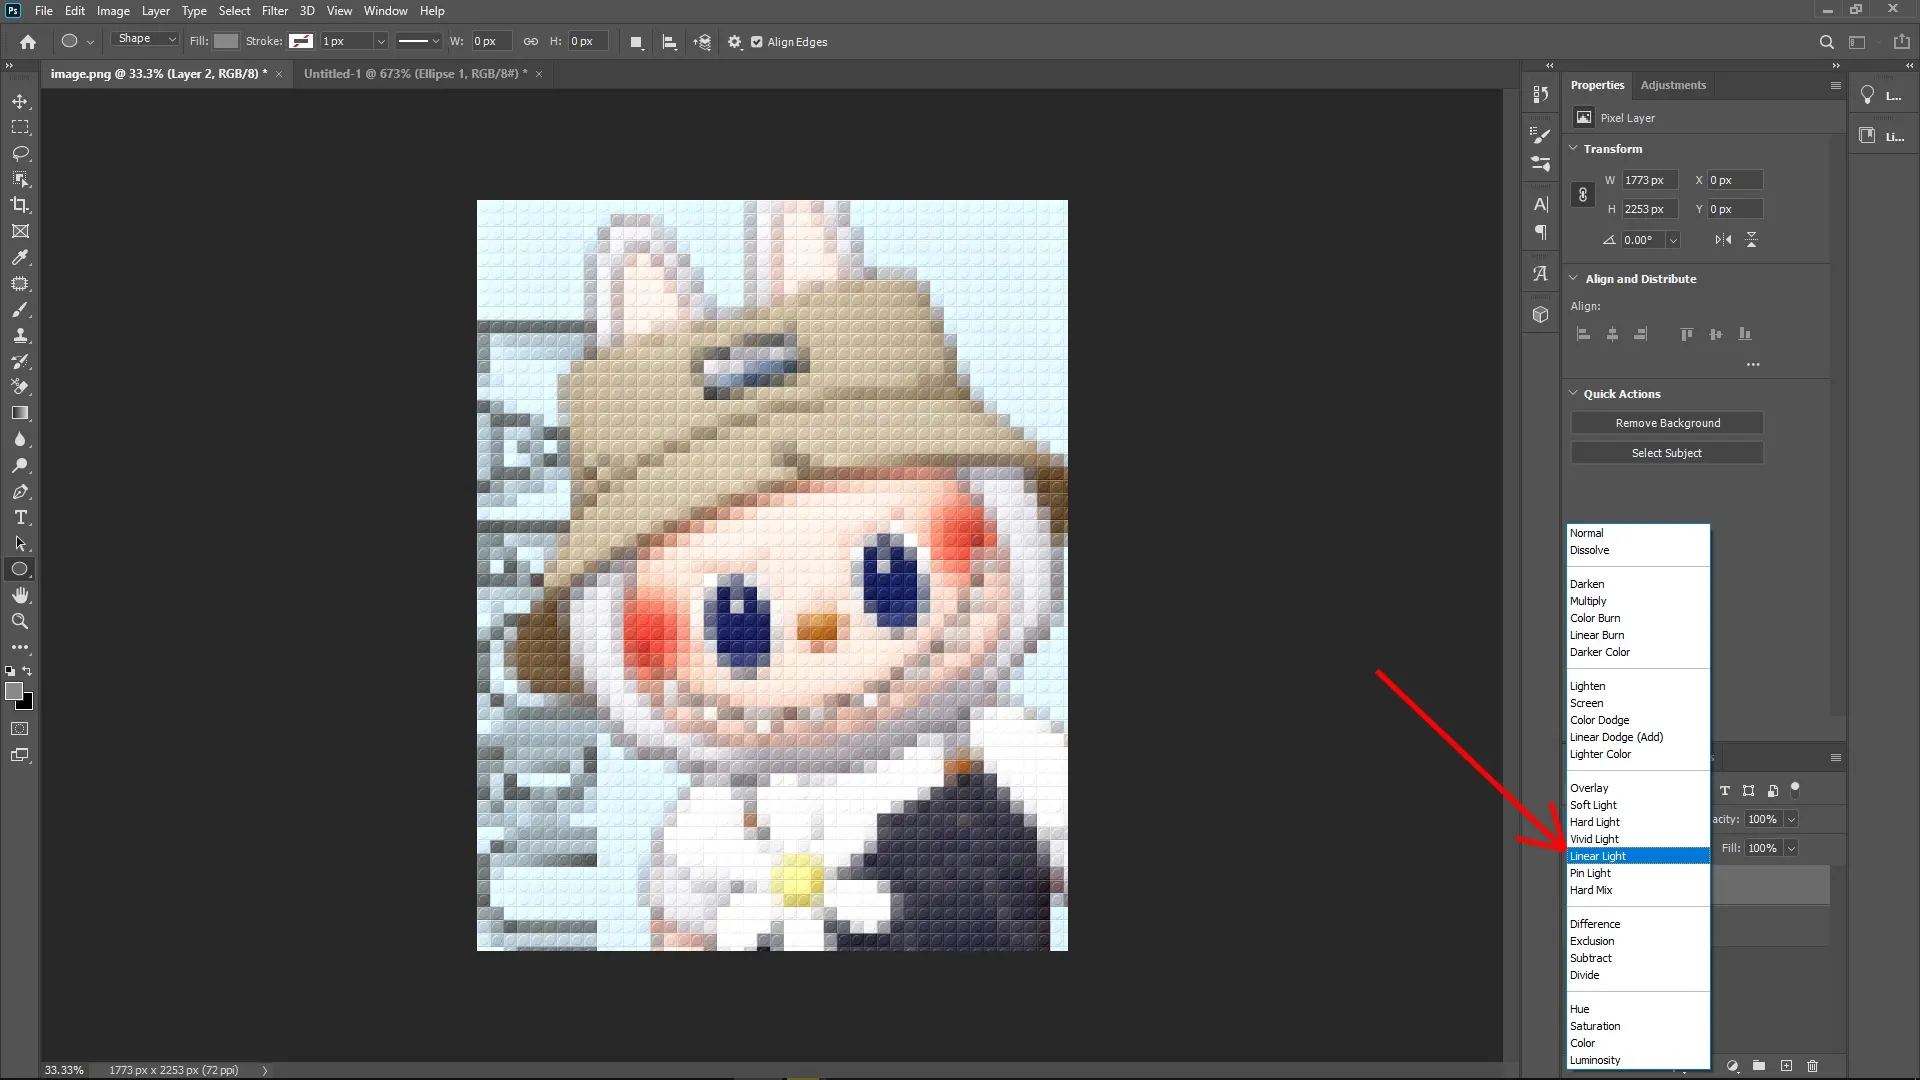
This step allows the pattern to blend seamlessly with the underlying pixelated image, giving it the Lego aesthetic.
Optionally, reduce the layer Opacity slightly if the effect appears too strong.
Additional Tips to Make the Lego Effect Look Better
Fine-tune the Cell Size in the Mosaic Filter: Larger cells create chunkier Lego blocks, while smaller ones retain more detail from the original image. Adjust based on your desired outcome.
Use More Colors in Your Pattern: If you want multi-colored Lego bricks, create different 40x40 patterns with various colors and manually overlay them to create a multi-layered Lego build.
Play with Lighting and Shadows: Add artificial lighting to create variation between "Lego bricks" and make the effect pop visually.
Refine Edges: If the effect looks harsh, apply a slight Gaussian Blur (Filter > Blur > Gaussian Blur) to soften the studged edges of the pattern.
Write Reply