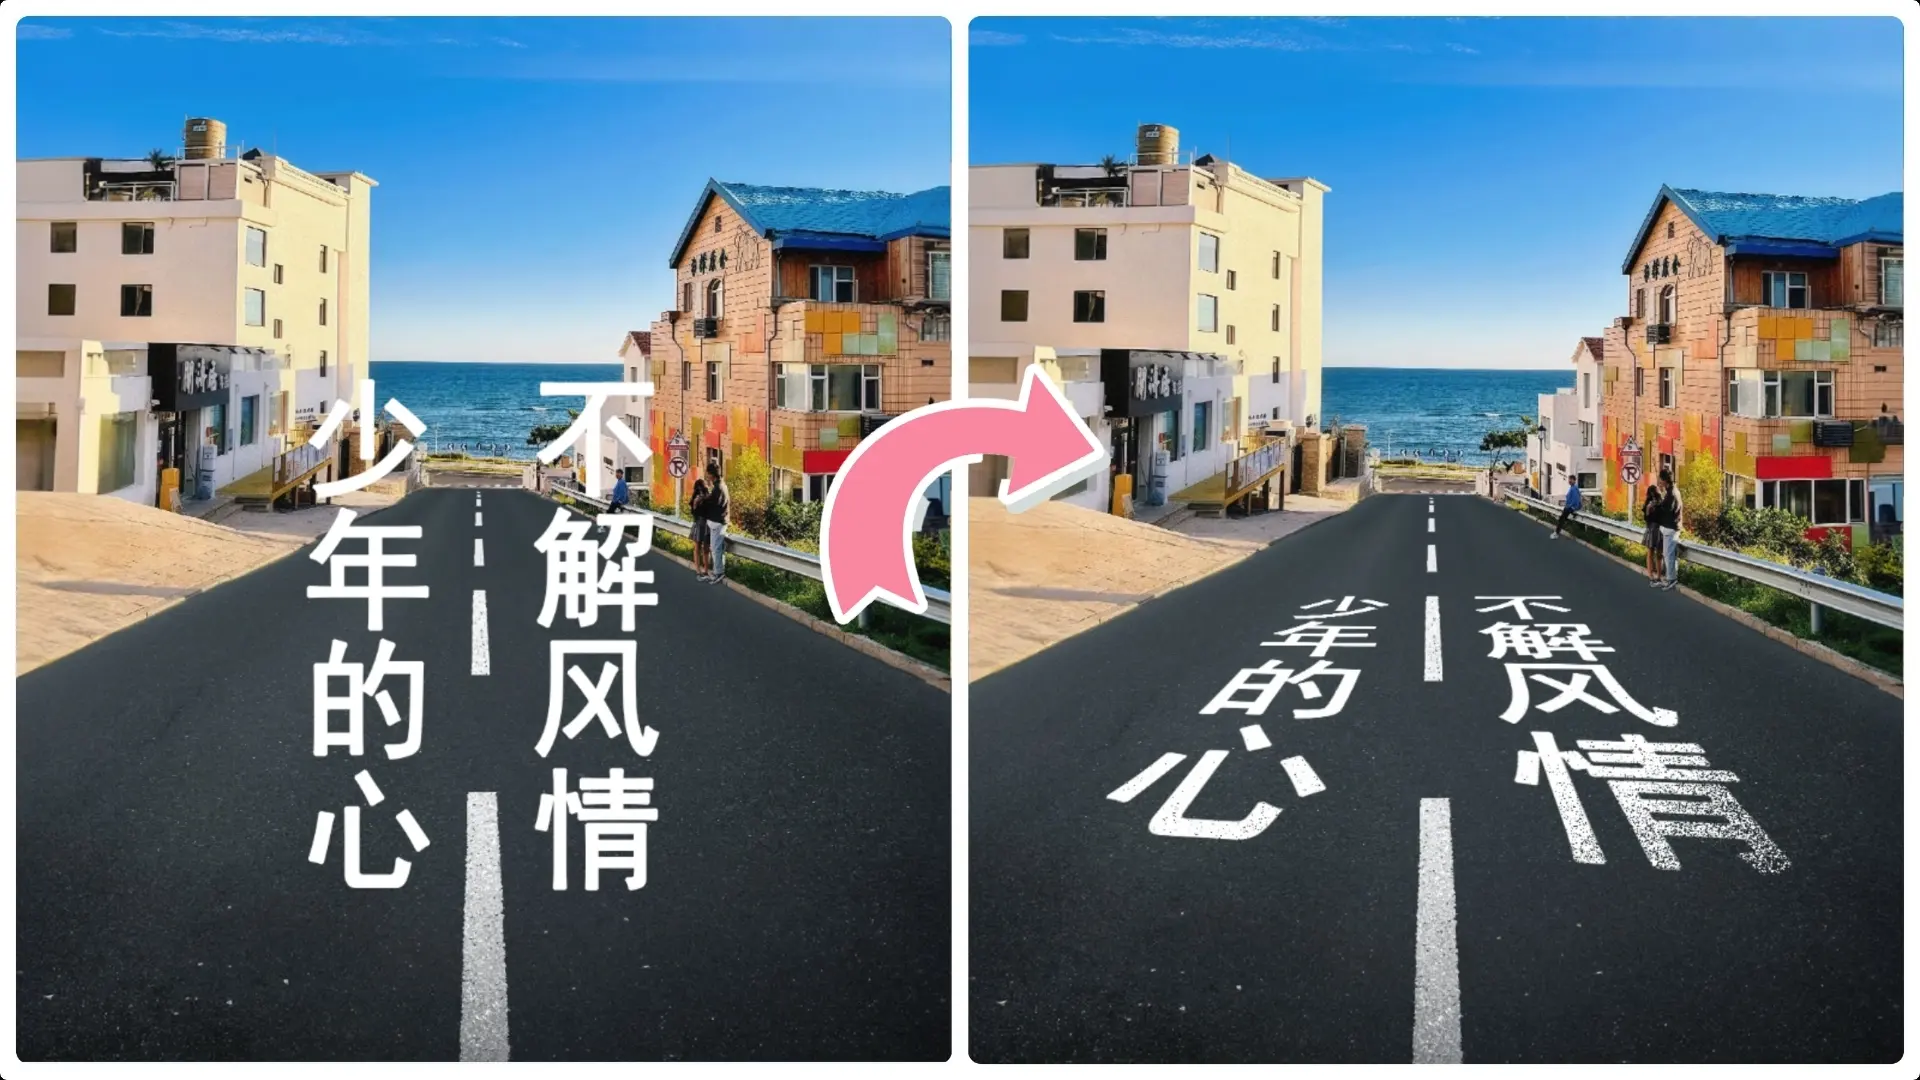
Create Realistic Road Surface Text in Photoshop: A Step-by-Step Guide
Step 1: Select and Copy Text
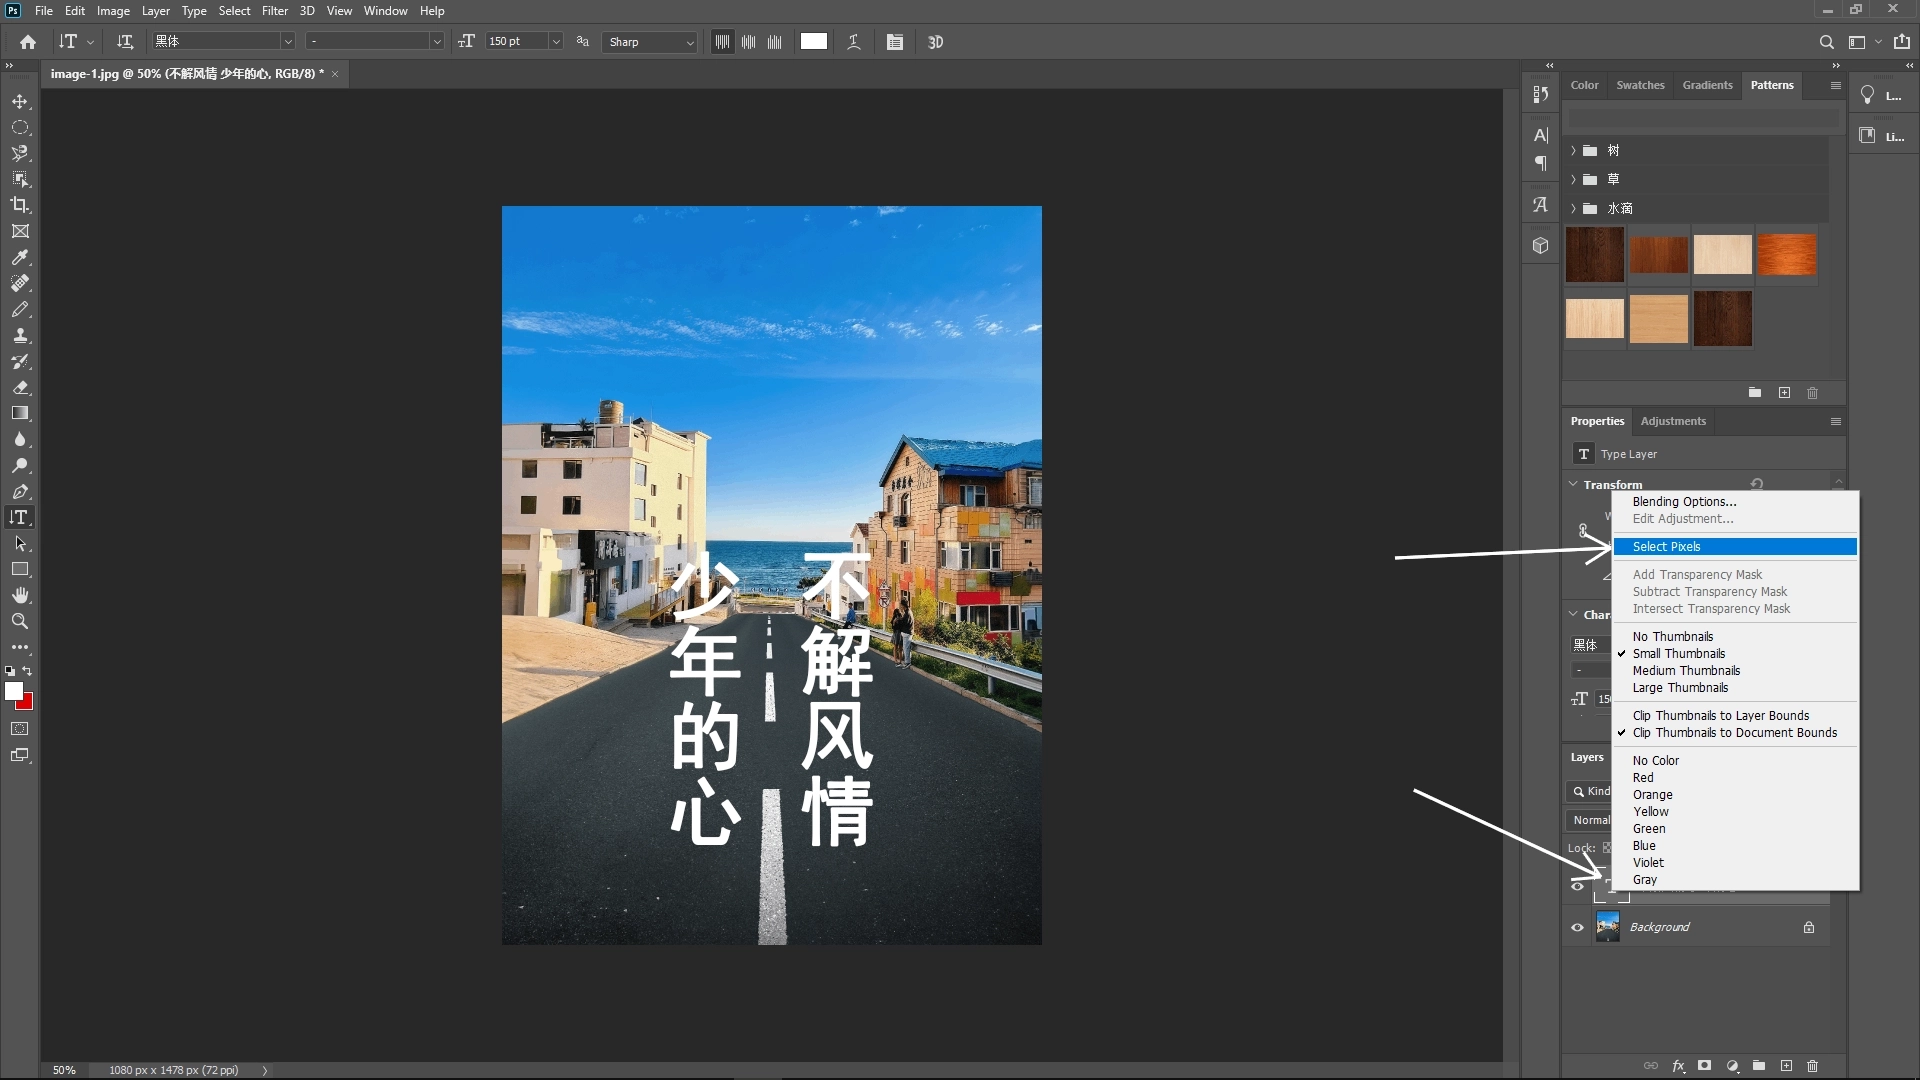
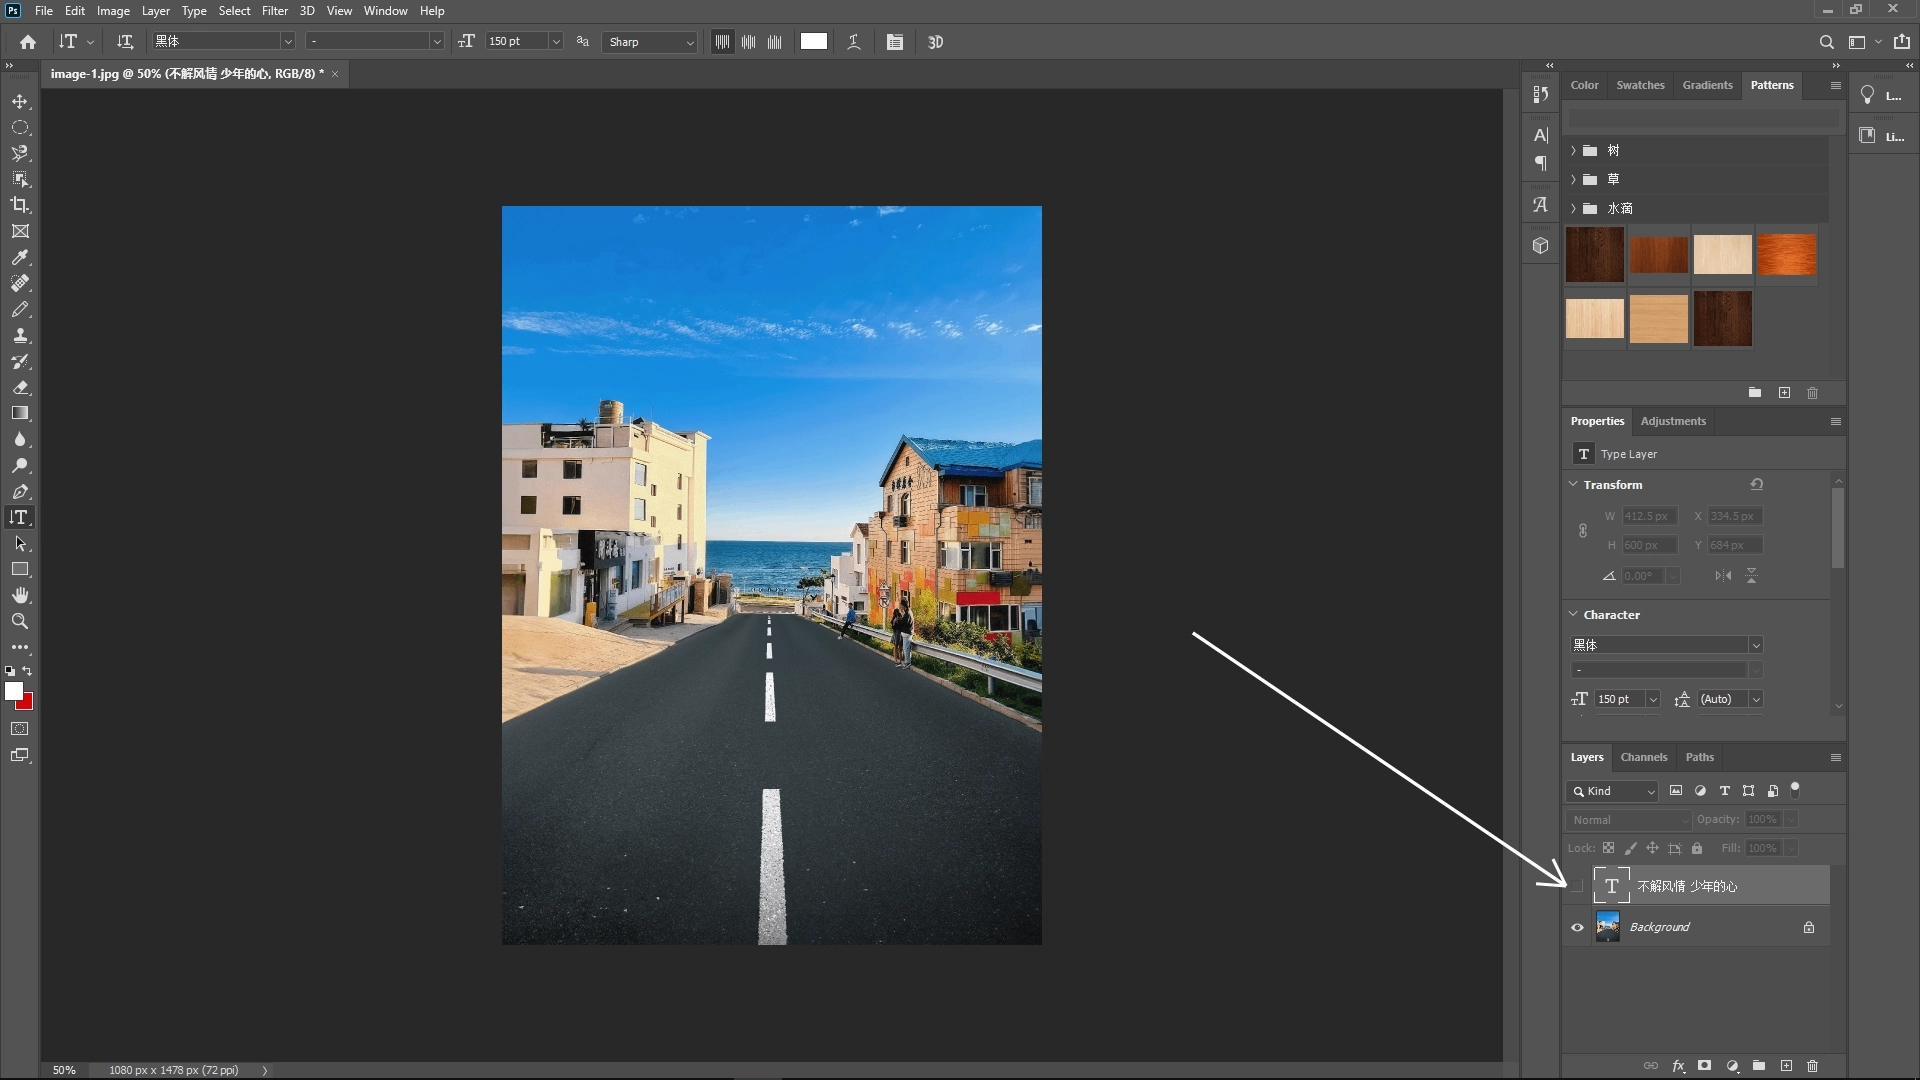
Select the Text Layer:
Start by selecting the text layer you want to fit onto the road surface. Right-click the layer and choose Select Pixels from the dropdown menu to create a selection around the text.
Copy the Text:
Press Ctrl + C (or Cmd + C on Mac) to copy the selected text.
Then press Ctrl + D (or Cmd + D) to deselect the current selection.
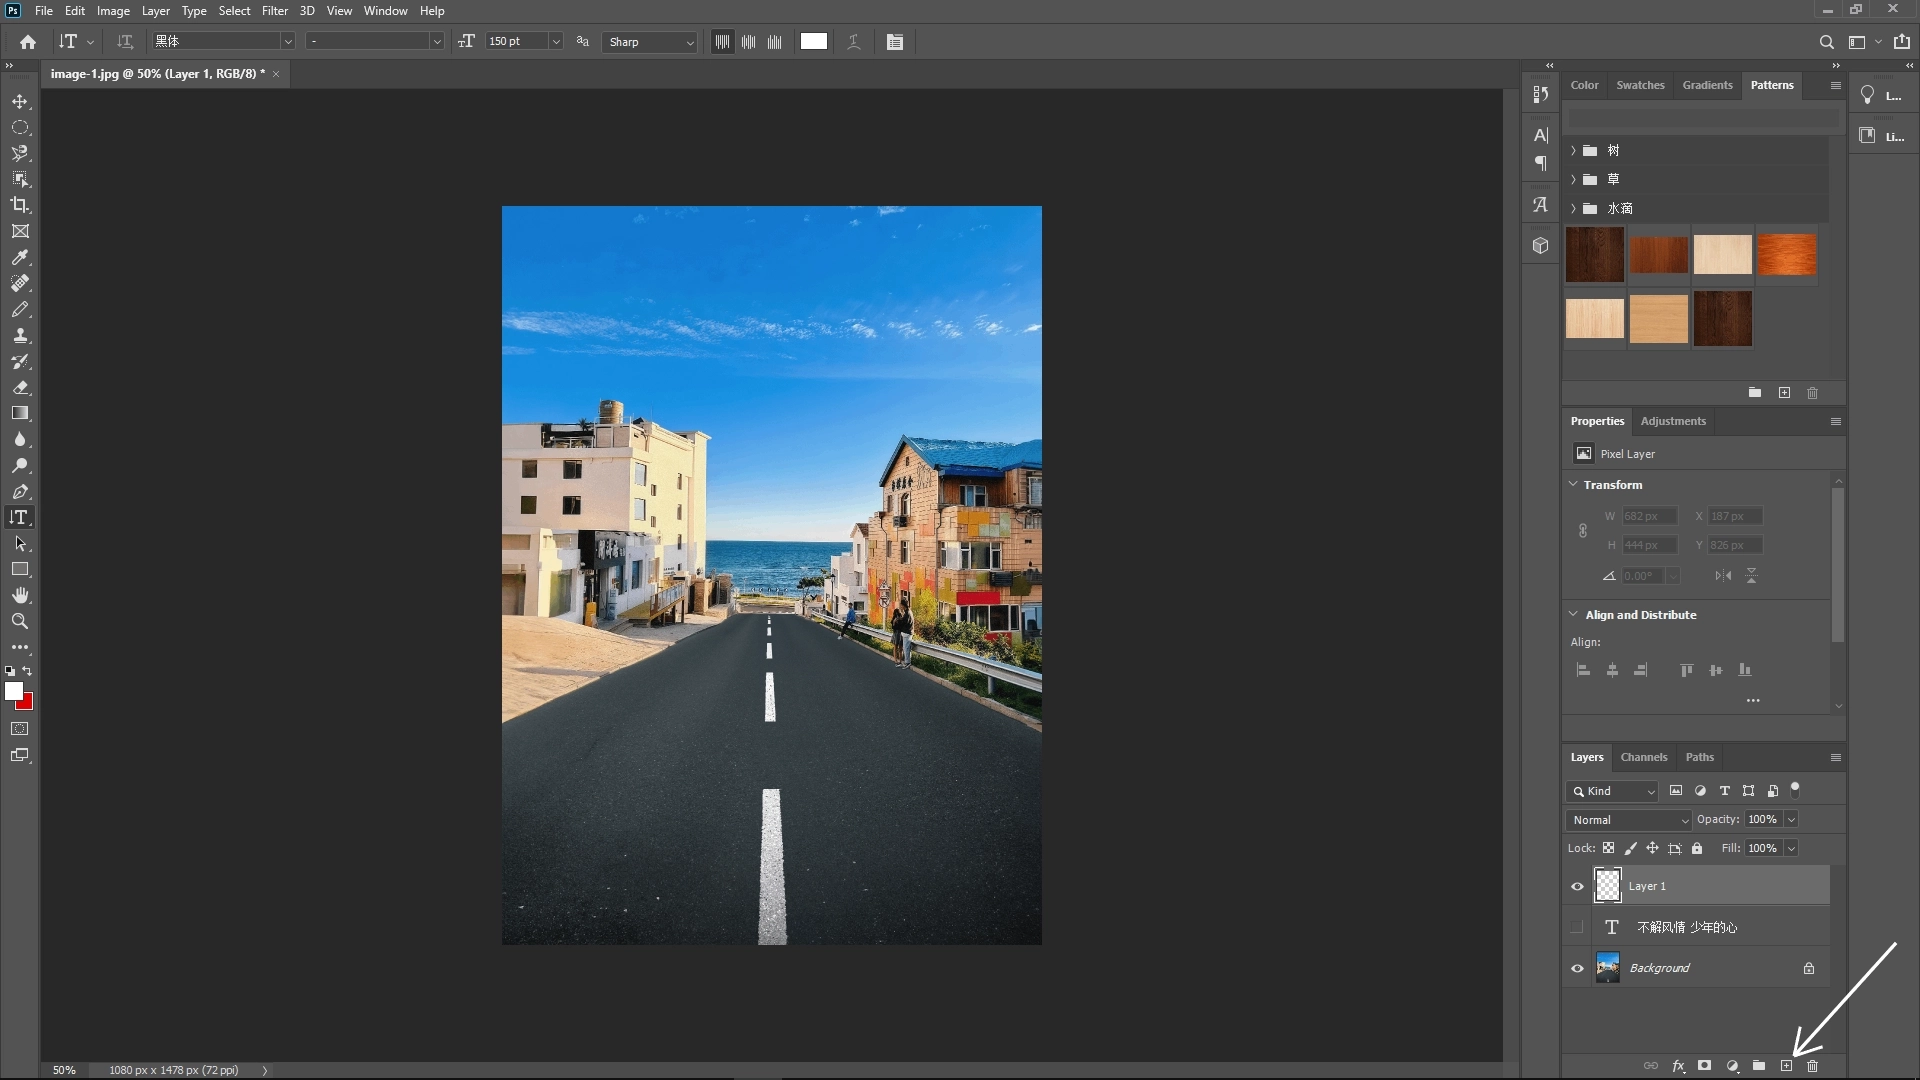
Hide the Text Layer:
Click the eye icon next to the text layer in the Layers panel to hide it.
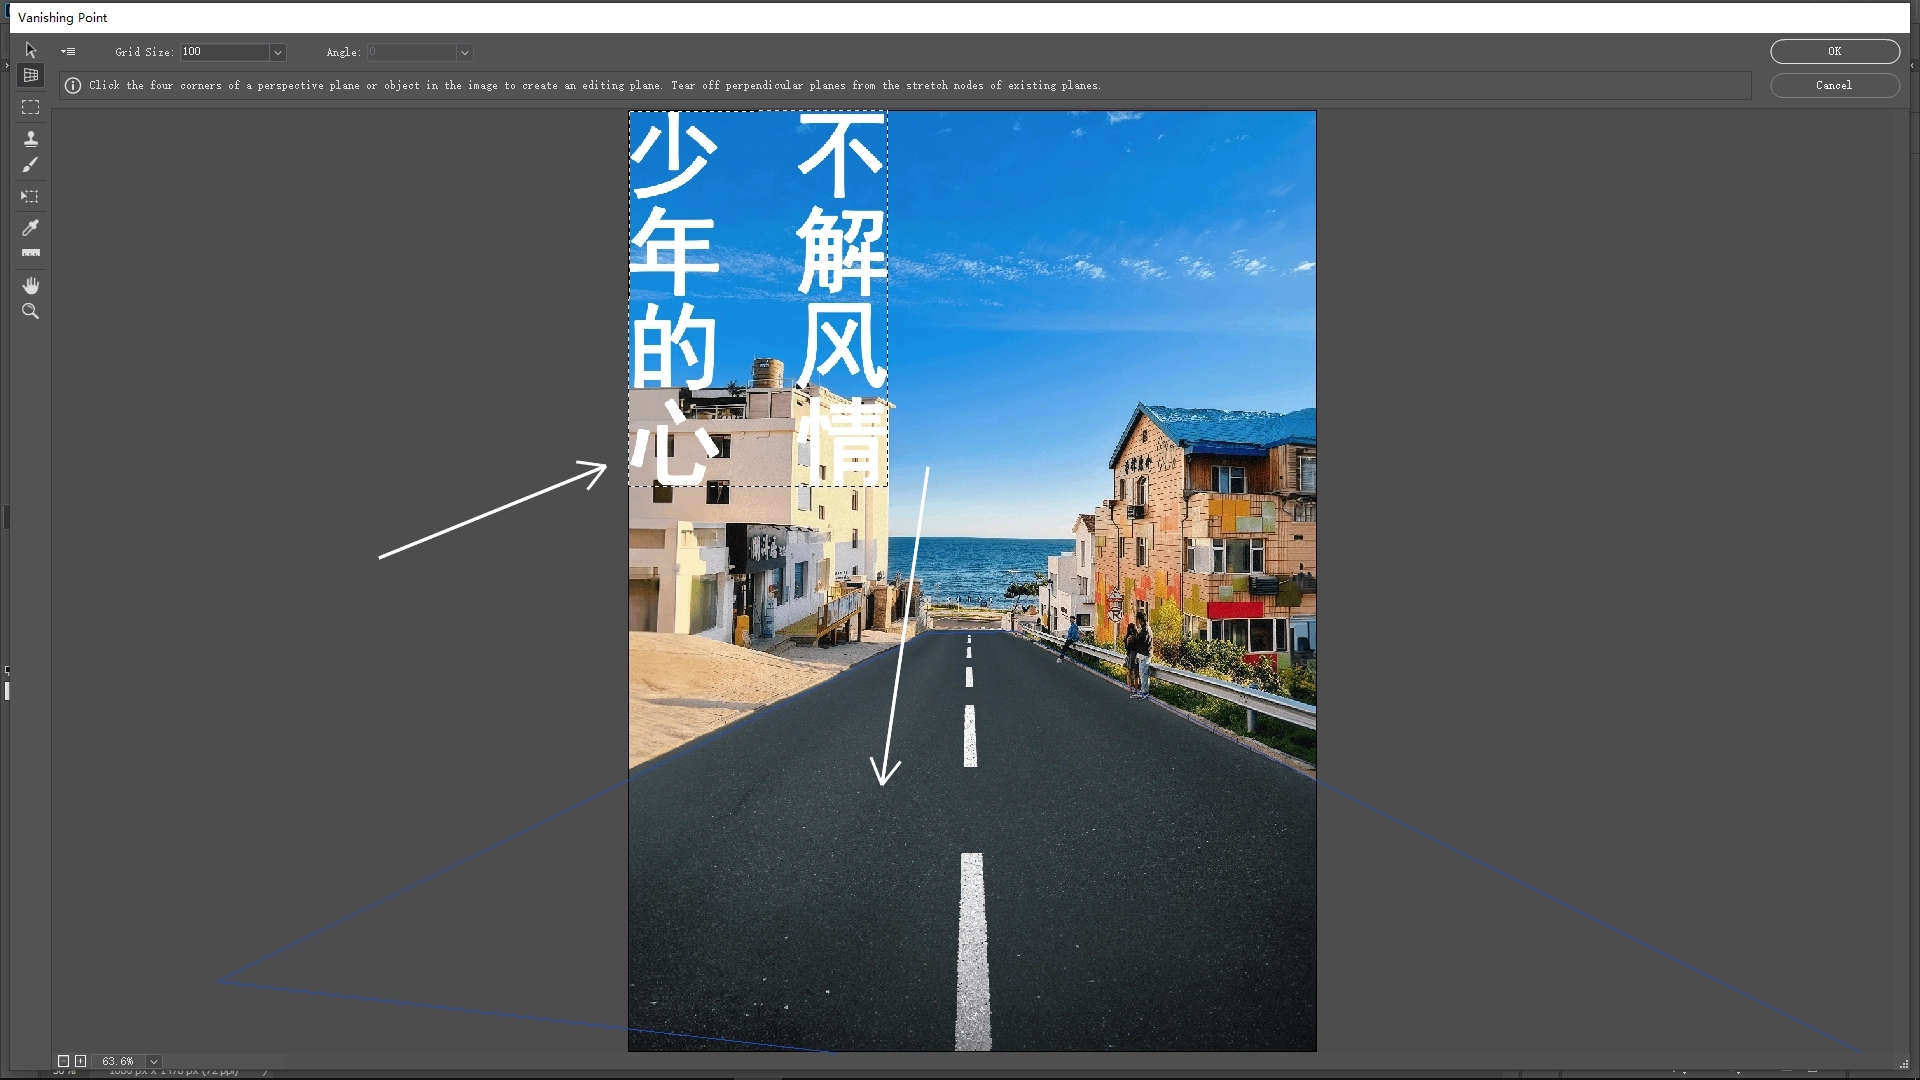
Step 2: Set Up the Vanishing Point Grid
Create a New Layer:
Insert a new blank layer where you’ll place your modified text later.
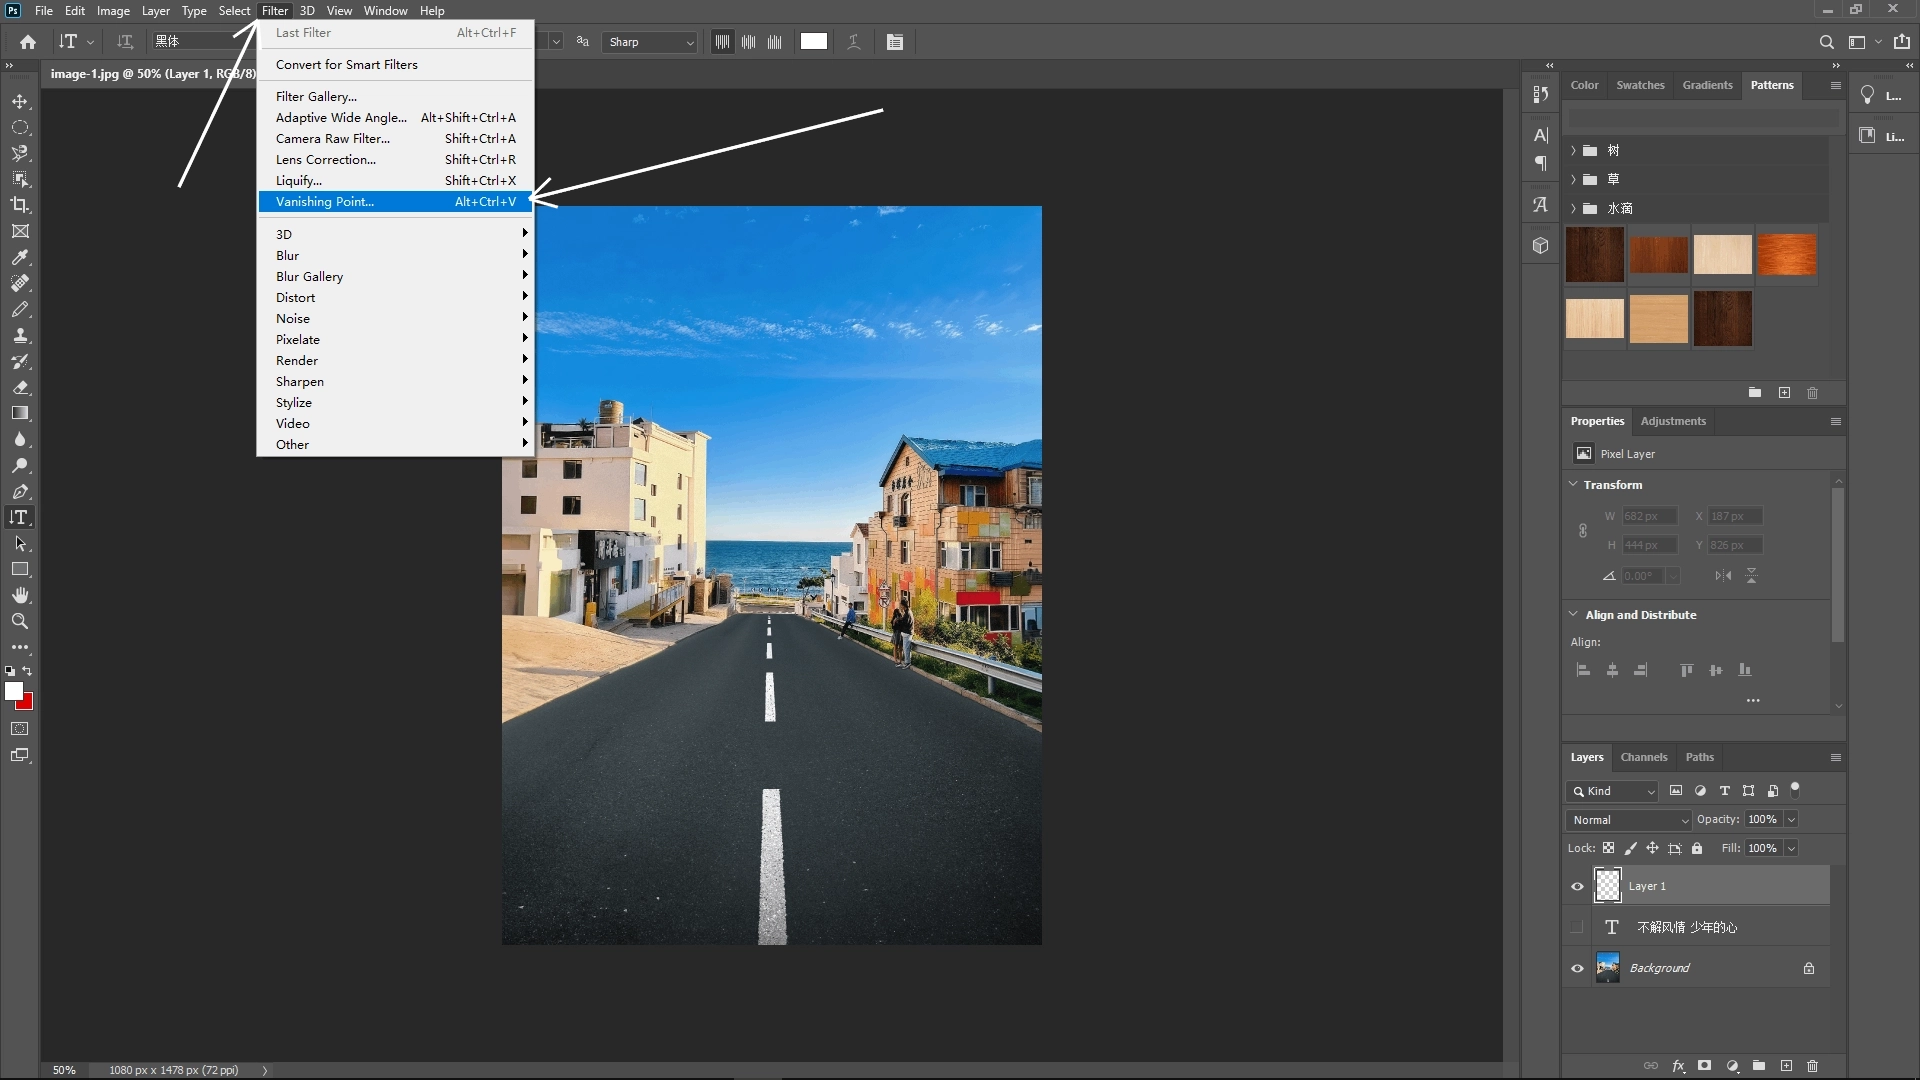
Open the Vanishing Point Filter:
Go to Filter > Vanishing Point. This opens the Vanishing Point workspace, which lets you create a perspective grid.
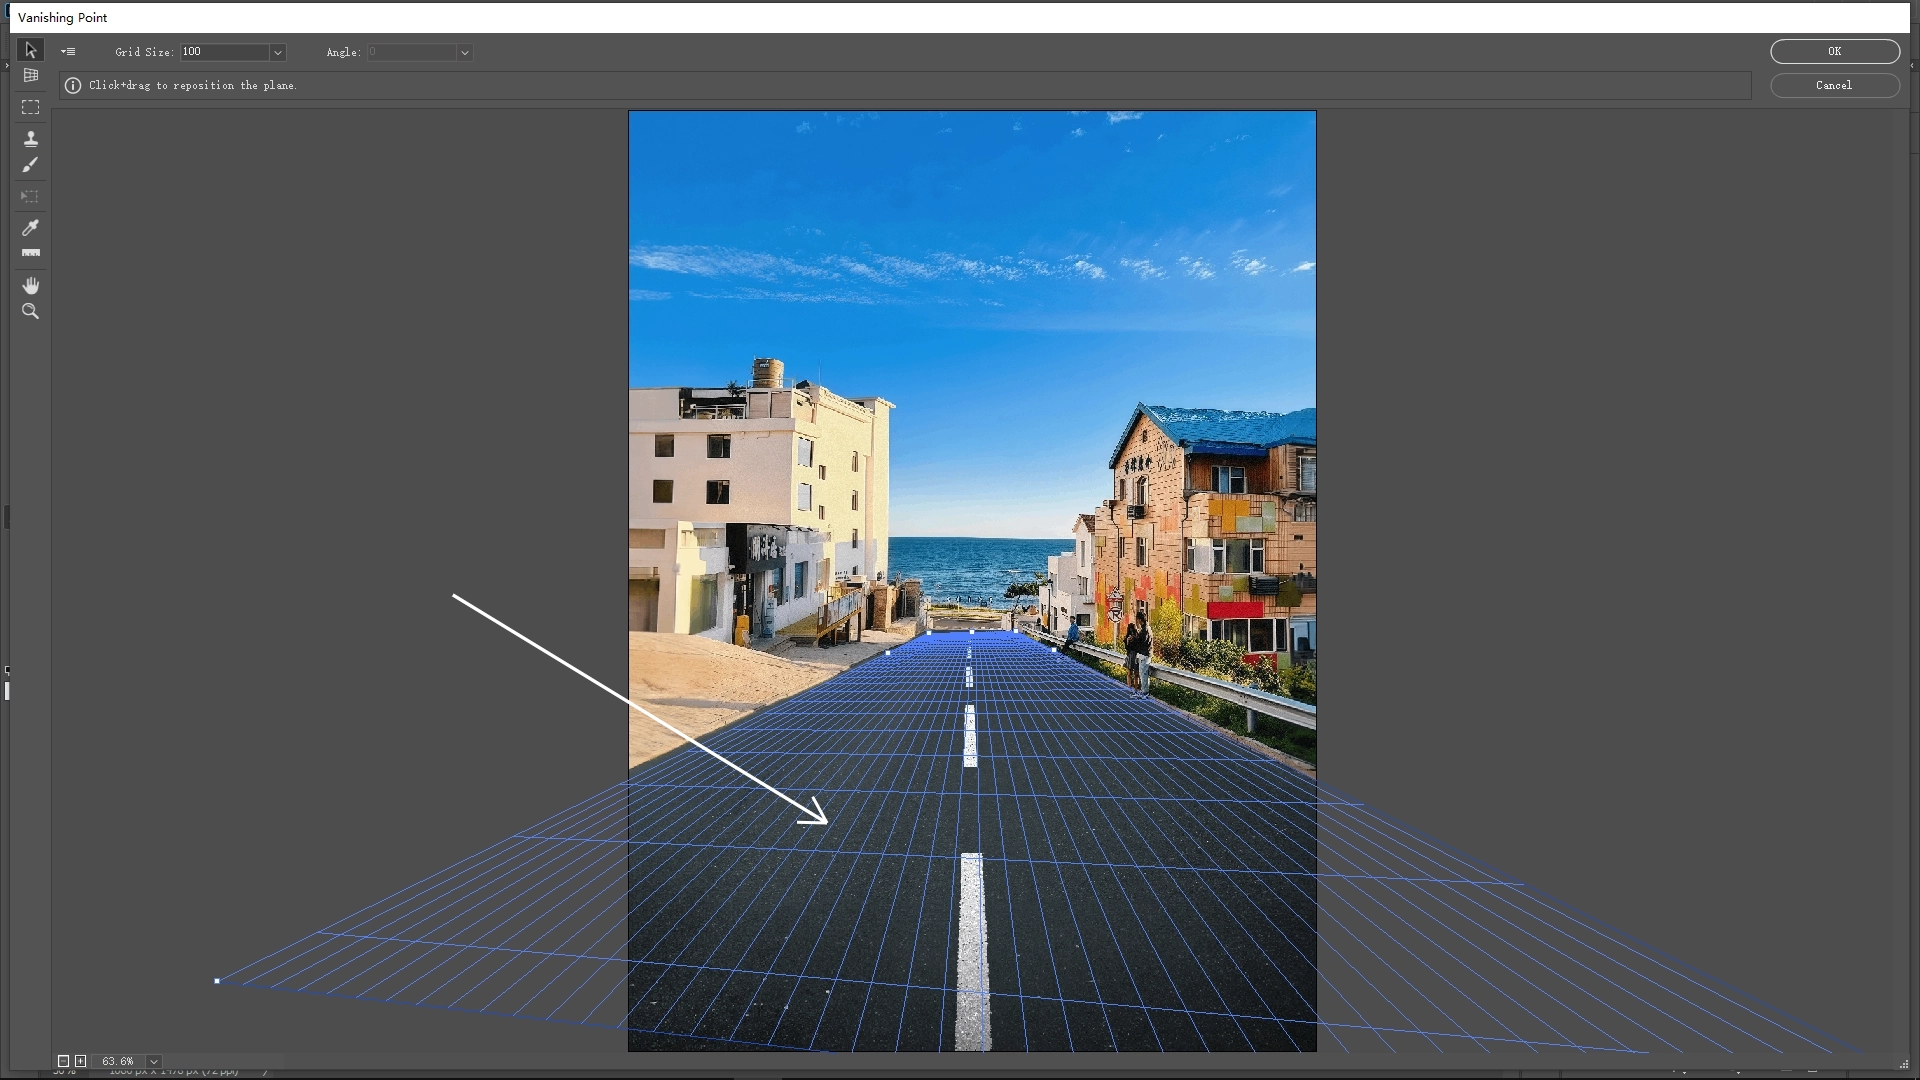
Set Up the Perspective Grid:
Use the grid tool to click on four specific points: the corners of the road surface (or any area you’re working with). This will create a perspective grid that matches the dimensions and angle of the road.

Adjust the Perspective Grid:
Hold down the Ctrl key (or Cmd on Mac) and drag the anchor points to refine the shape of the grid. Ensure the grid accurately conforms to the road surface to simulate natural perspective.
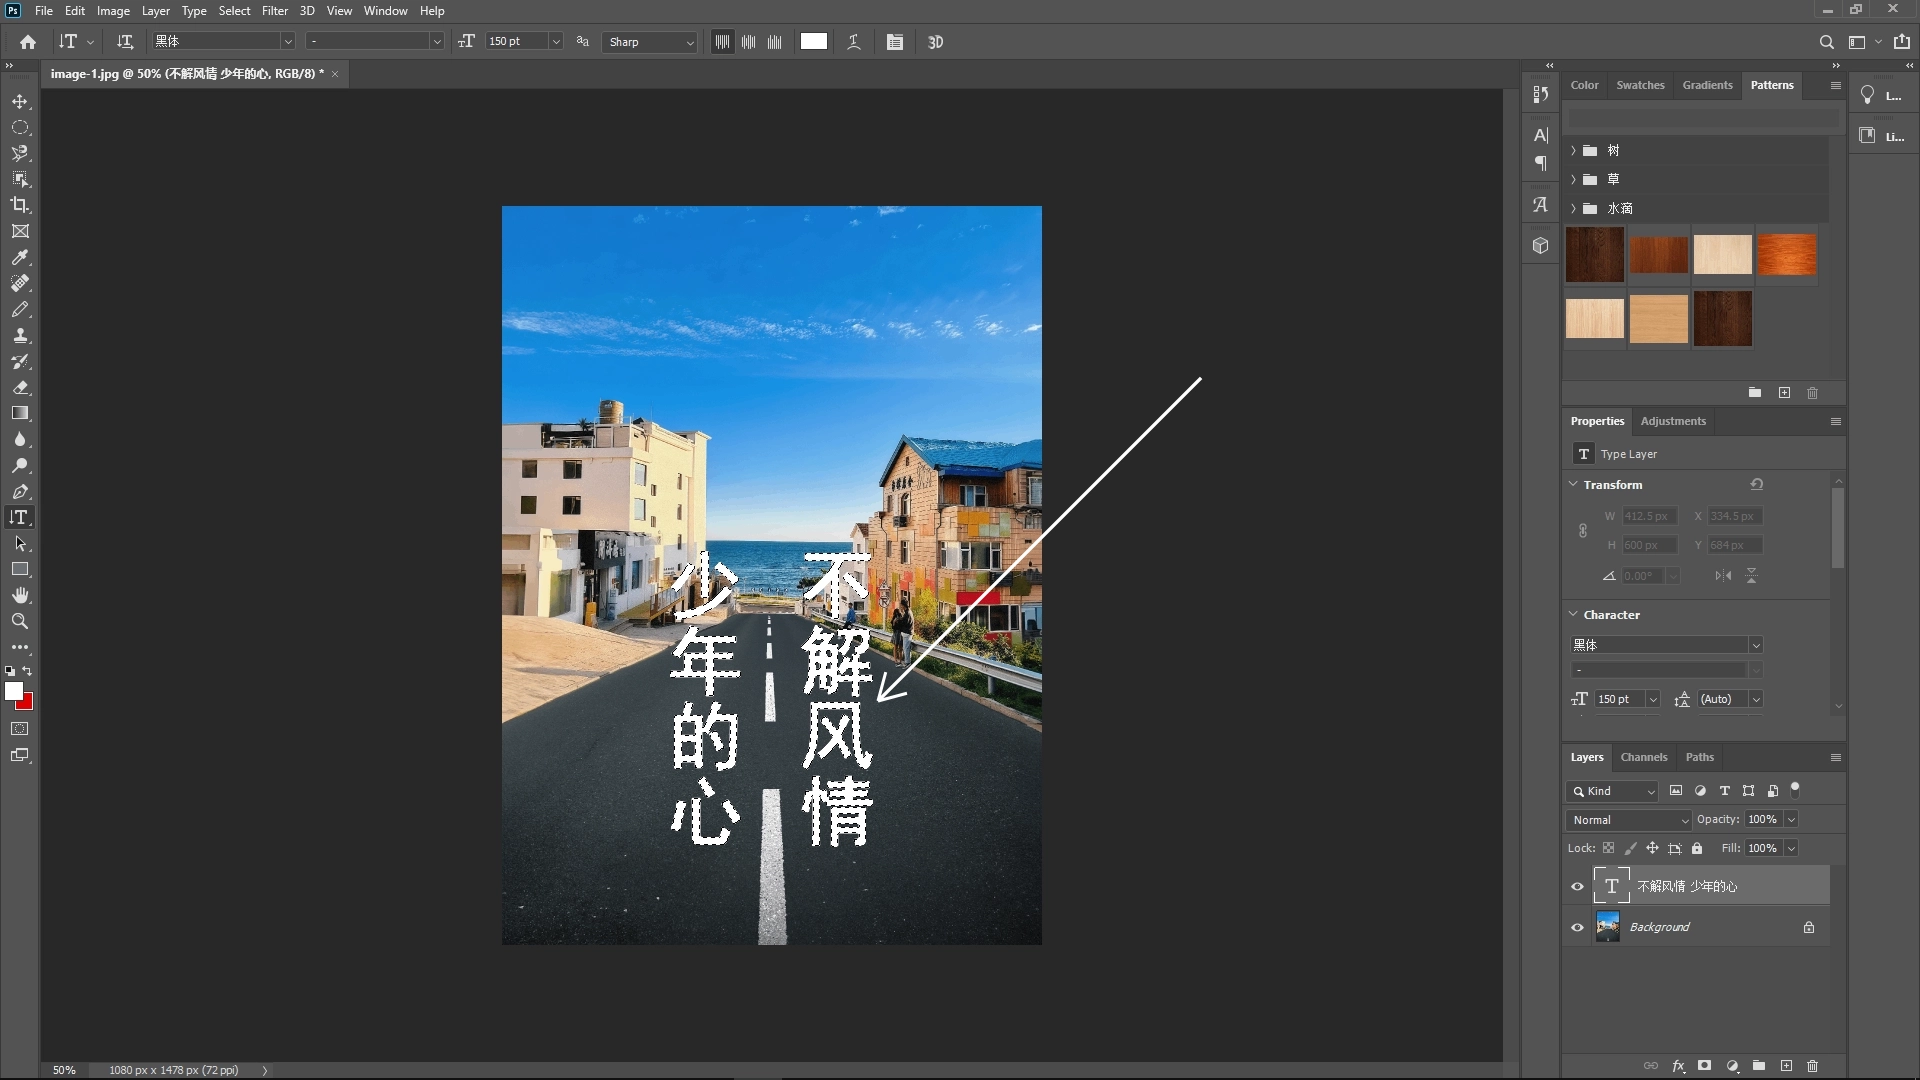
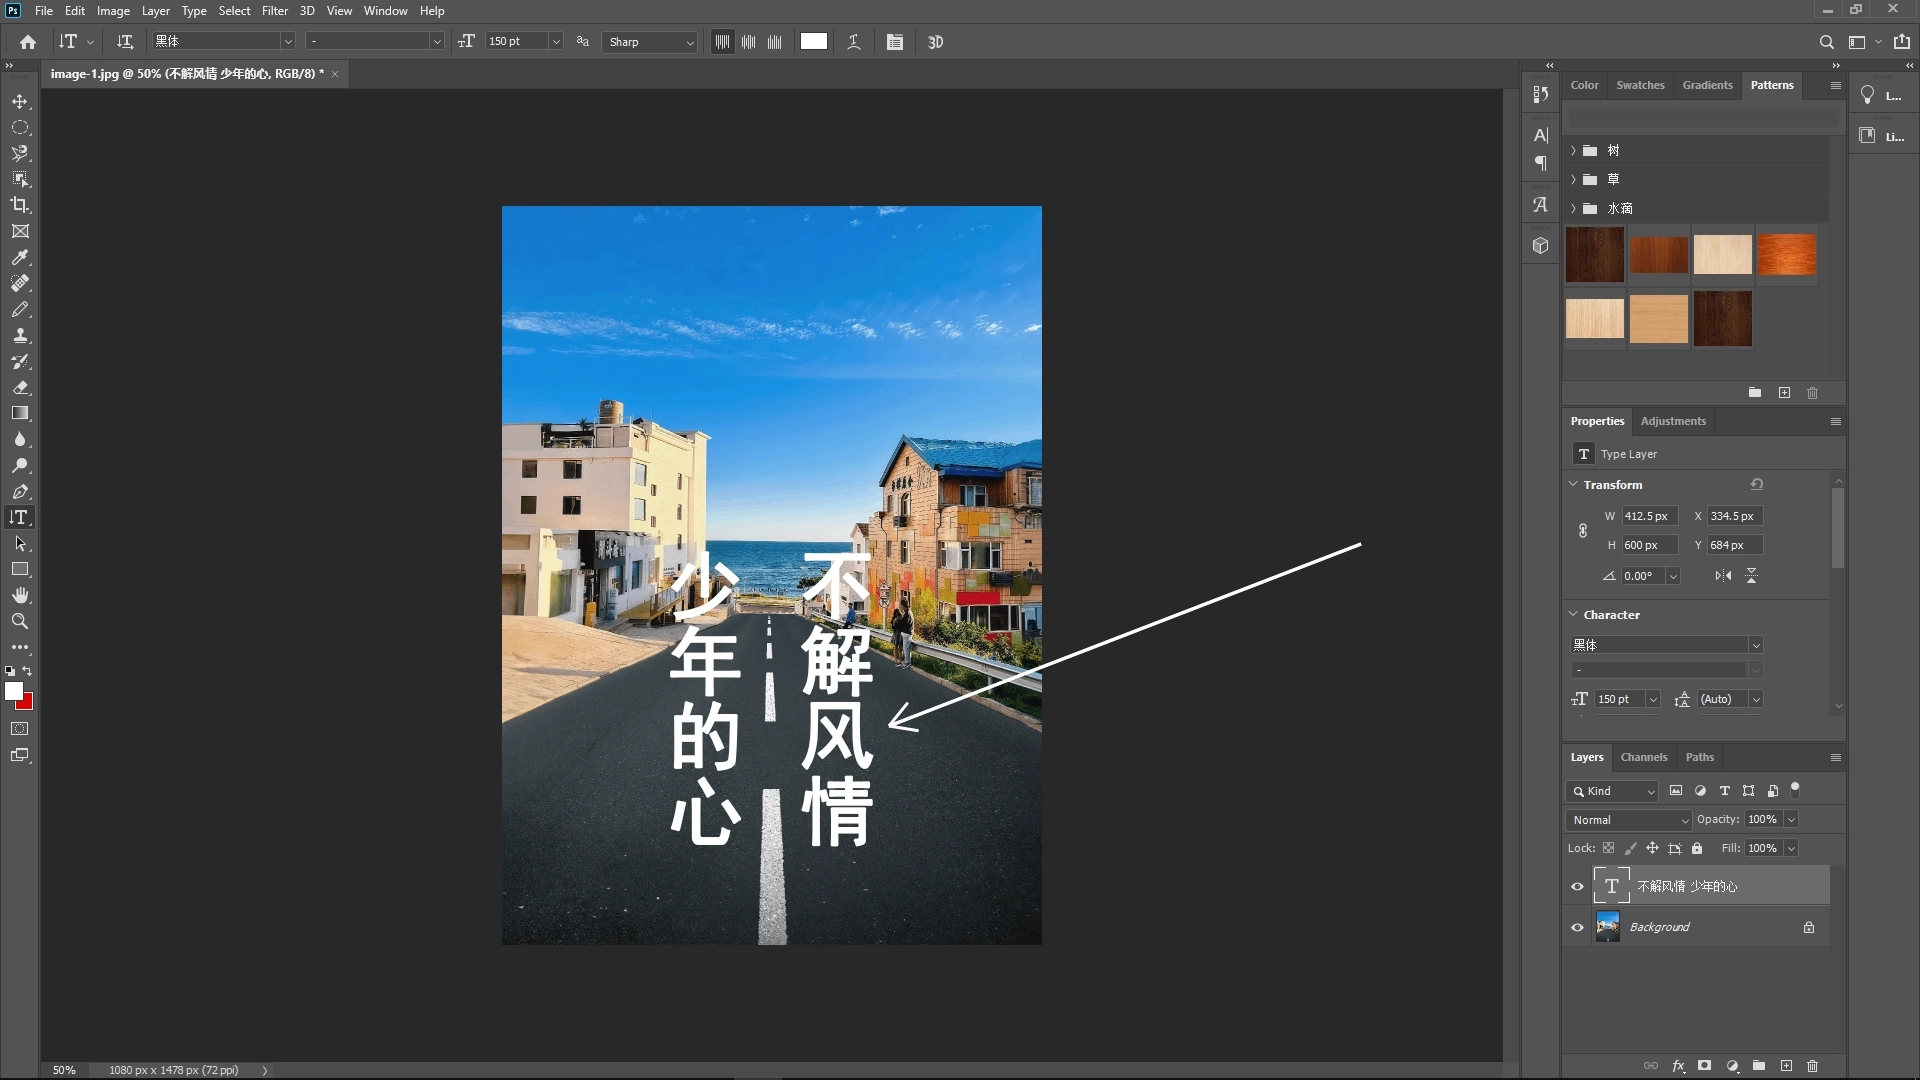
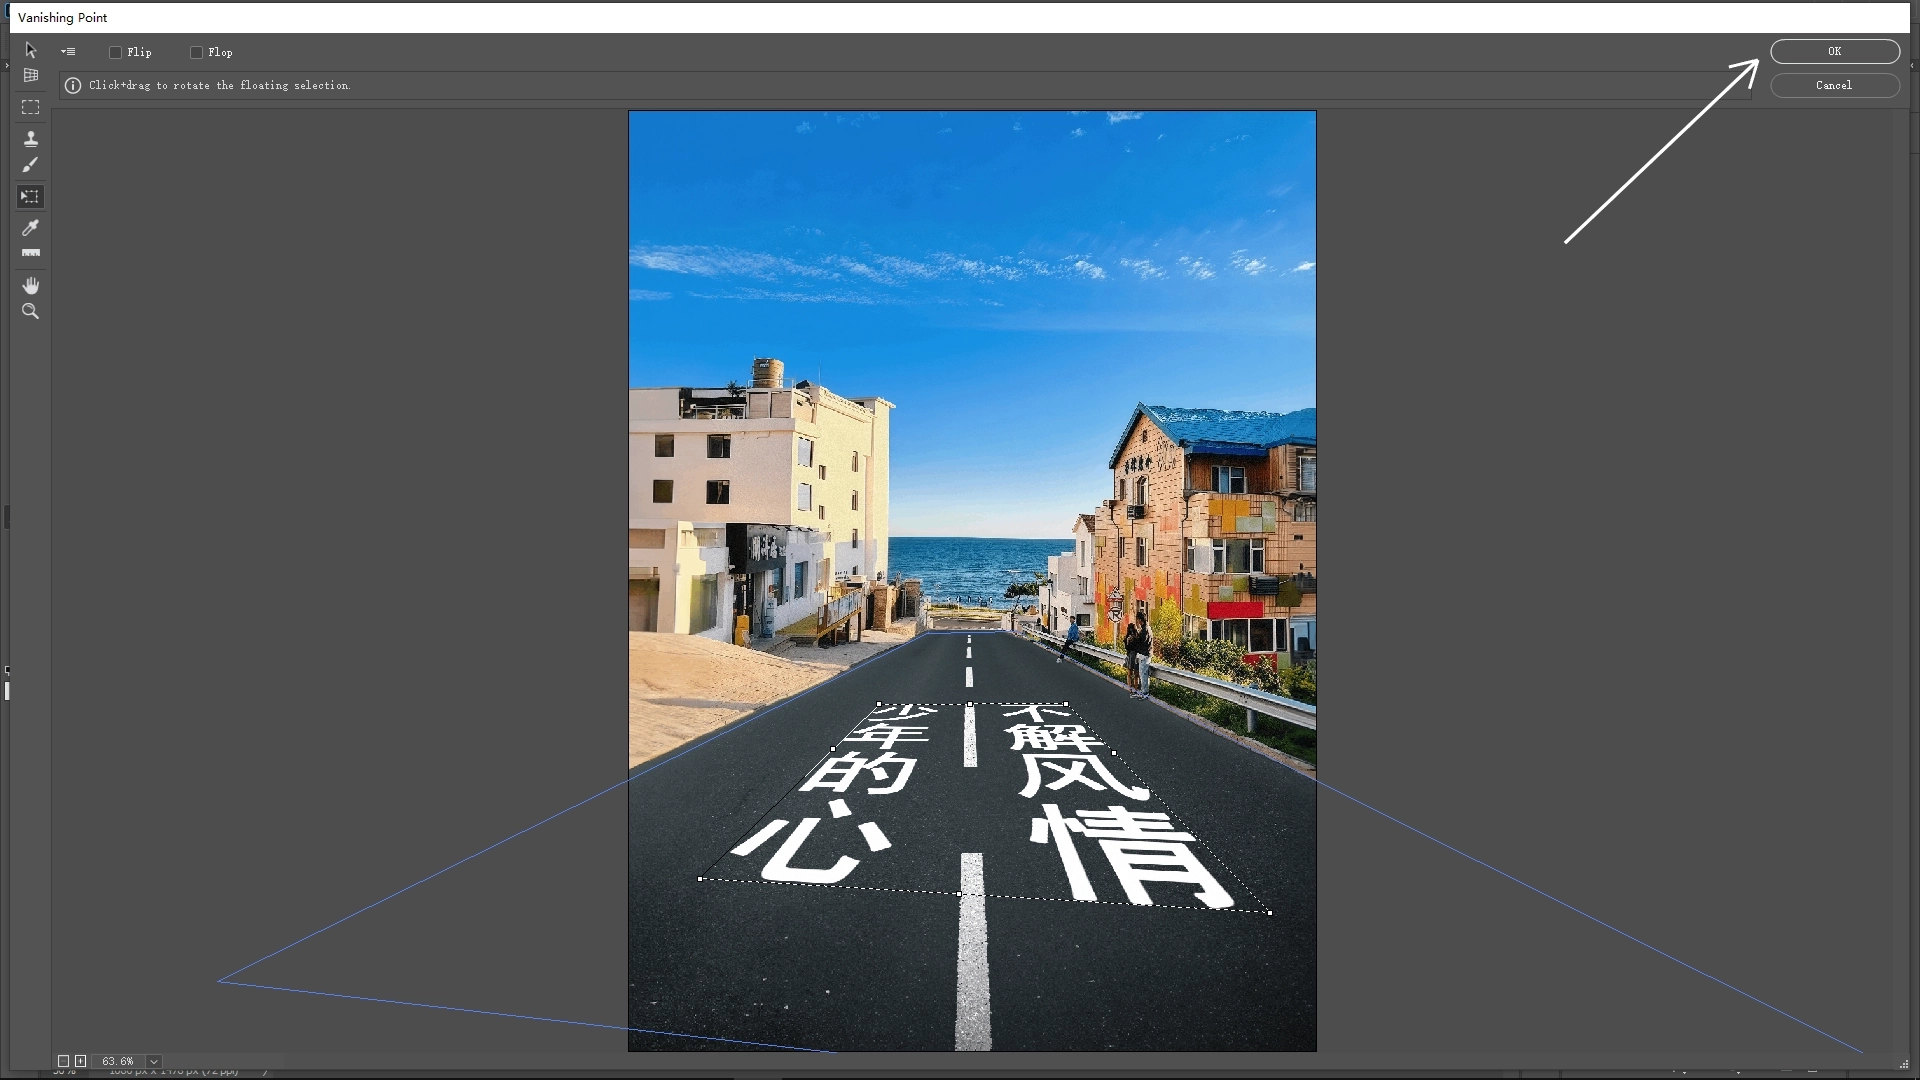
Step 3: Paste Text and Match the Perspective
Paste the Text into the Perspective Grid:
Once the grid is ready, press Ctrl + V (or Cmd + V) to paste the copied text. The text will automatically align and conform to the perspective of the grid.
Fine-Tune the Text:
Press Ctrl + T (or Cmd + T) to transform the pasted text. Adjust the size, rotation, and position as necessary to make the text fit naturally on the road. Press Enter or click the check mark to confirm the transformation.
Step 4: Fine-Tune Using Blending Options
Right-click the layer and select Blending Options.
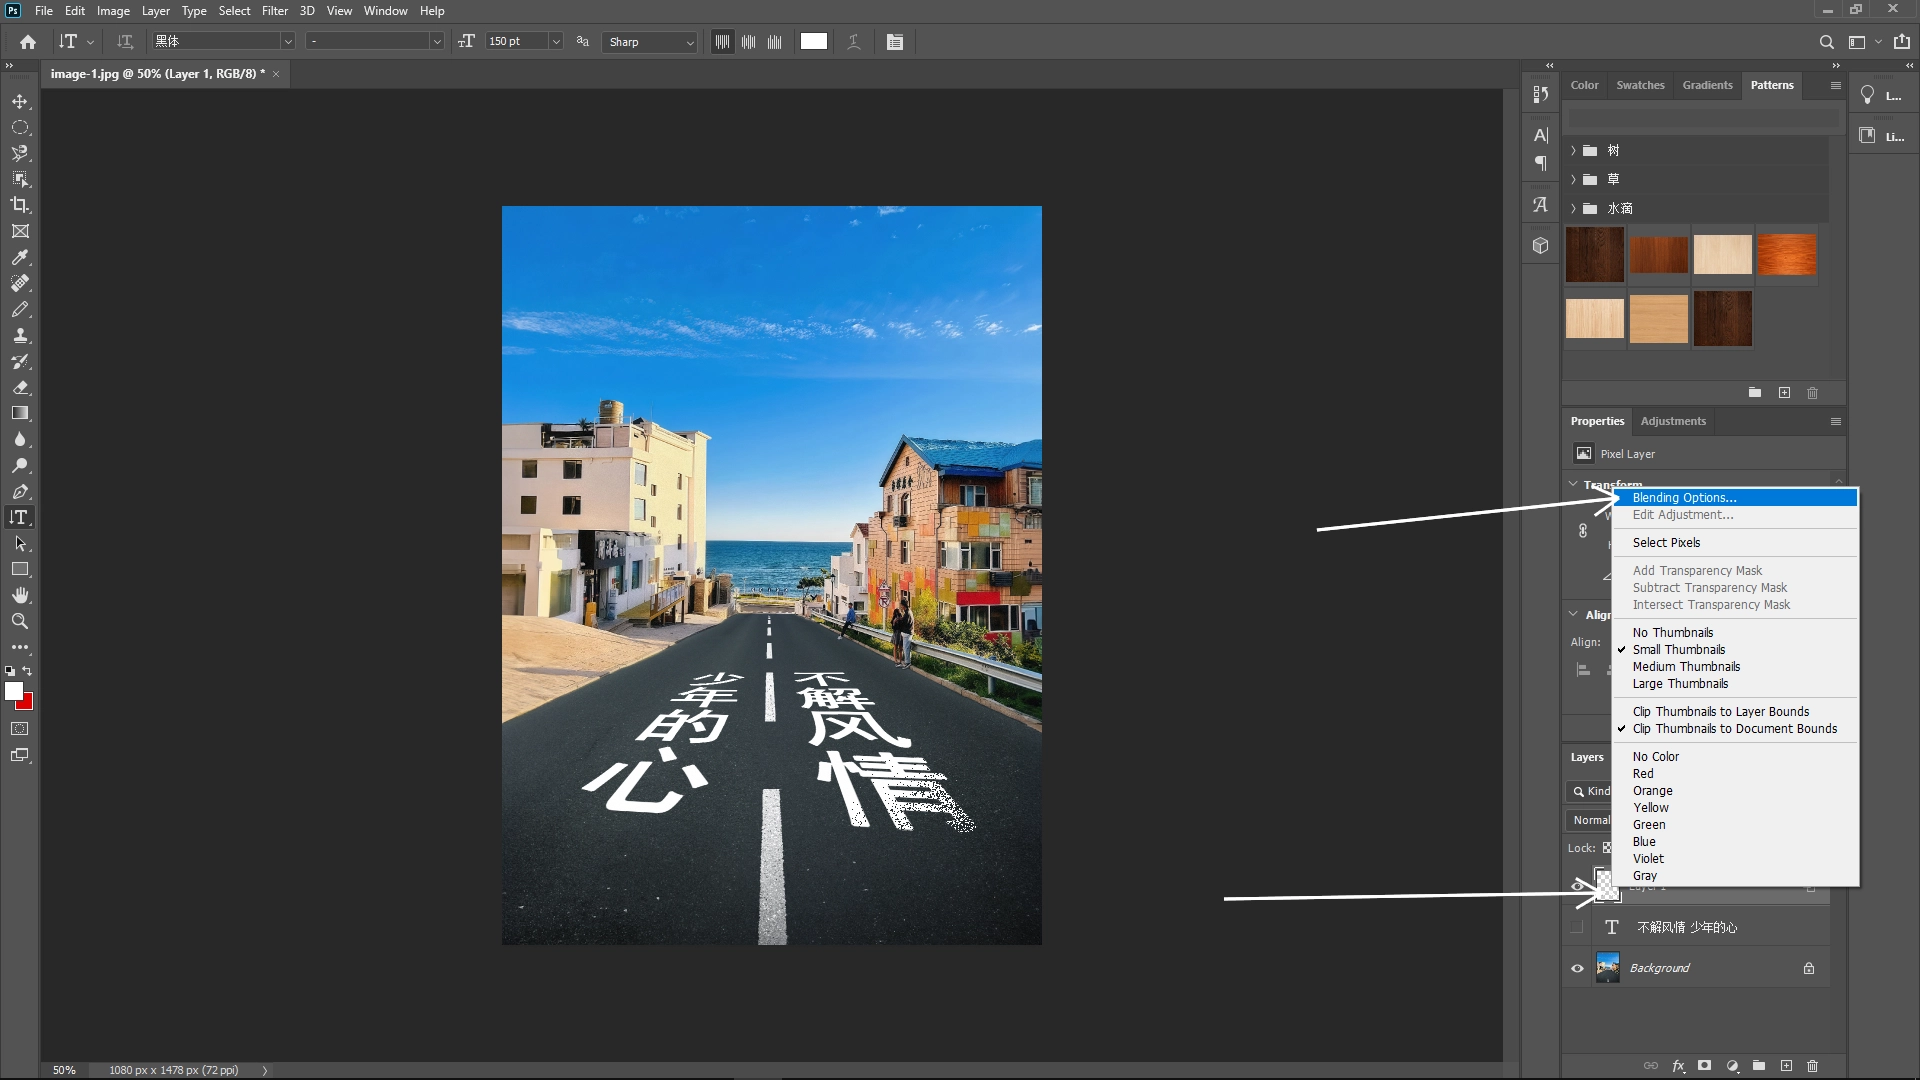
In the Blending Options dialog, locate the 'Blend If' section. Adjust the 'Underlying Layer' sliders to fine-tune which parts of the underlying layers show through the current layer.

By following these steps, your text will appear perfectly integrated with the perspective and texture of the road surface. You can use this method for other surfaces like walls, stairs, or any objects requiring perspective alignment.
Write Reply