Extracting Subjects in Photoshop: Overcome Similar Background Challenges
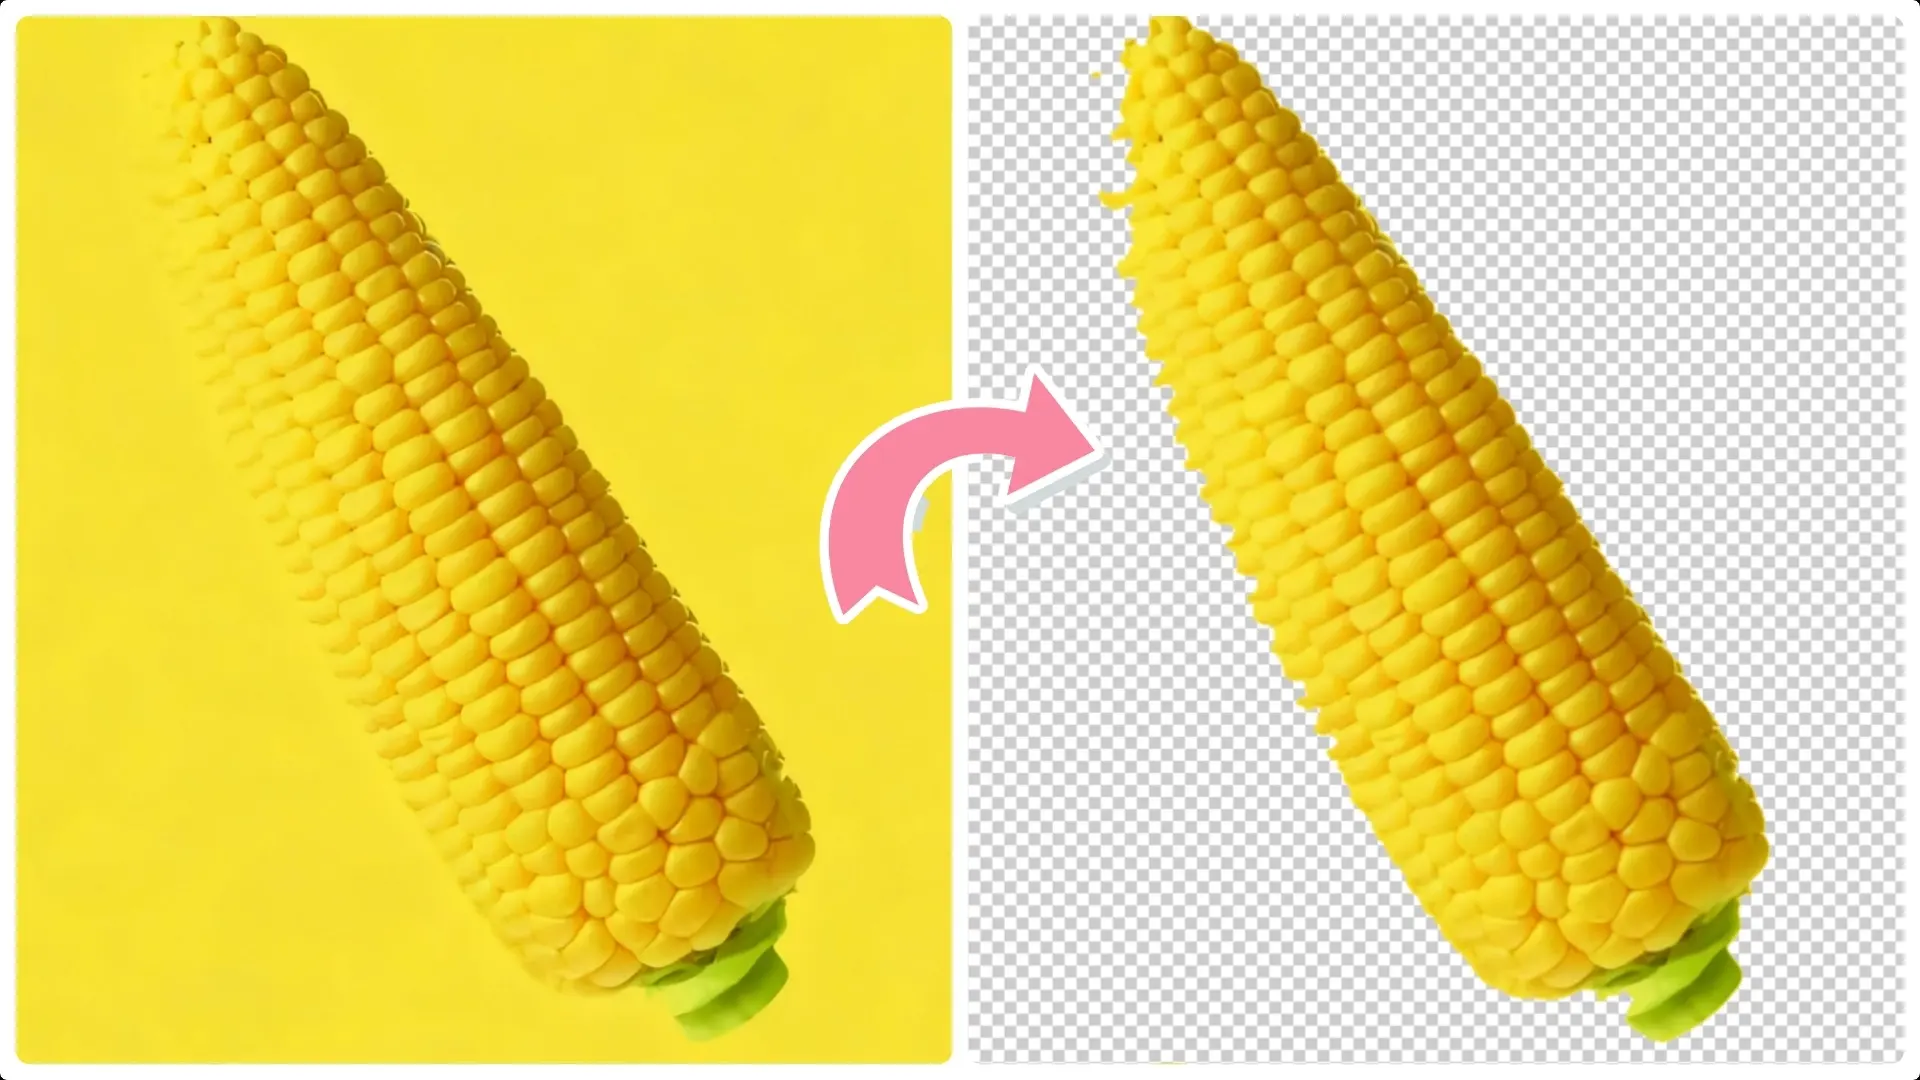
In the realm of digital image editing, extracting a subject from a background can be particularly challenging when the colors of the subject and the background are similar.
This comprehensive guide provides a detailed approach to overcoming these challenges using Photoshop’s advanced tools and features.
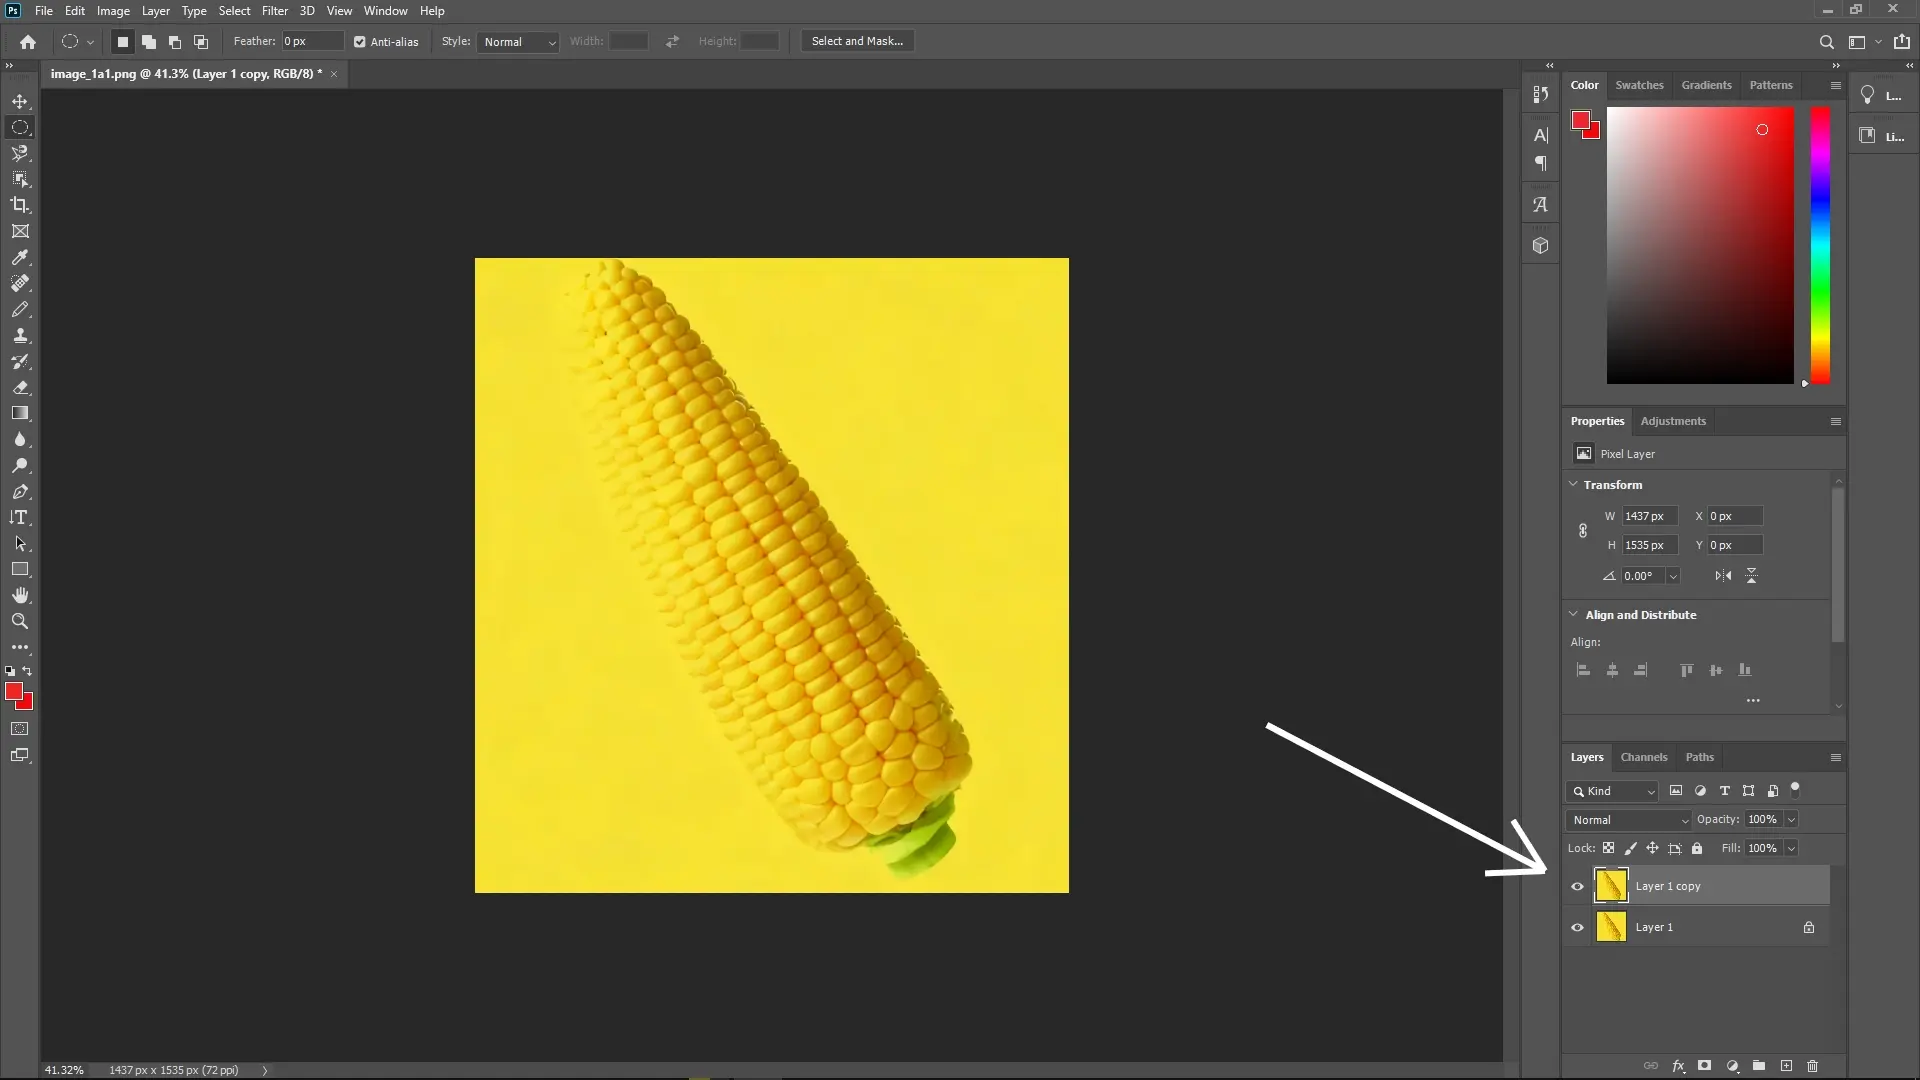
Step 1: Duplicate the Layer
First, make sure your original image layer is selected in the Layers panel.
Press Ctrl + J (Cmd + J on Mac) to duplicate the layer. This creates a copy of your image layer that you can work on without affecting the original.
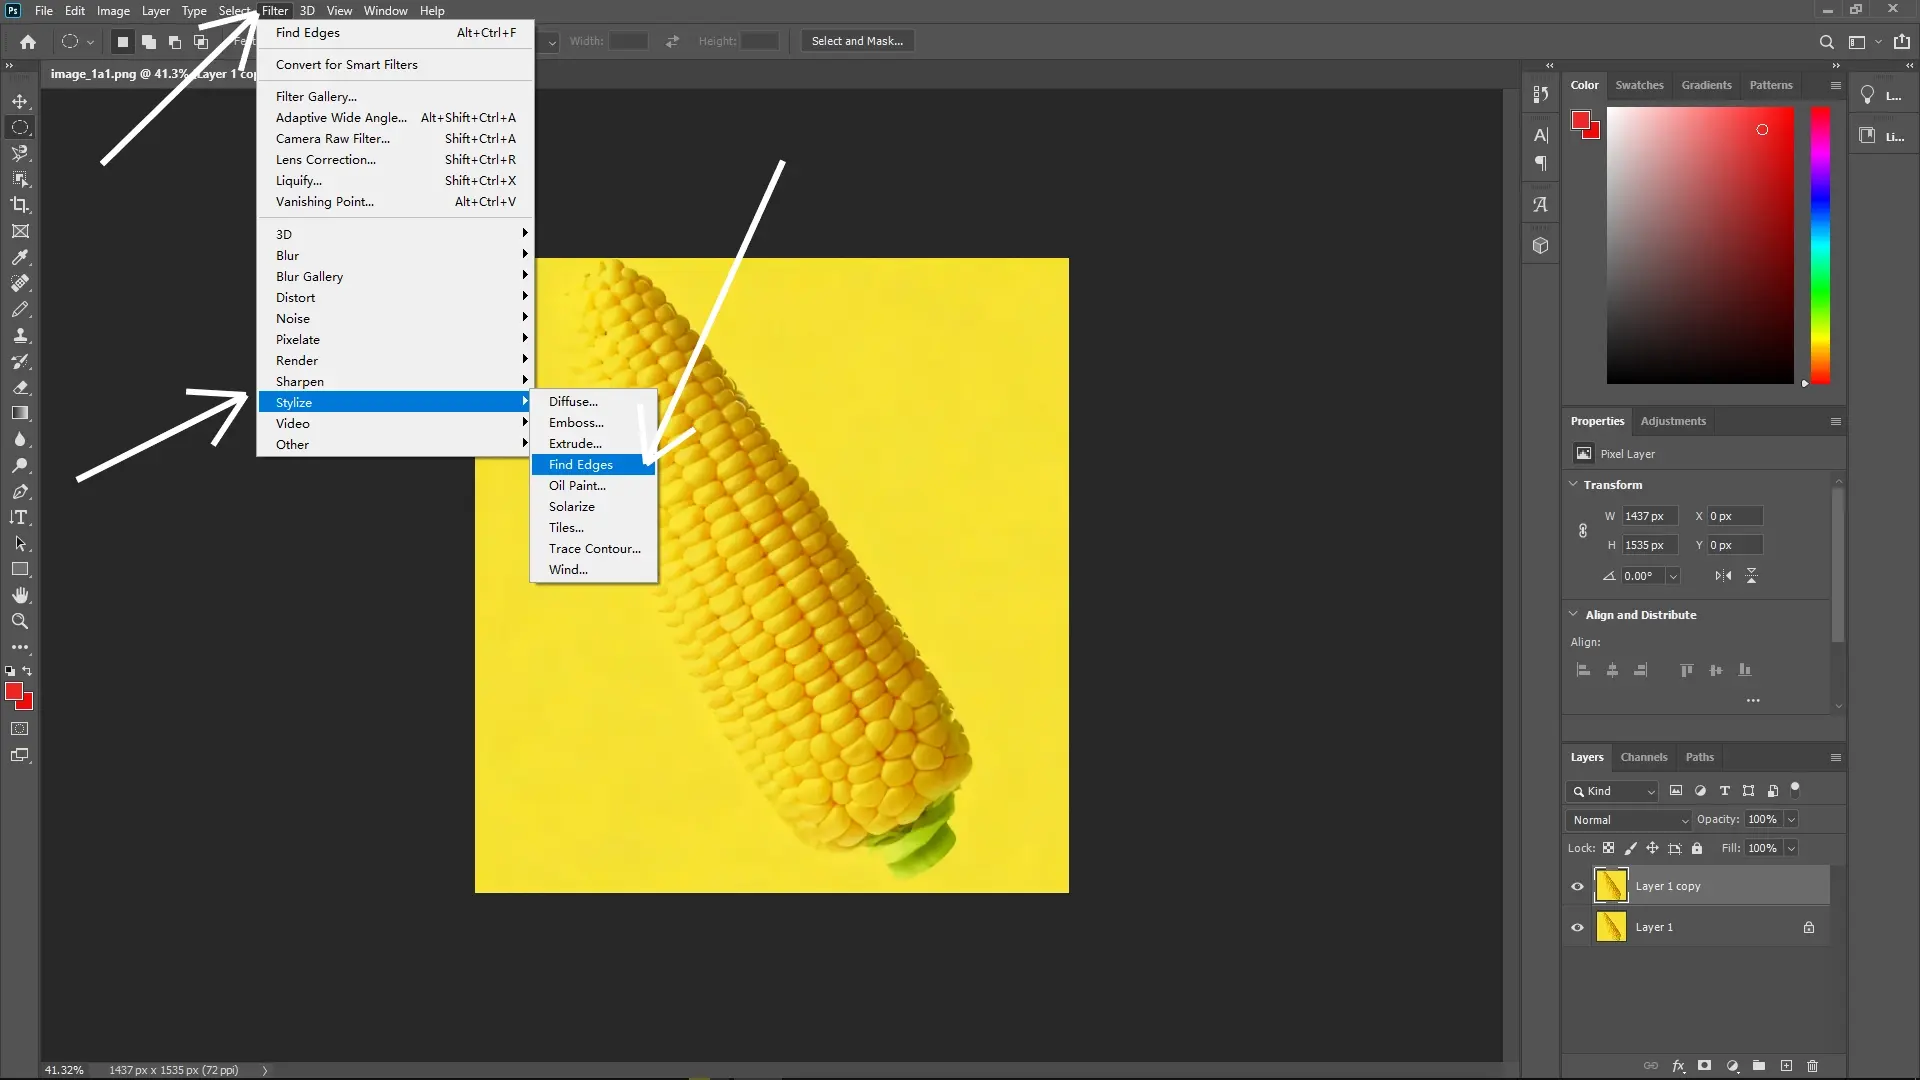
Step 2: Apply Find Edges Filter
With the duplicated layer selected, go to the menu bar at the top of the screen.
Navigate to Filter > Stylize > Find Edges. This filter will highlight the edges in the image, making it easier to identify boundaries.
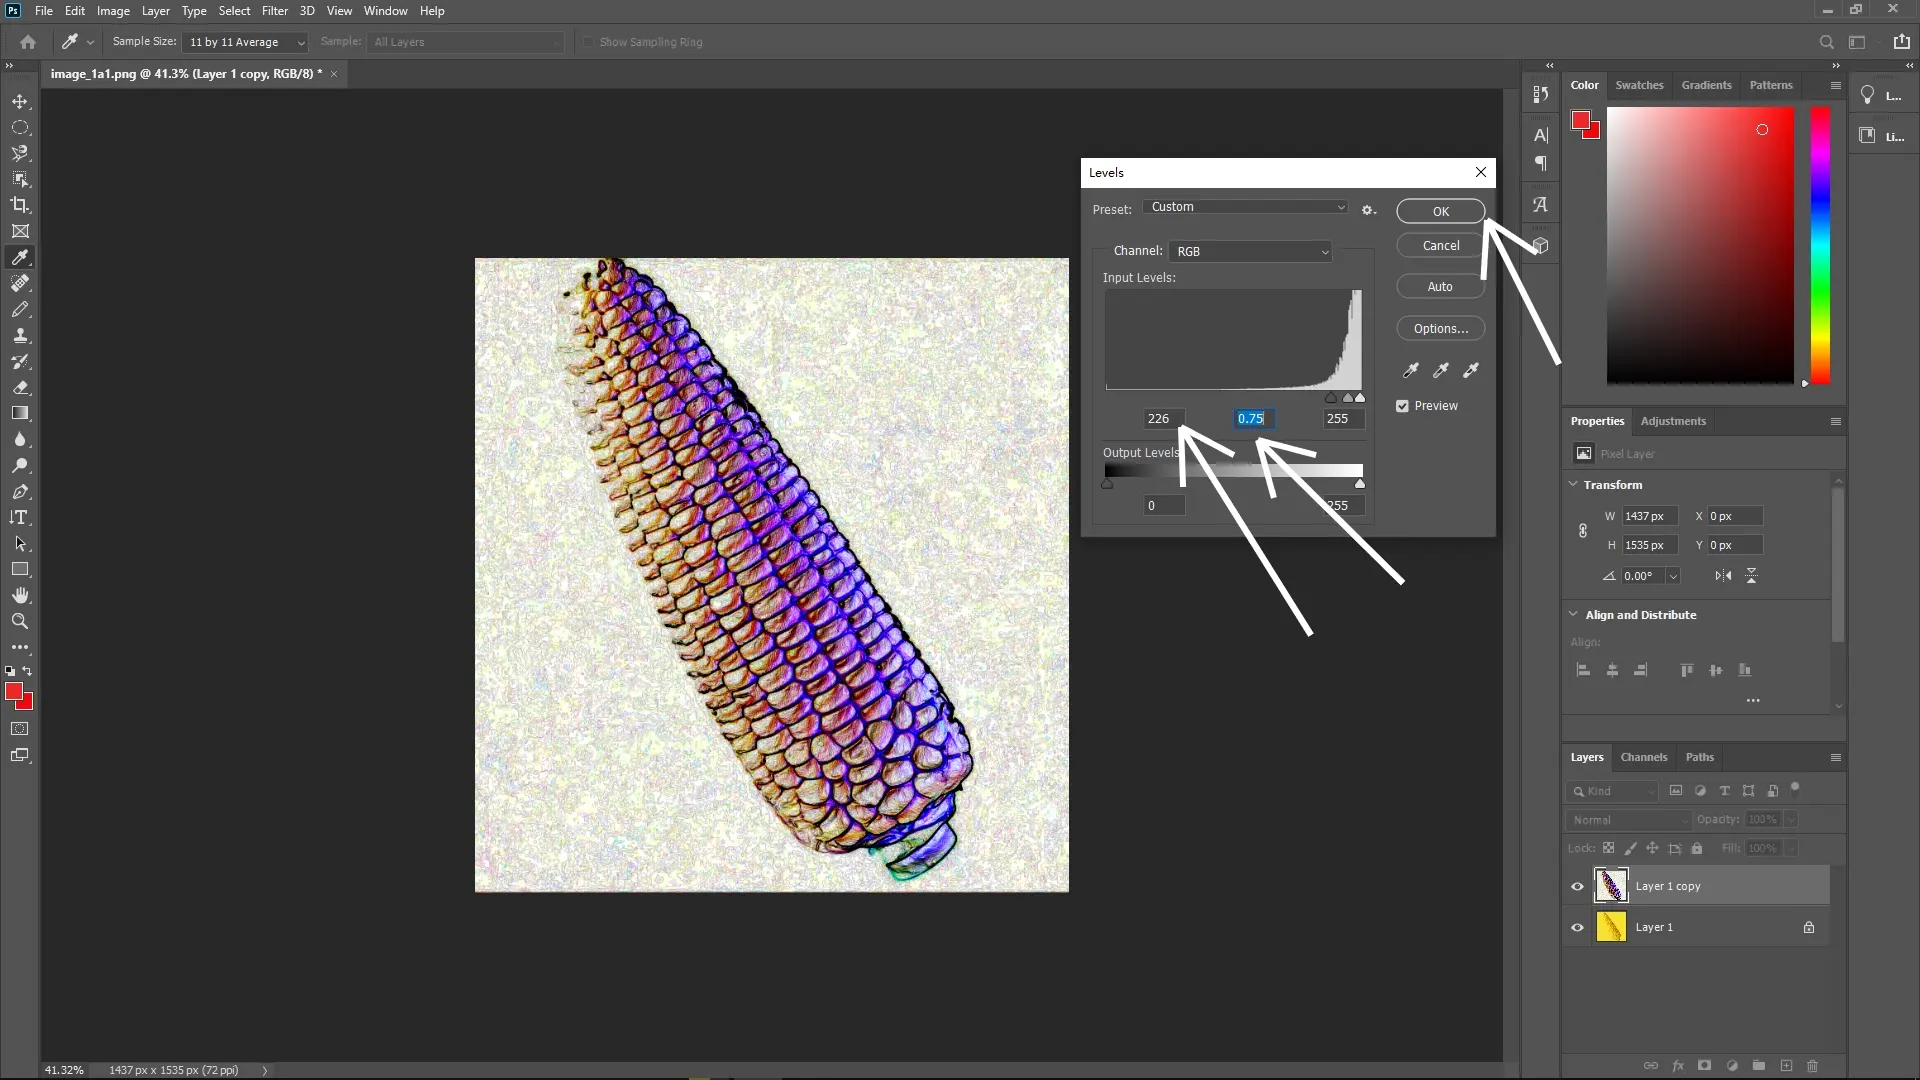
Step 3: Enhance Edge Visibility with Levels
Go to Image > Adjustments > Levels or press Ctrl + L (Cmd + L on Mac).
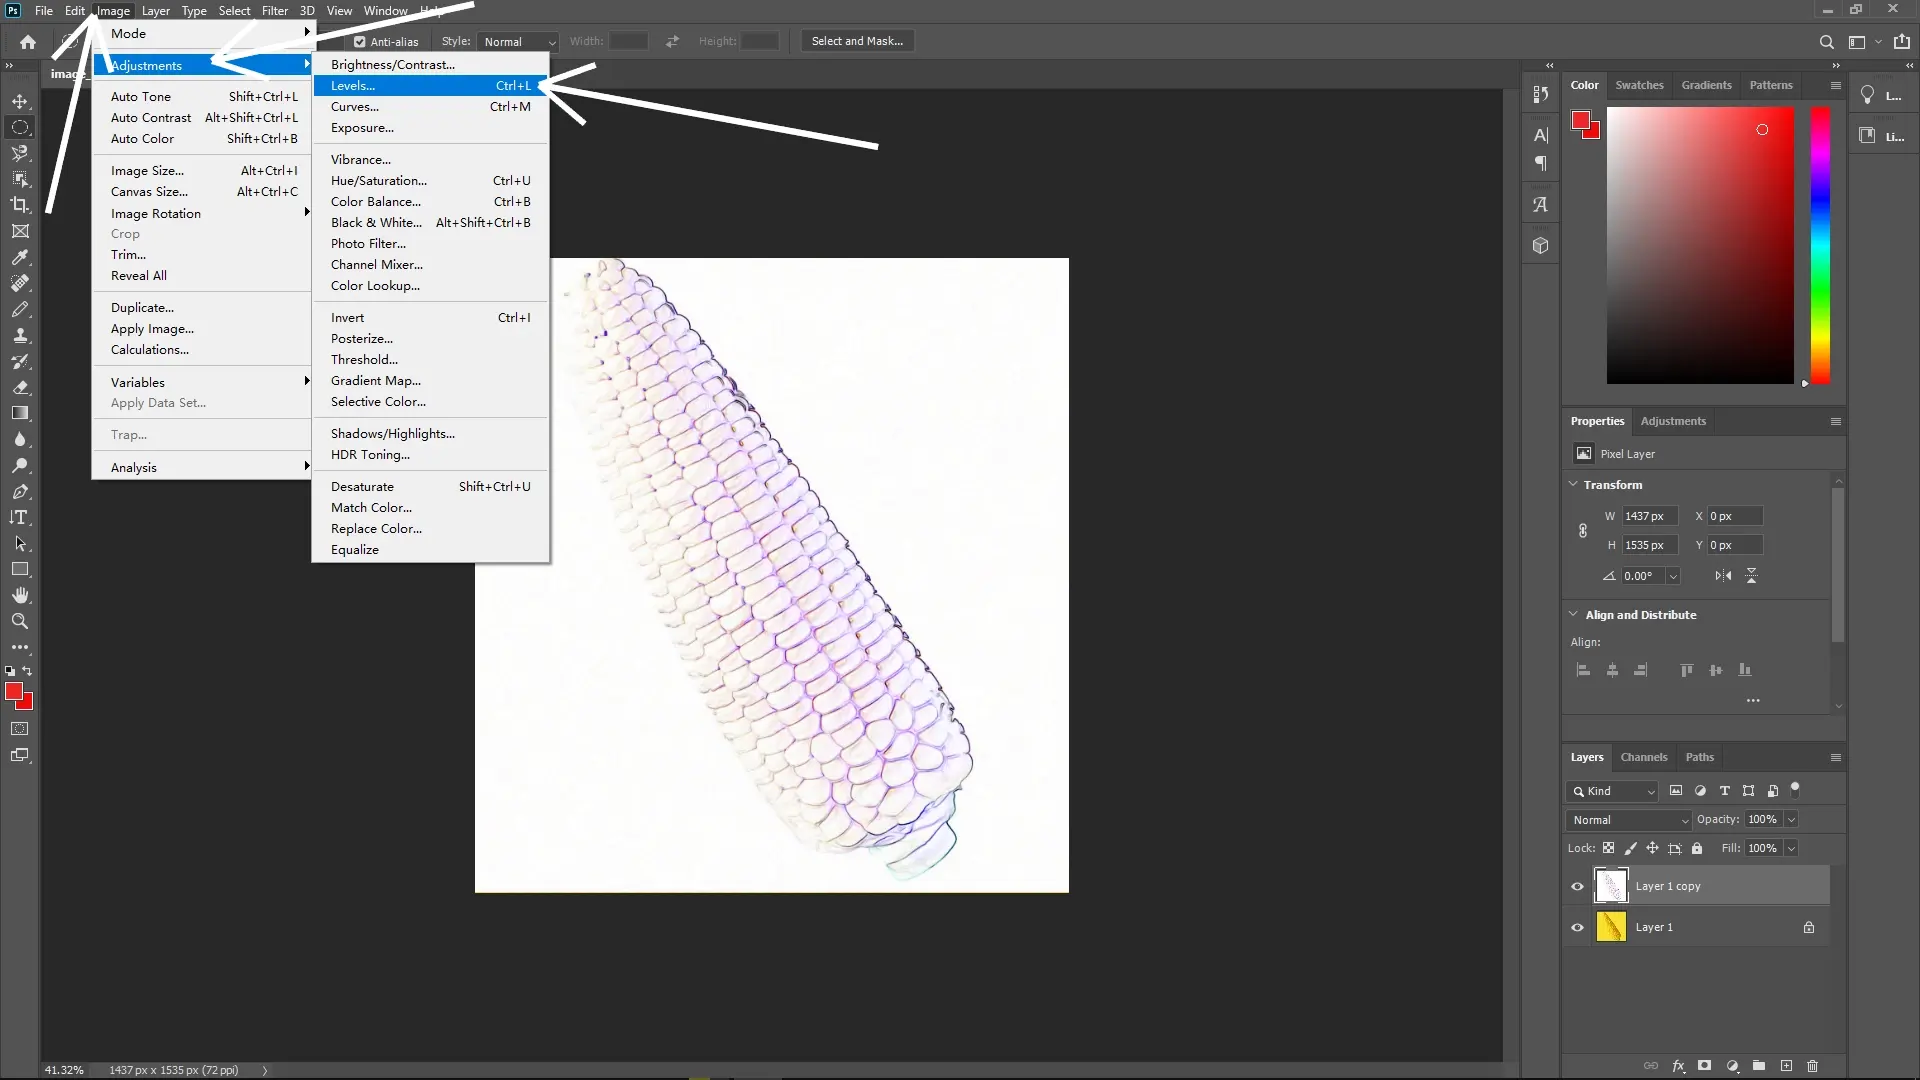
You’ll see a histogram with sliders for shadows, midtones, and highlights. Adjust these sliders to increase contrast and make the edges of the subject more pronounced. Typically, you’ll move the shadow slider to the right and the highlight slider to the left to sharpen the edges.
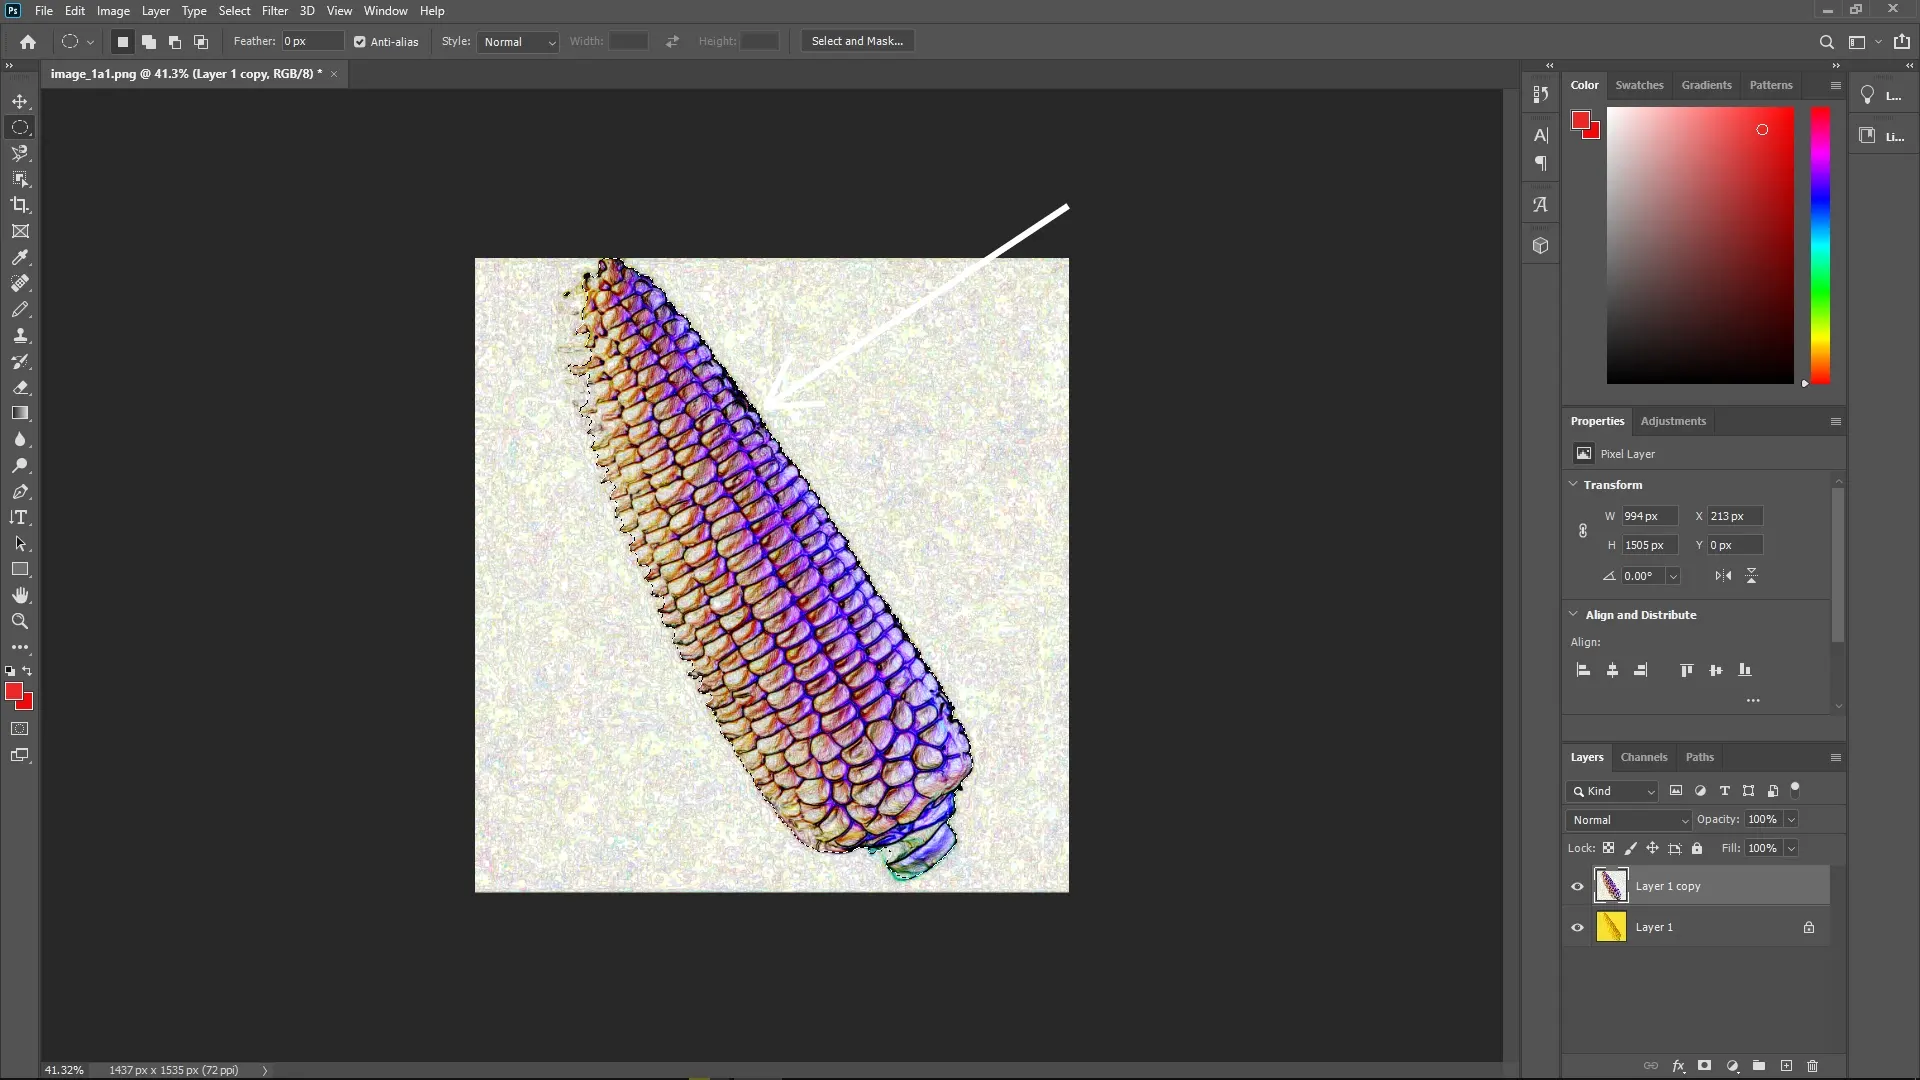
Step 4: Select the Subject
Now that the edges are more visible, use the Select Subject feature. Go to Select > Subject.
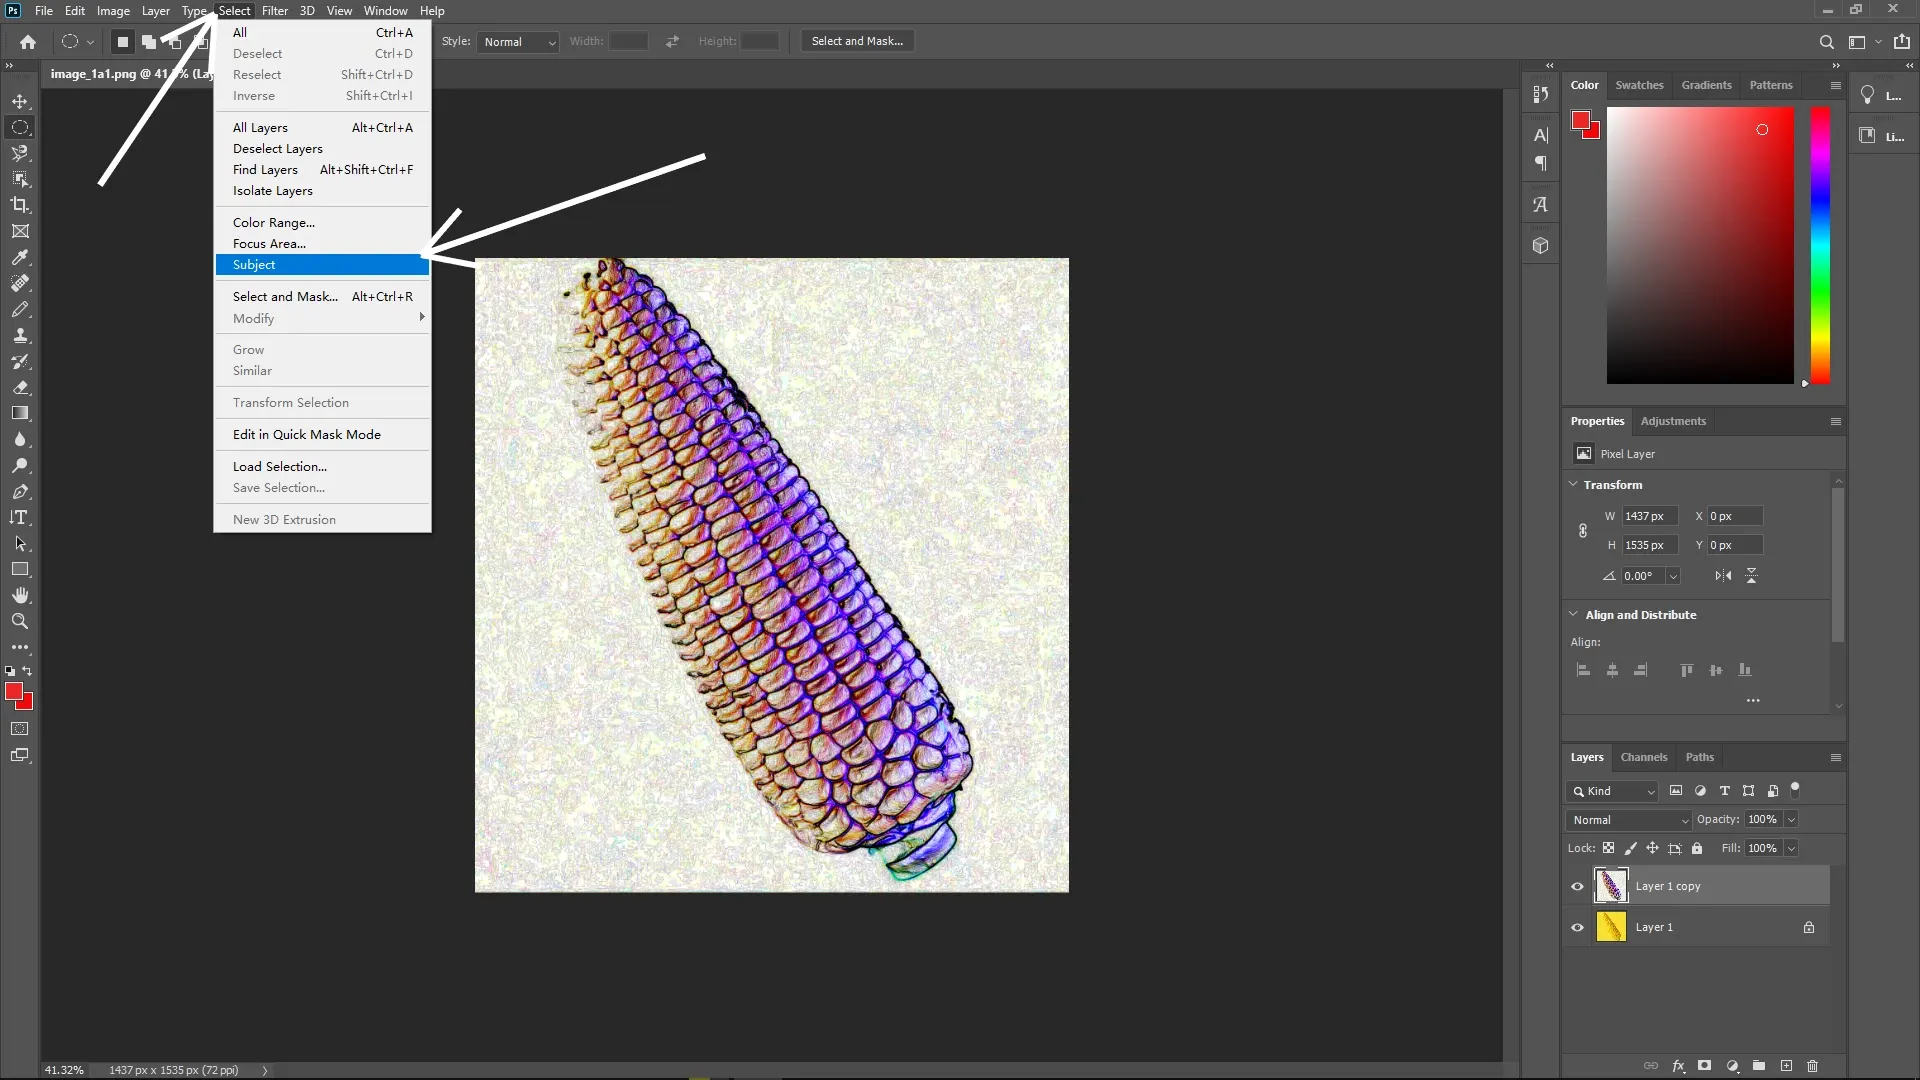
Photoshop will analyze the image and create a selection around the most prominent subject based on the enhanced edges and contrast.
Step 5: Hide Other Layers
Click the visibility eye icon next to other layers in the Layers panel to turn them off. This helps focus on the layer you’re working on without distraction.
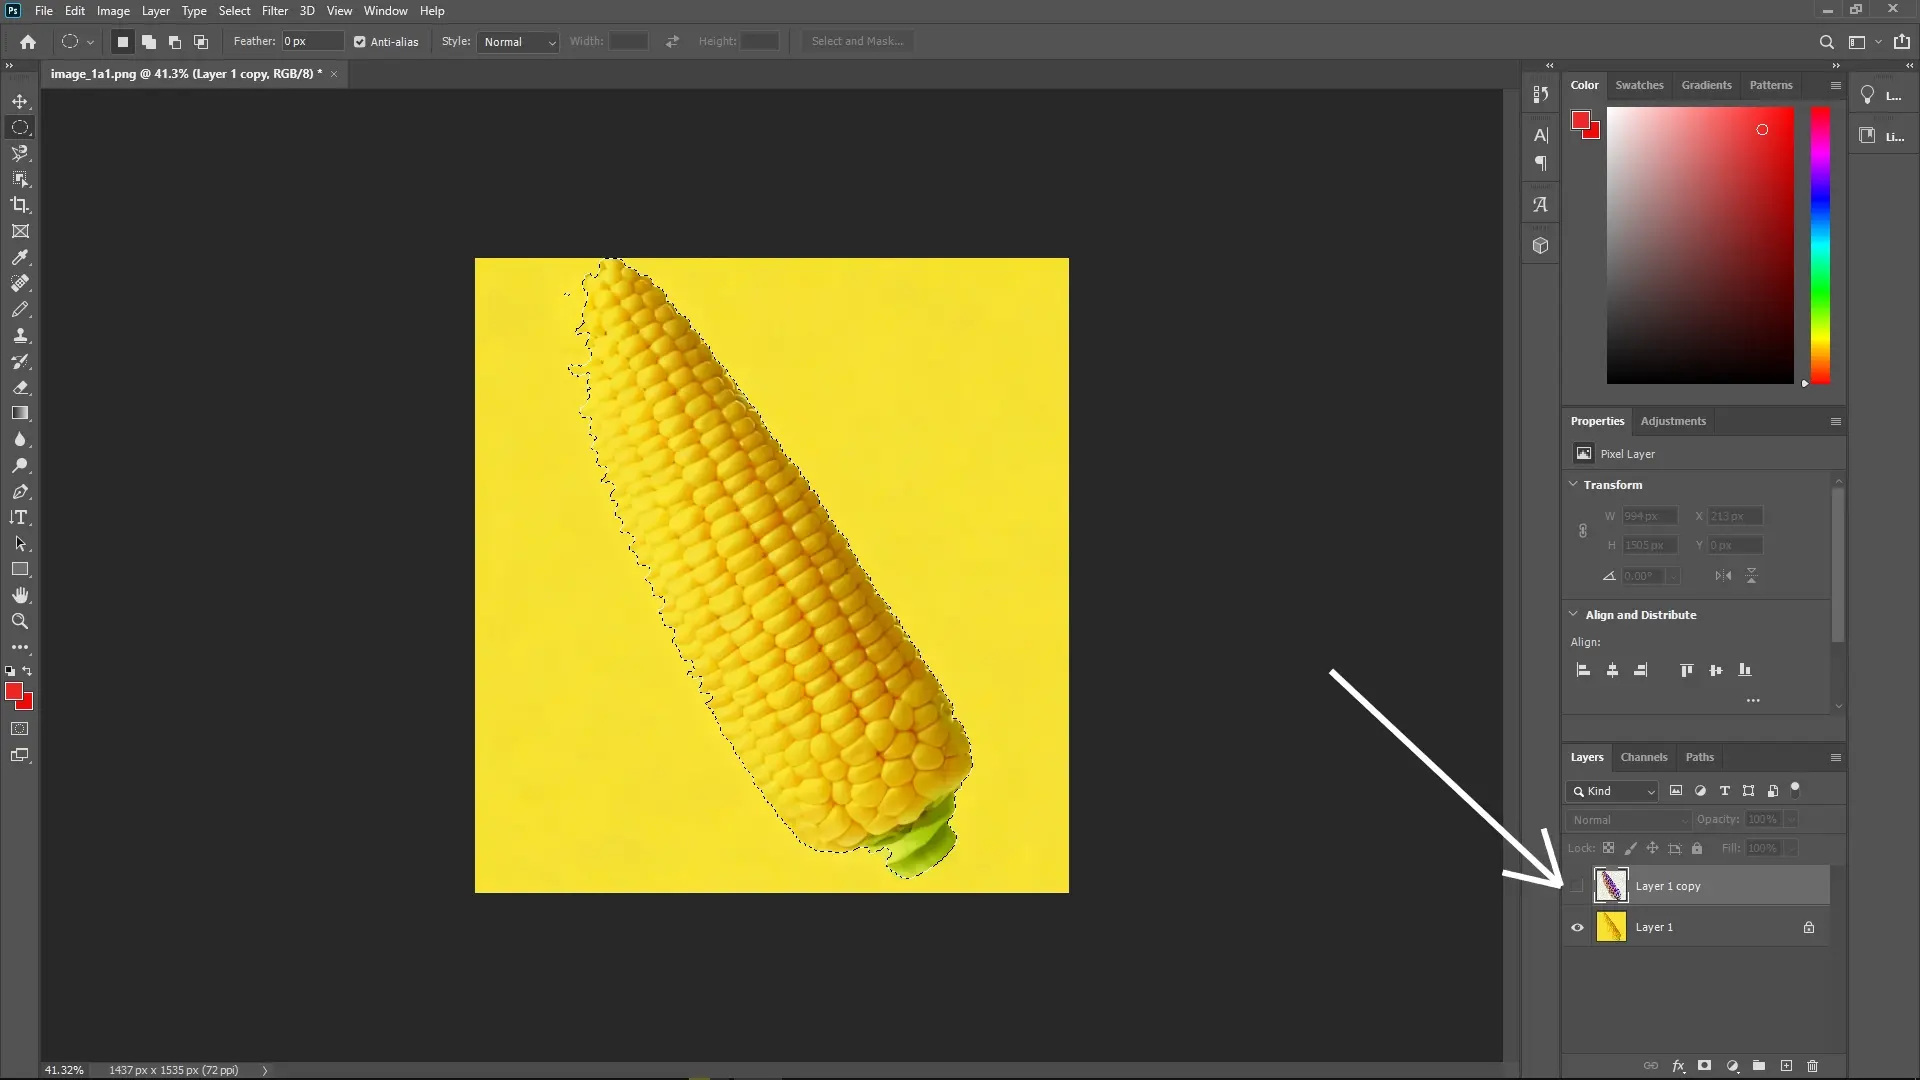
Step 6: Add a Layer Mask to the Original Layer
Click back on the original image layer in the Layers panel.
With your selection still active, click the Add Layer Mask button at the bottom of the Layers panel (it looks like a rectangle with a circle in it). This masks out everything except the subject, allowing you to isolate it based on your selection.

Step 7: Refine the Mask (Optional)
If needed, refine the layer mask by clicking on it and using the Brush tool to paint over the mask. Use black to hide areas and white to reveal them.
For more precision, use the Select and Mask workspace to fine-tune edges, add feathering, or apply contrast adjustments.
Write Reply