How to Extract a Transparent Object in Photoshop
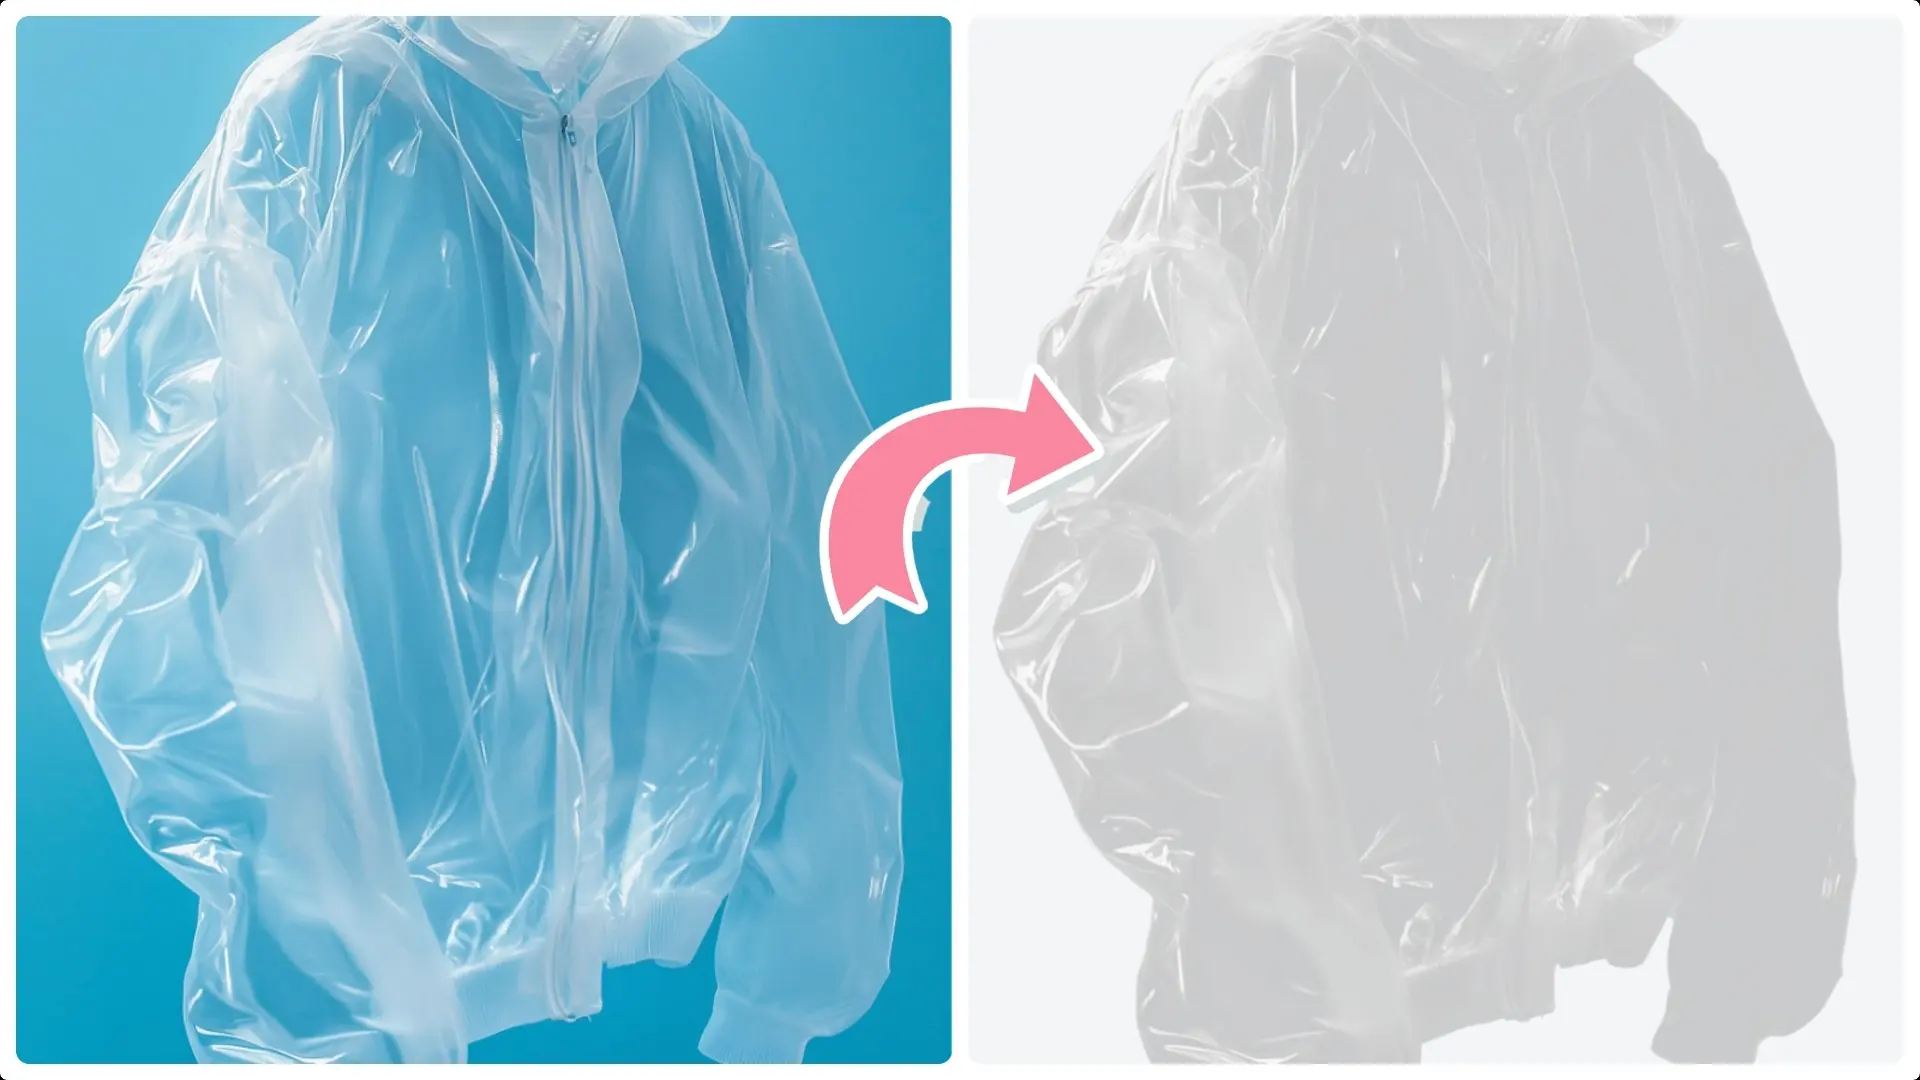
Extracting transparent objects from images can be a challenging task, especially when dealing with intricate details and subtle edges.
Whether you're working on a creative design project or refining product images, mastering this skill in Photoshop opens up endless possibilities for customization and enhancement.
In this guide, we'll take you step by step through the process of selecting, isolating, and refining transparent objects to create stunning visuals.
Even if you're new to Photoshop, these techniques are simple to follow and will help you achieve professional-looking results in no time!
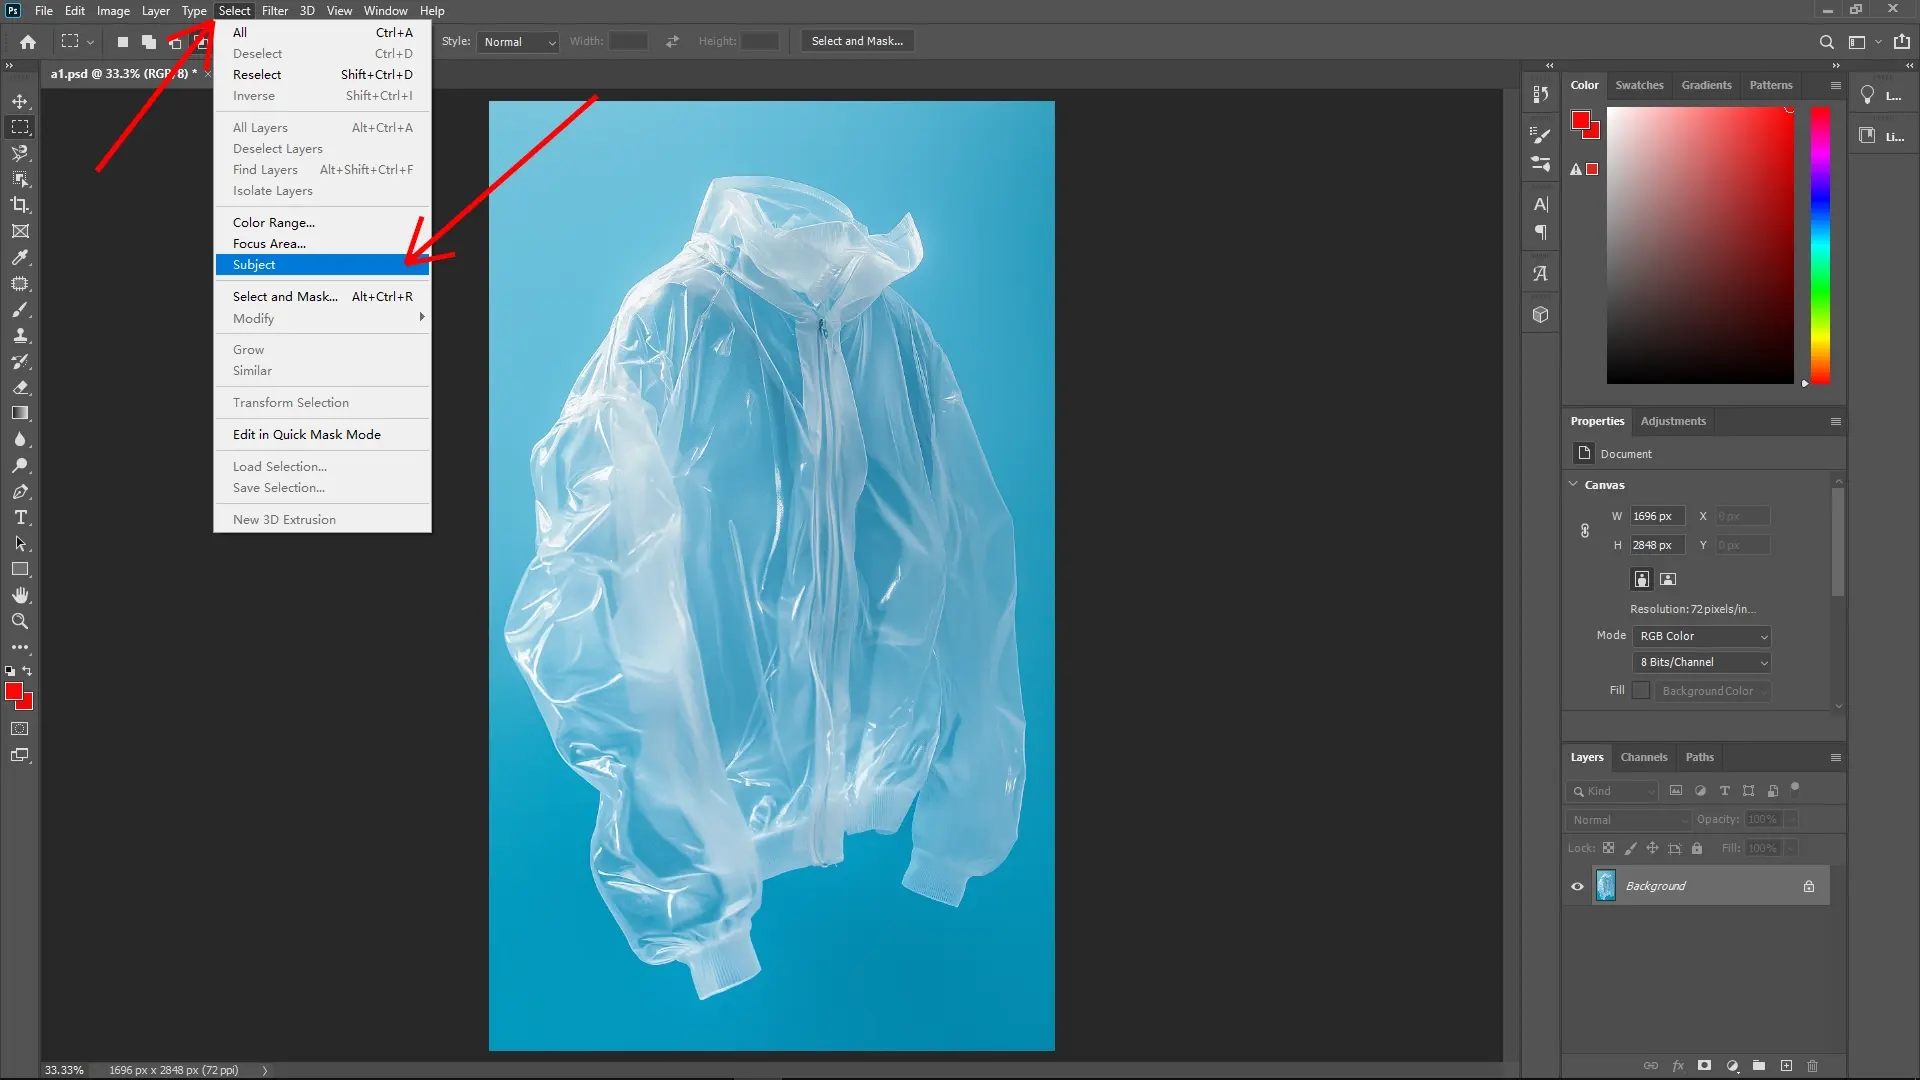
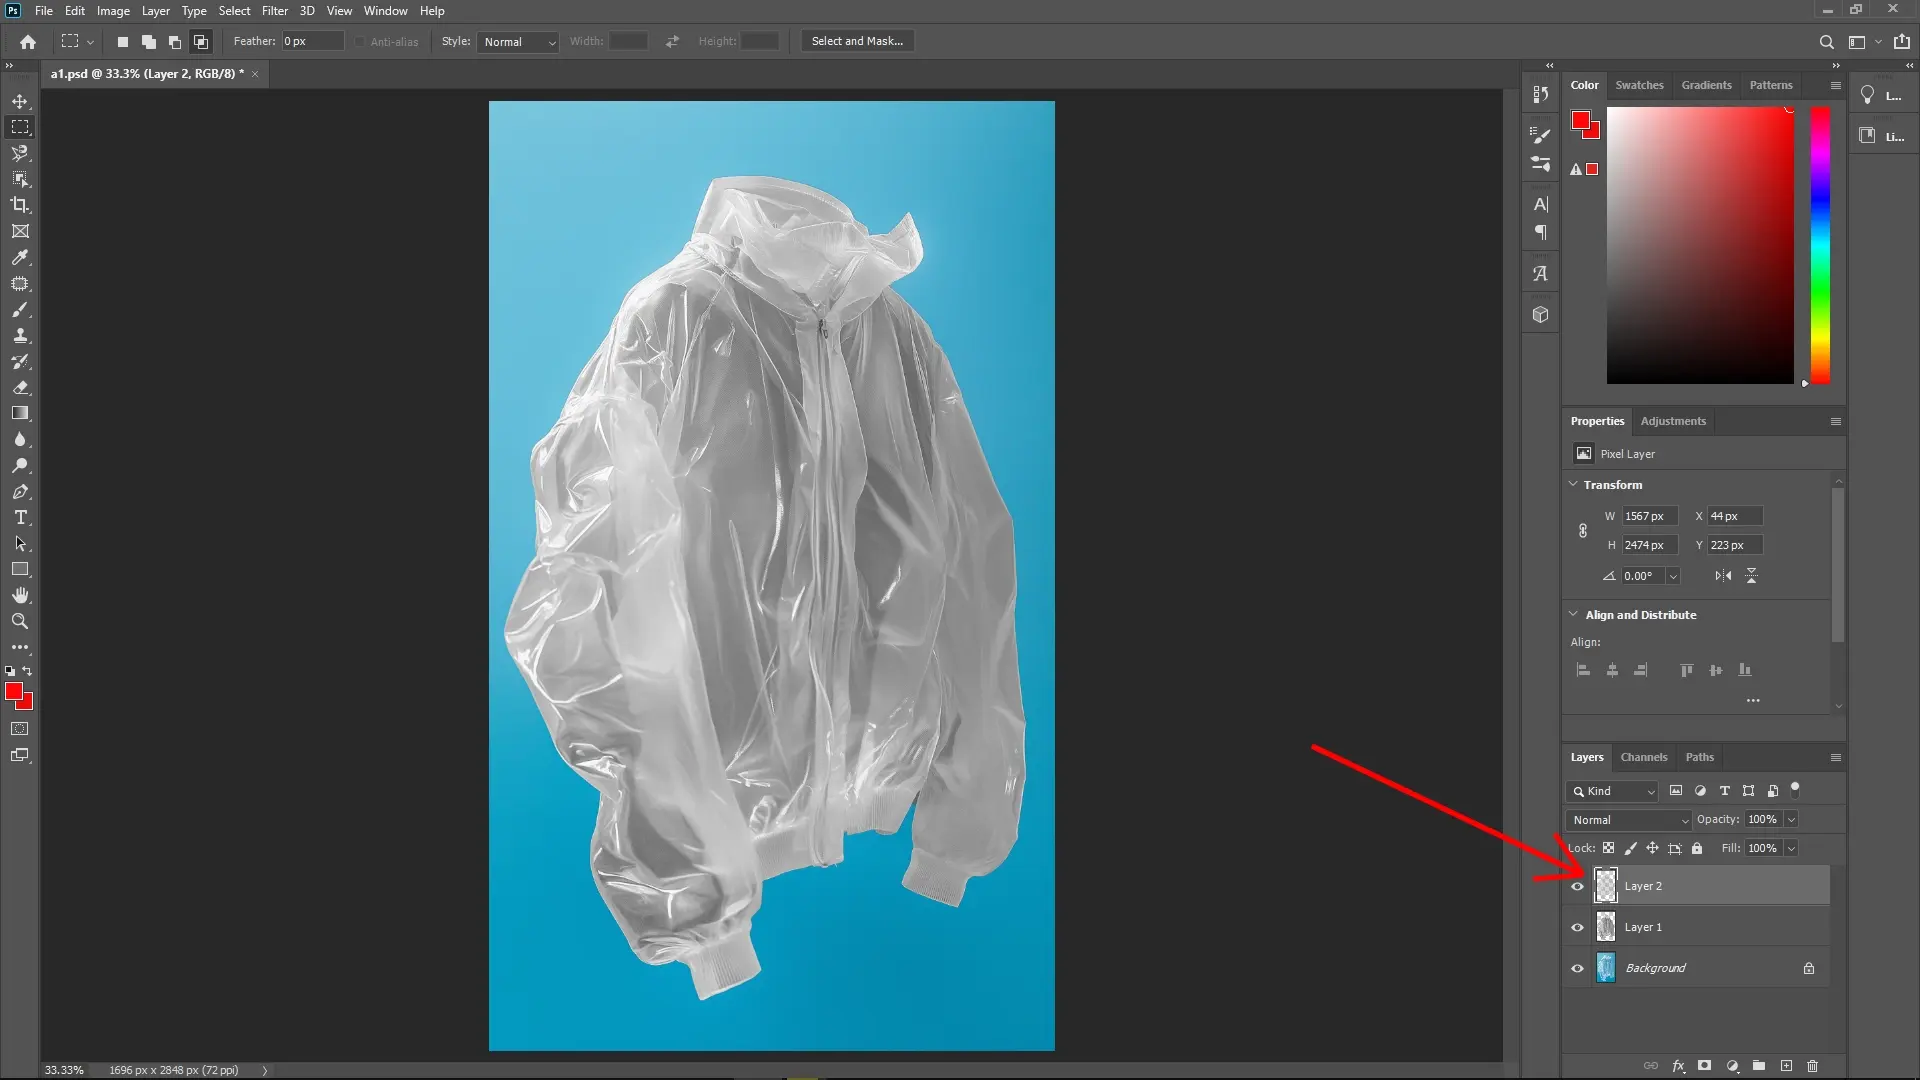
Step 1: Select the Object
Select the SubjectGo to Select > Subject. This will automatically select the main object in your image.
 Refine the Selection
Inspect the selection to ensure the entire object is included. If parts are missing, hold Shift and use the Lasso Tool to manually add them to your selection.
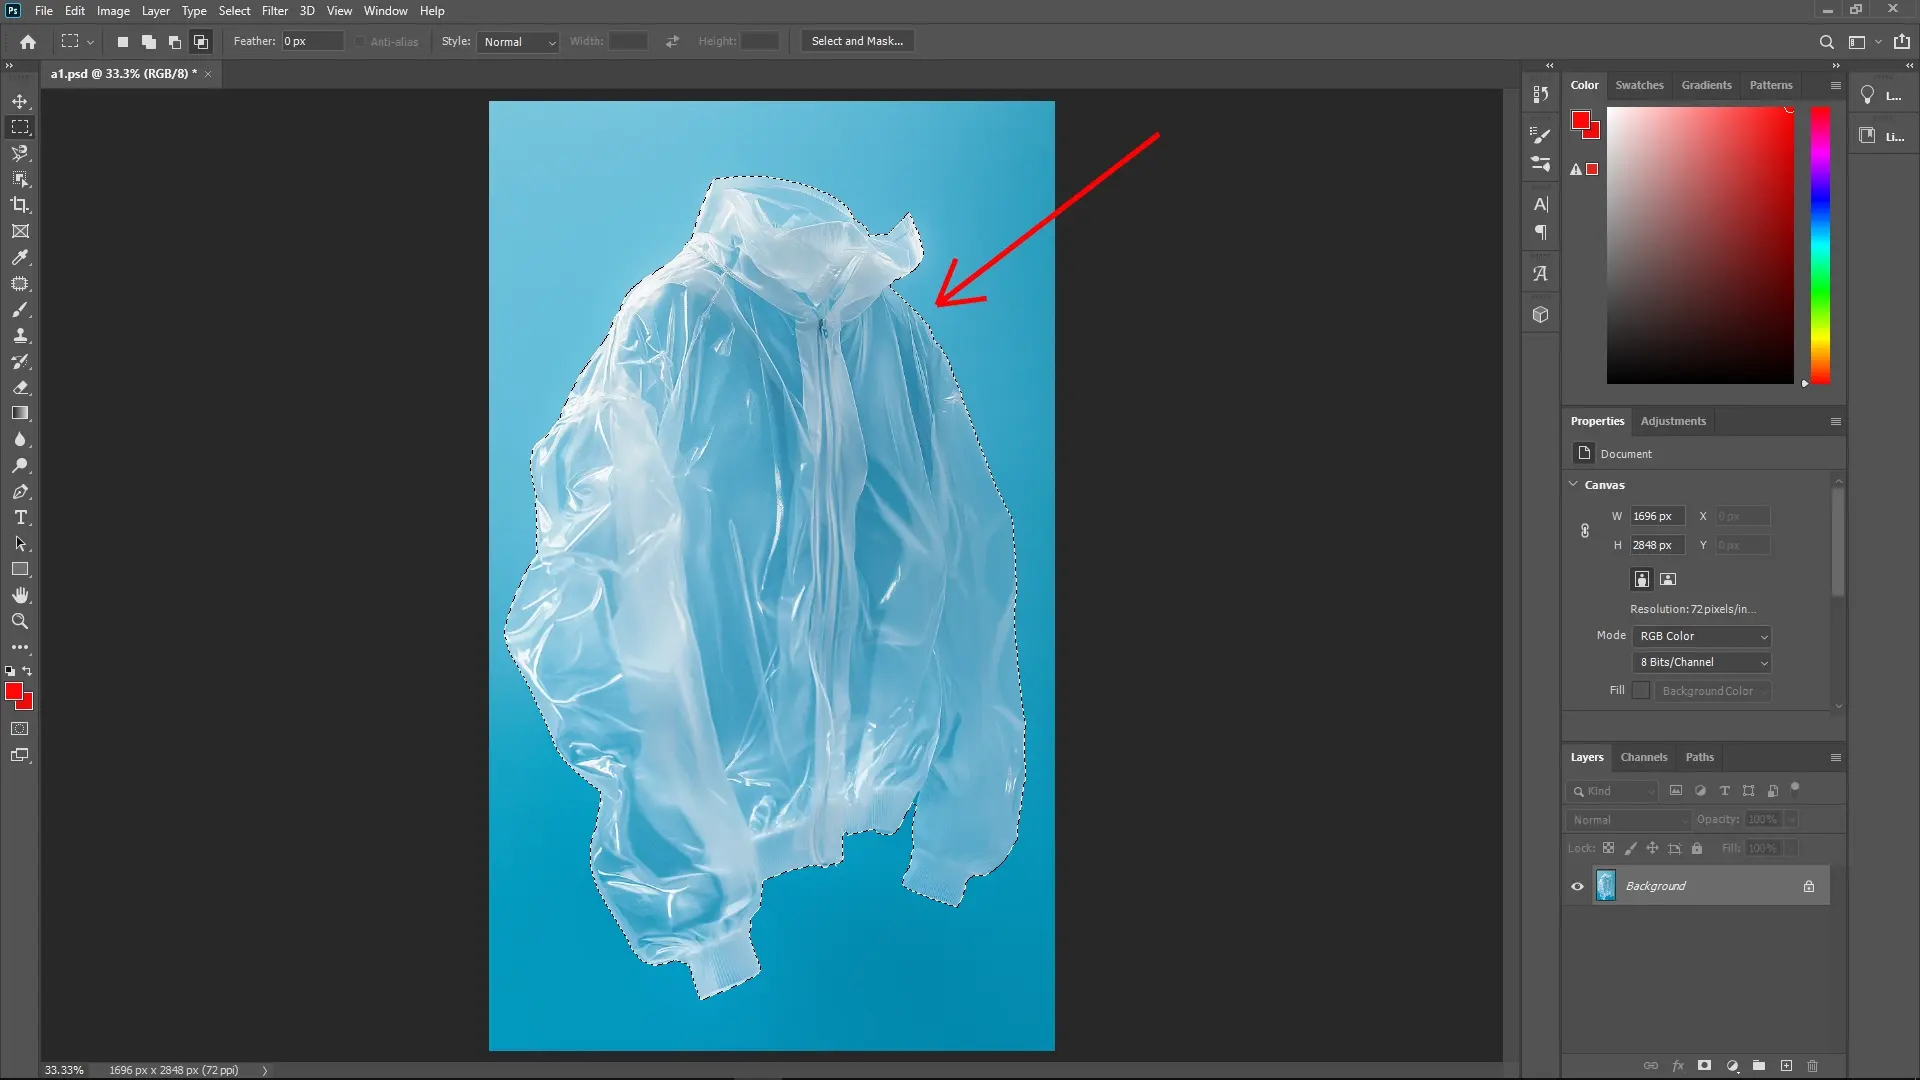
Tip: It's often useful to zoom in for greater control.
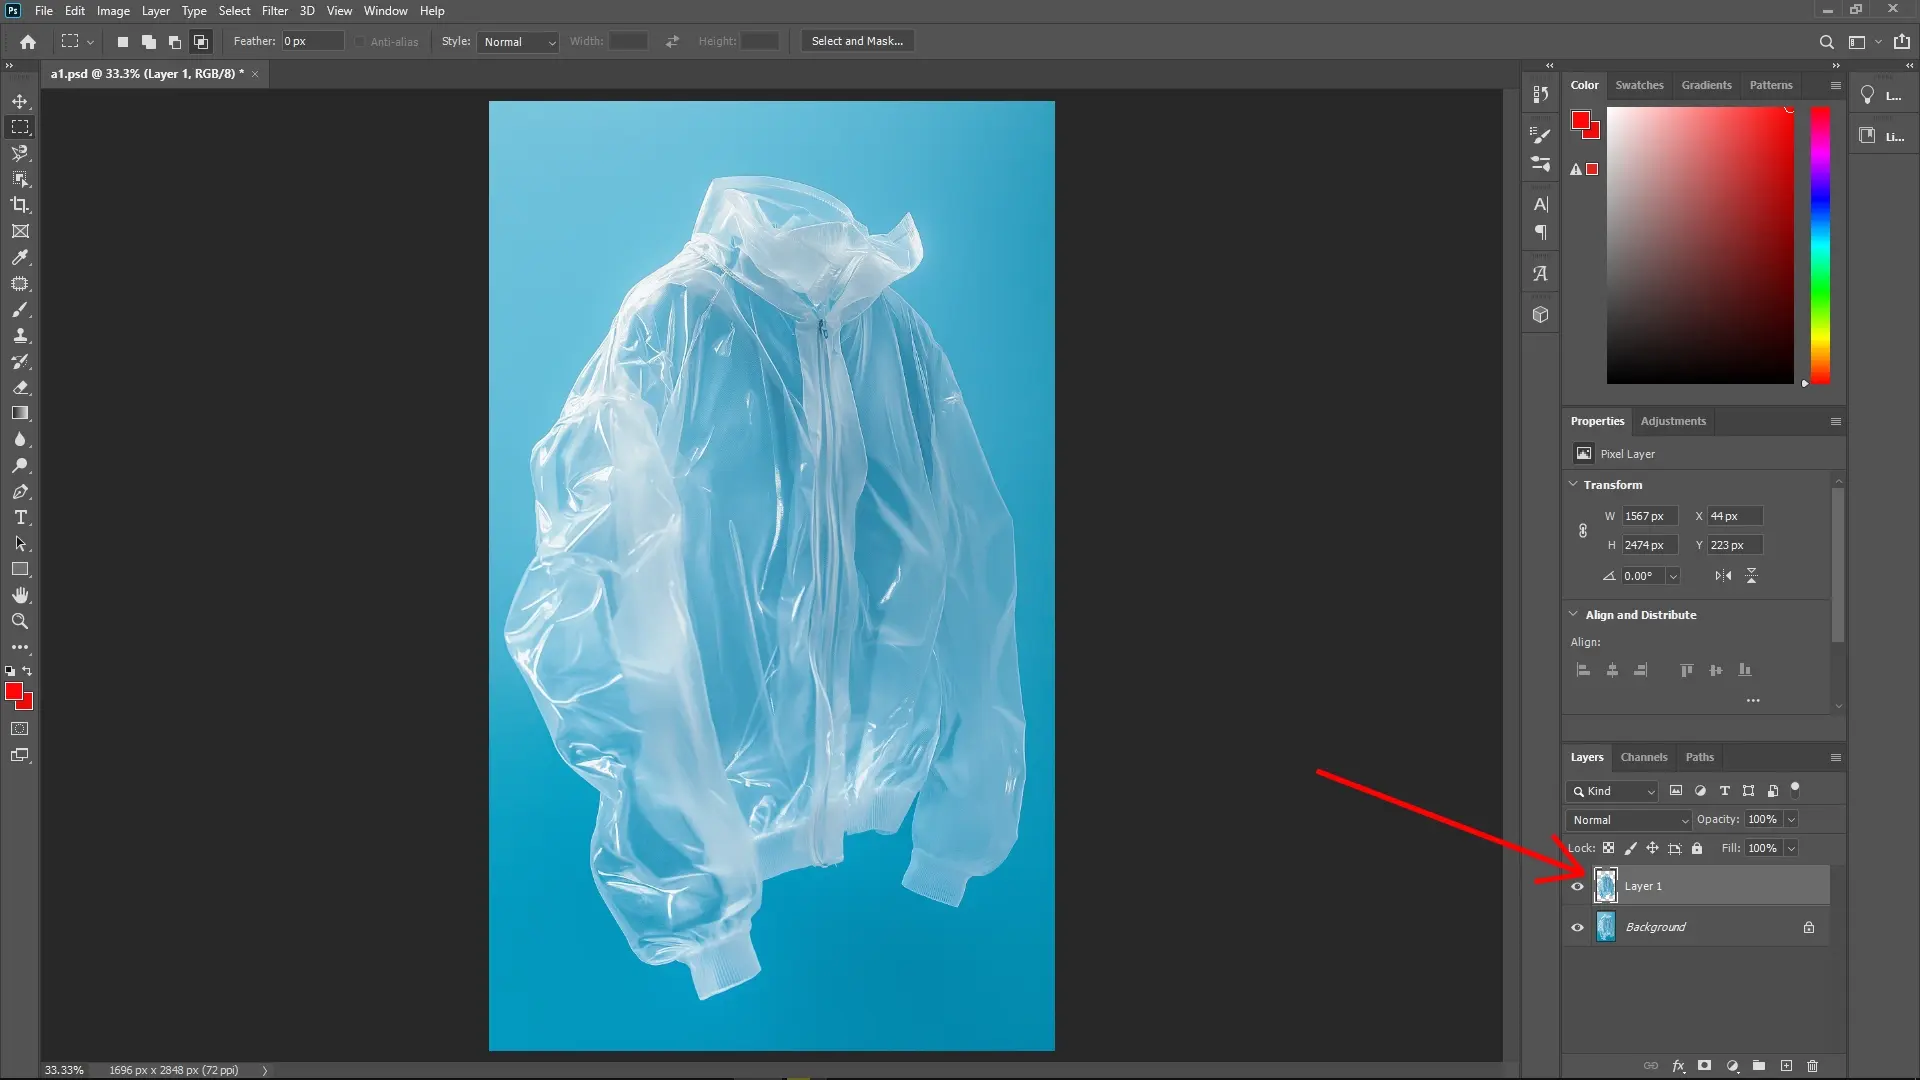
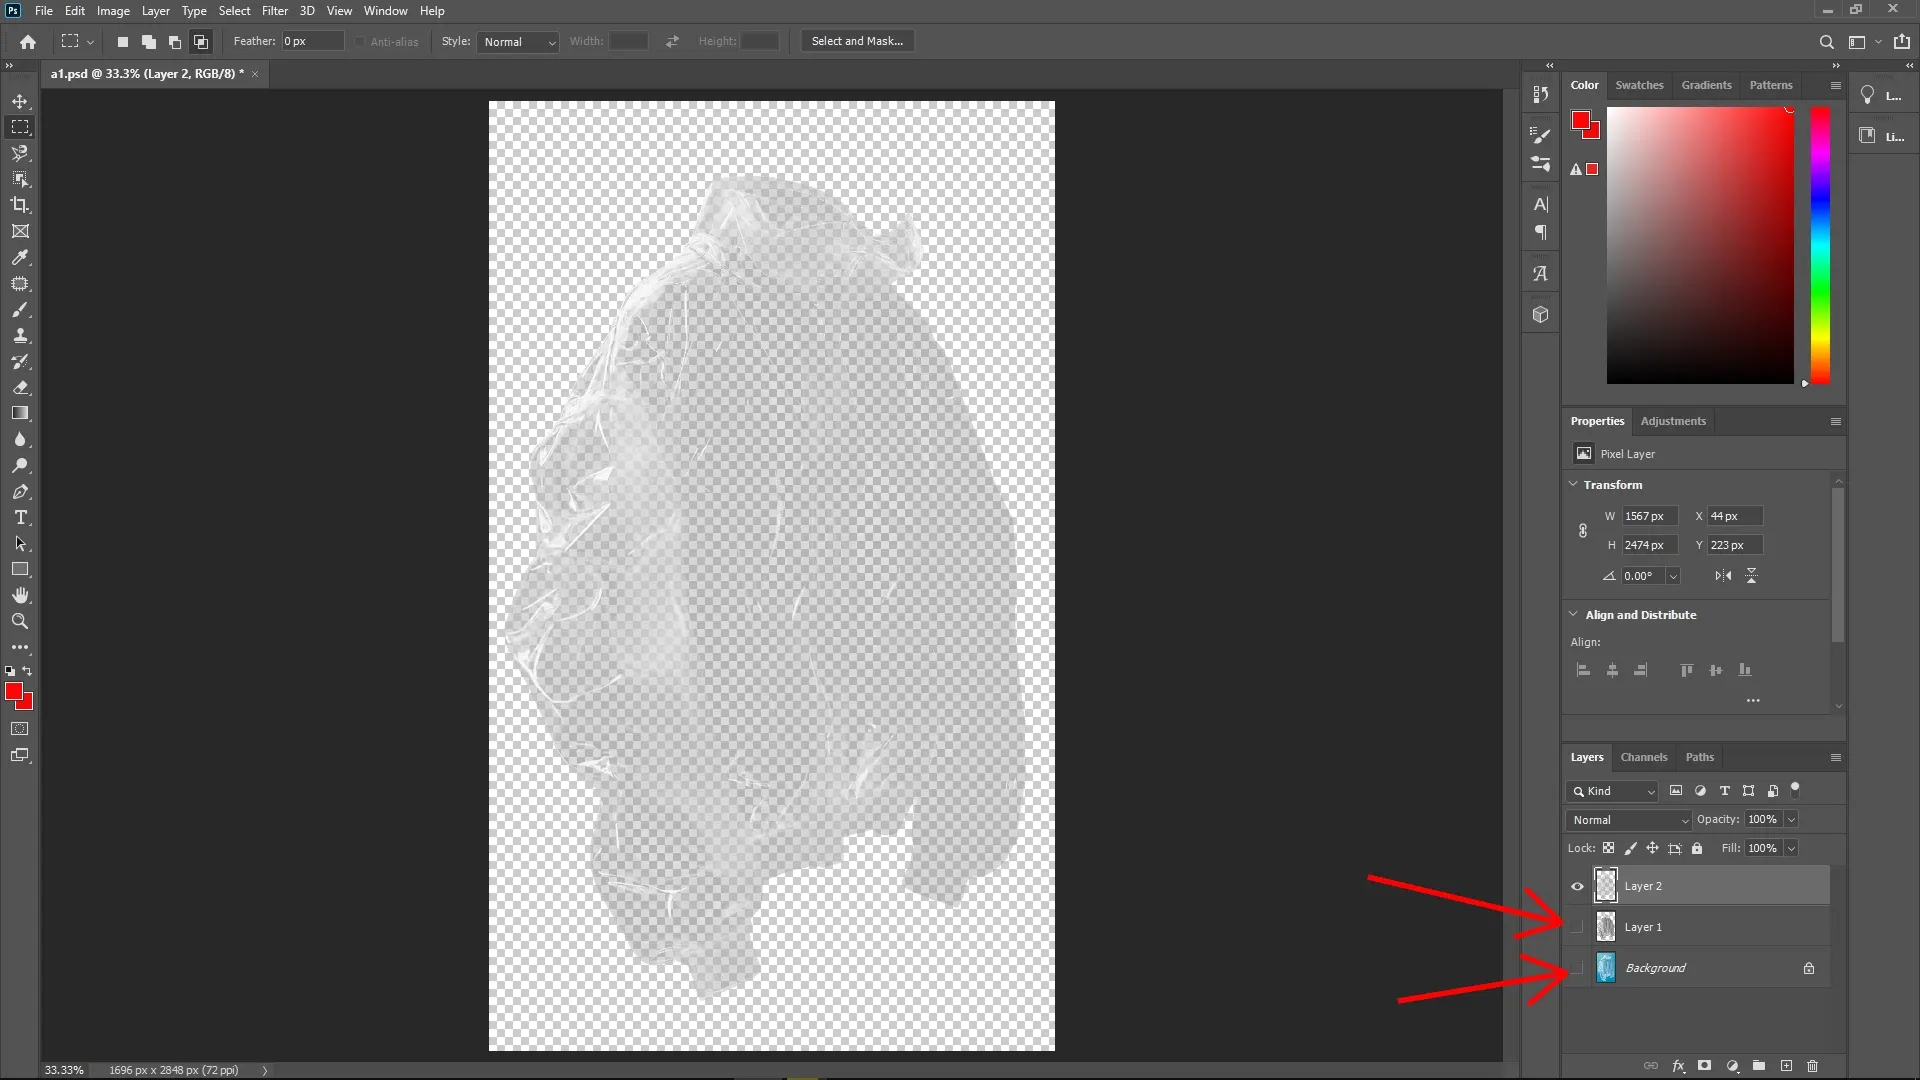
Step 2: Copy the Object to a New Layer
Copy the Selection to a New LayerPress Ctrl + J (Command + J on Mac) to paste the object onto a new layer from your selection.
Step 3: Desaturate the Layer
Desaturate the Object LayerWith the new layer selected, press Ctrl + Shift + U (Command + Shift + U on Mac) to remove all color, turning the layer into grayscale.

Step 4: Highlight Selection
Create a Highlights SelectionPress Ctrl + Alt + 2 (Command + Option + 2 on Mac) to load the highlights as a selection. This focuses on the brightest areas of the image.
 Copy the Highlights to a New Layer
Press Ctrl + J (Command + J on Mac) again to copy these highlights into a new layer.
Step 5: Hide Other Layers
Hide Unwanted LayersClick the eye icon next to any unwanted layers in the Layers panel to hide them, showing just your transparent object with highlights.
 Adding a Red Background
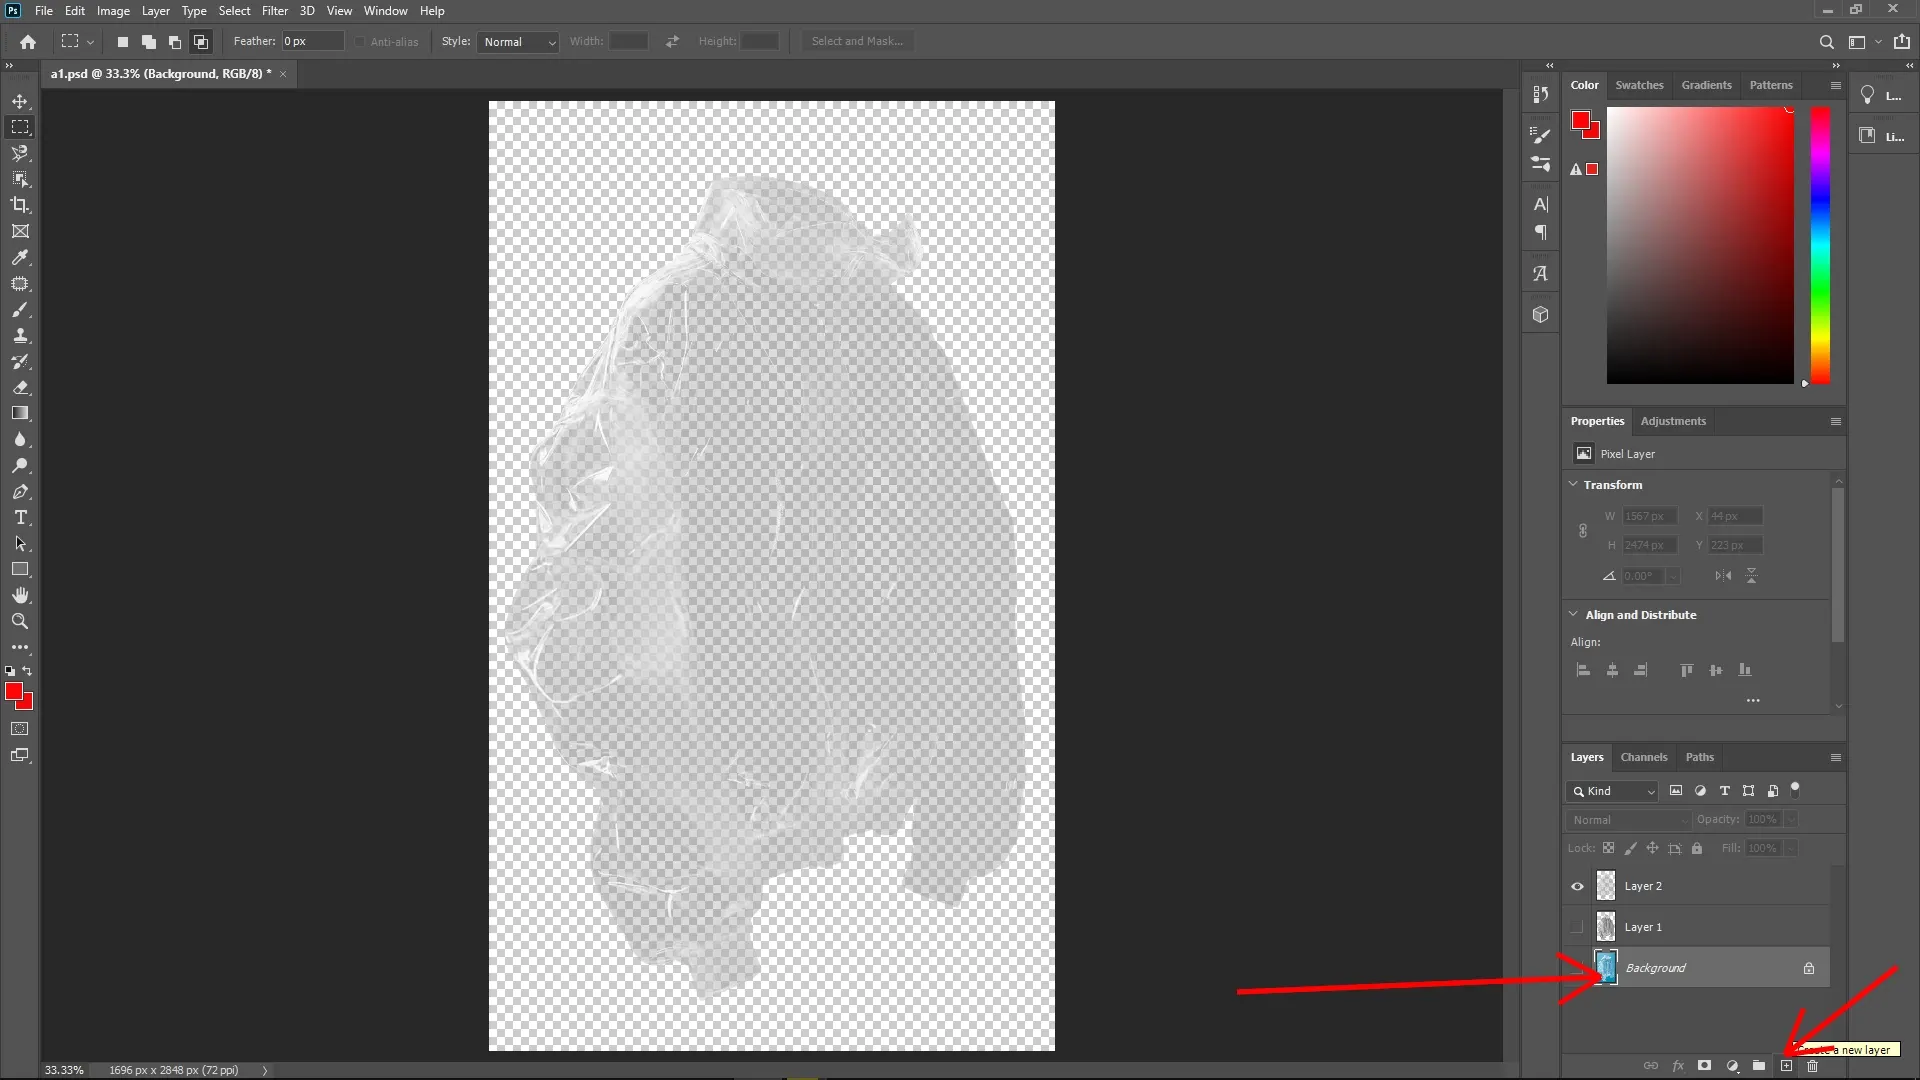
Step 6: Create and Color a New Background Layer
Create a New Layer for BackgroundSelect the Background layer and click the New Layer icon at the bottom of the Layers panel.
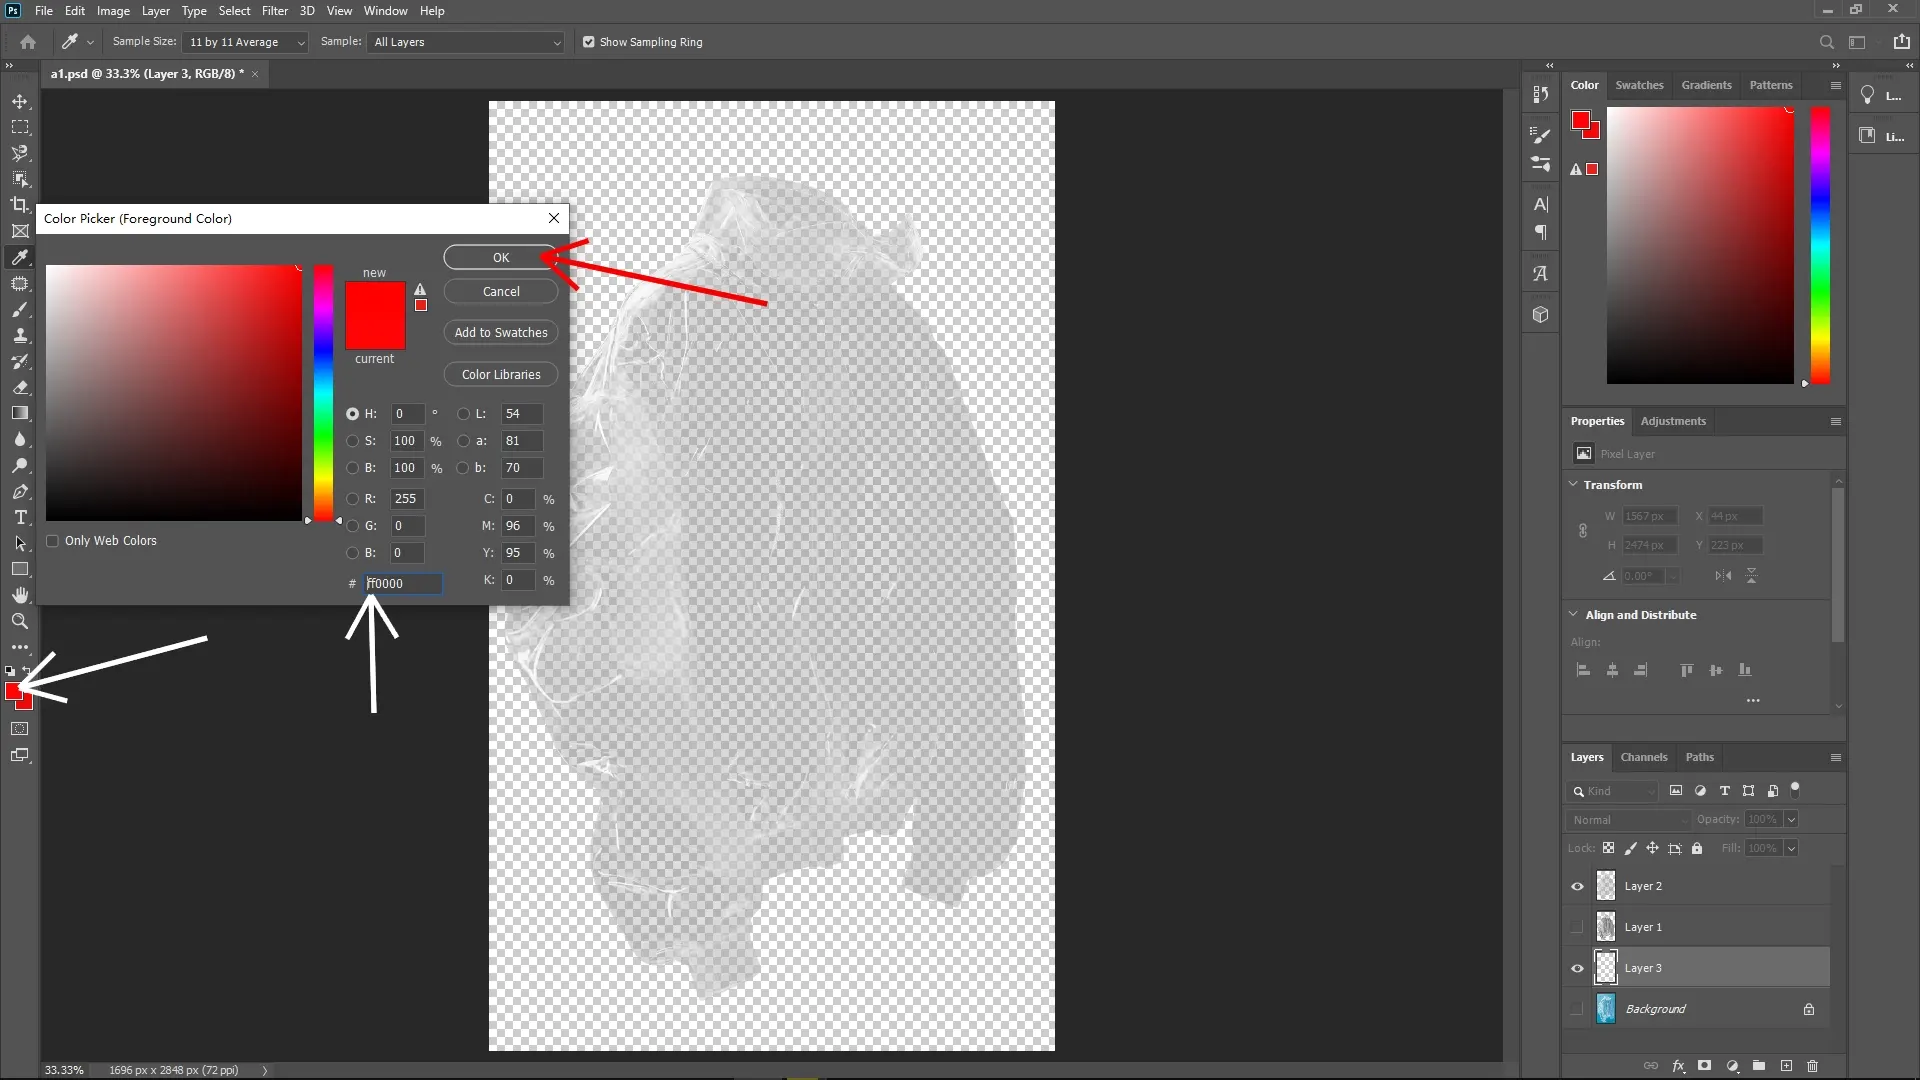
 Set Foreground Color to Red
Choose red from the color picker and set it as your foreground color.
 Fill the New Layer
With the new background layer selected, press Alt + Delete (Option + Delete on Mac) to fill it with the red foreground color.
 Final Touches
Adjust Opacity and Blending if Necessary
You may want to adjust the opacity or blending mode of the layers to achieve the desired effect. Experiment with different settings to see what looks best for your image.
Write Reply