How to Create a Localized Zoom Effect in Photoshop

Creating a localized zoom effect in Photoshop is a fantastic way to highlight specific details in your images and add a professional touch to your designs.
Whether you’re working on product photography, presentations, or creative compositions, this effect helps draw the viewer’s attention with a realistic magnifying glass look.
In this step-by-step tutorial, we’ll guide you through the entire process—from duplicating layers and scaling the background to adding a magnifying glass asset and fine-tuning the zoomed area—so you can easily create this striking effect on your own.
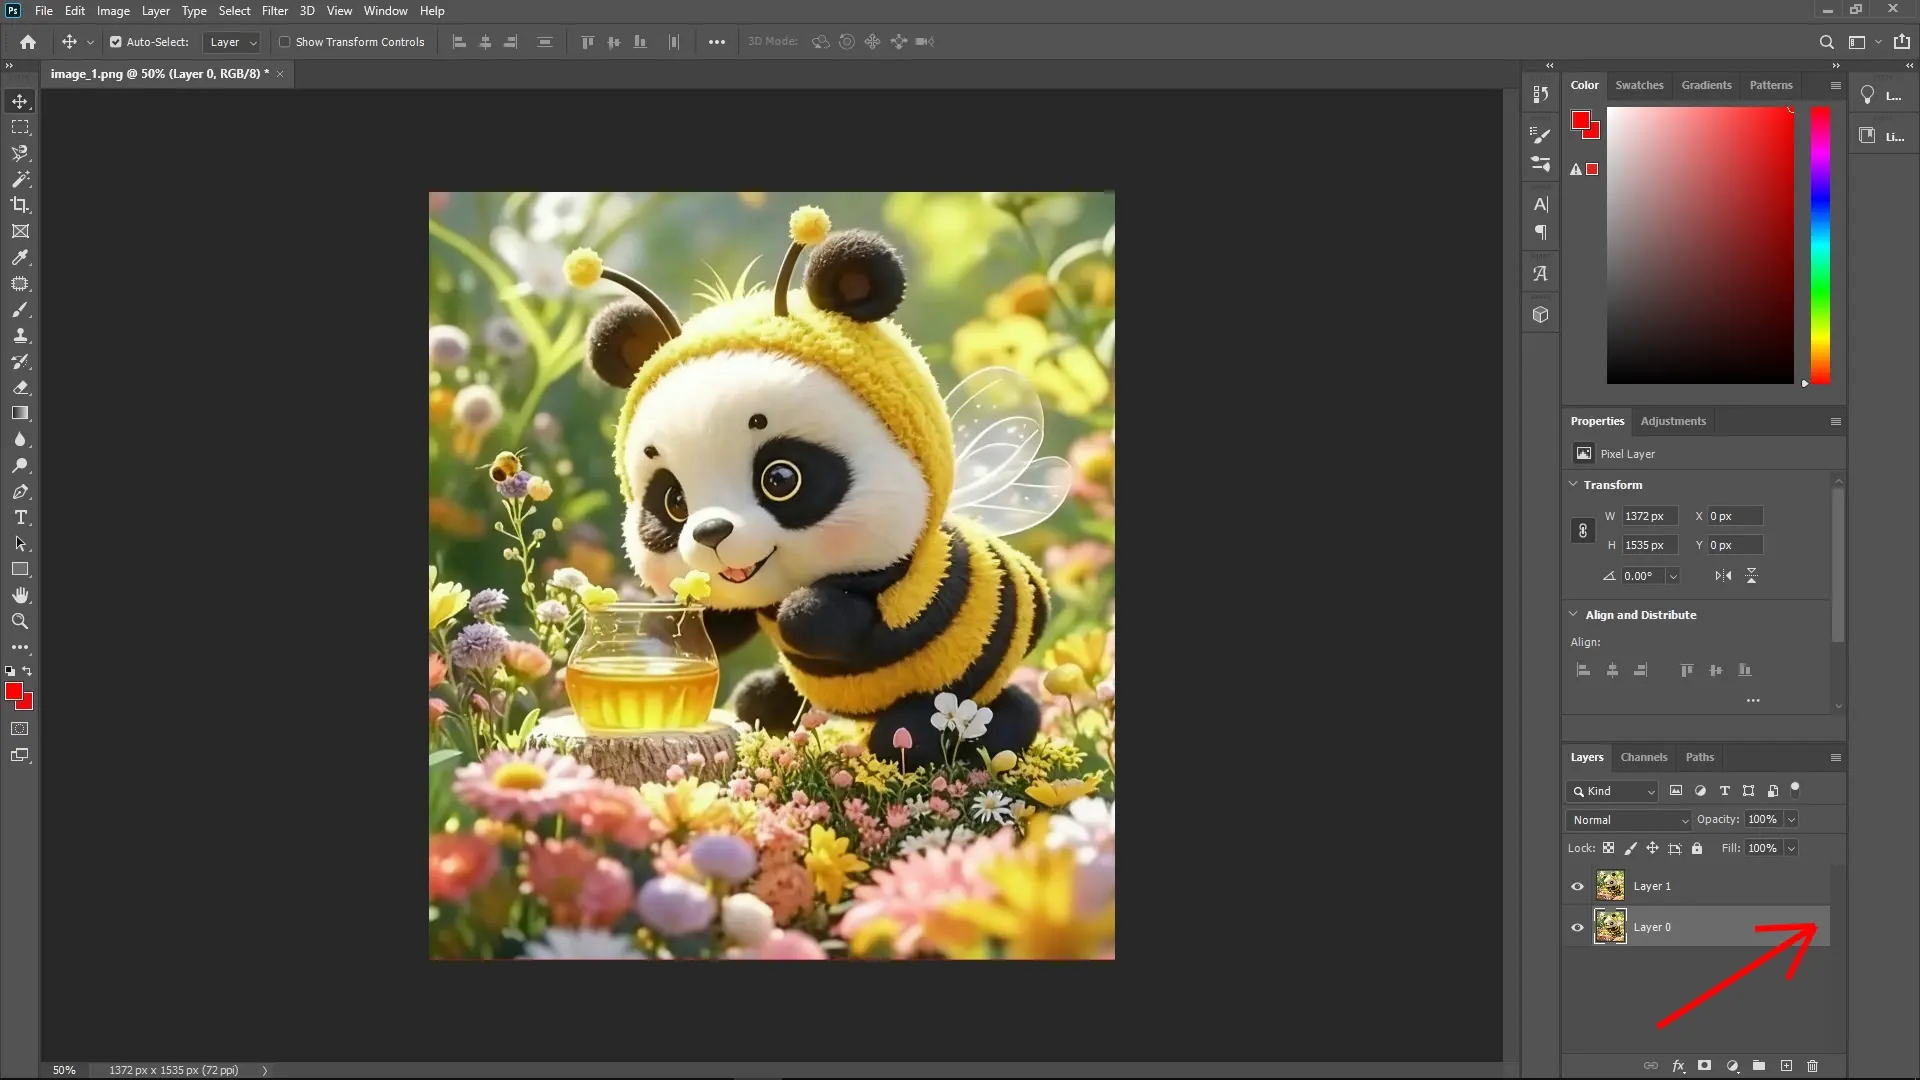
Step 1: Duplicate the Layer
Select the layer you want to work with in the Layers panel.
Press Ctrl + J (or Cmd + J on Mac) to duplicate the layer. This ensures you always maintain an original copy if changes need to be reverted.

Step 2: Unlock the Background Layer
Select the background layer if it is locked (usually indicated by a lock icon).
Click the lock icon next to the layer name to unlock it.
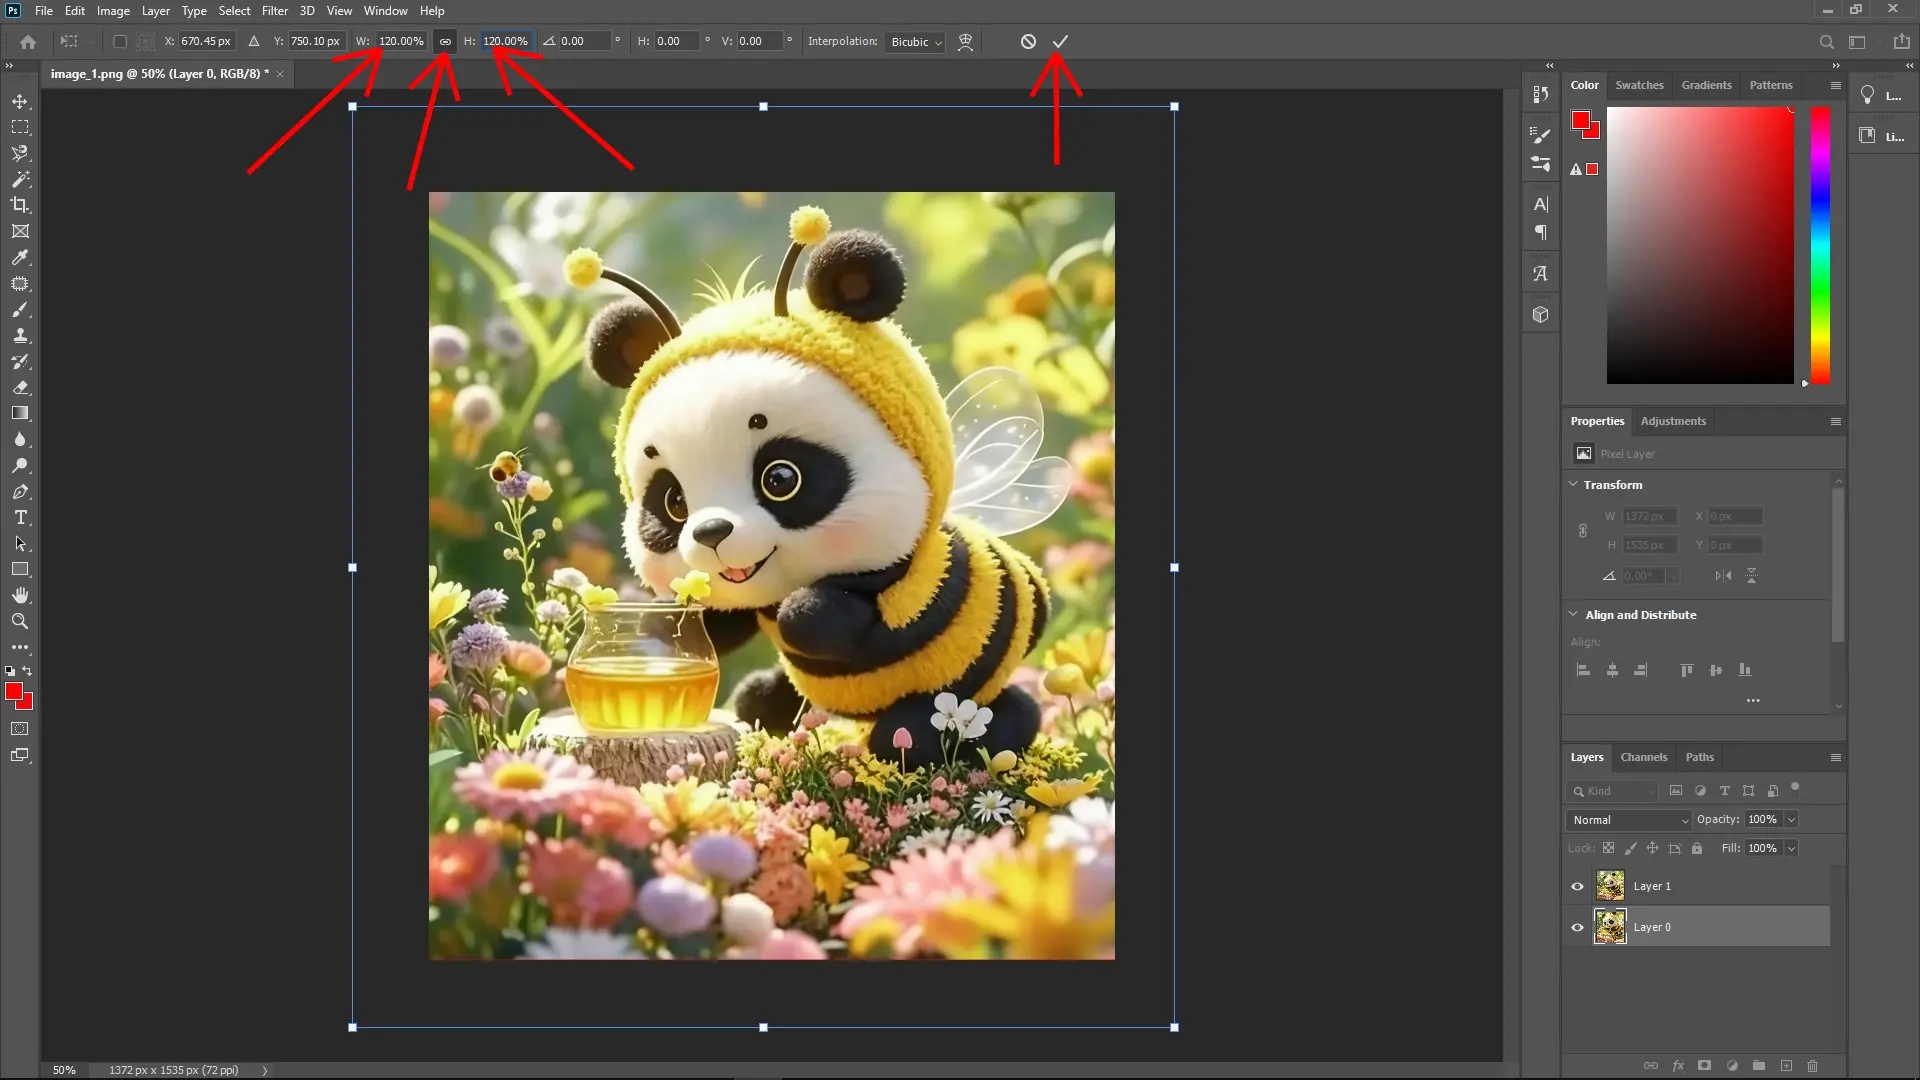
Step 3: Scale the Background Layer
With the background layer selected, press Ctrl + T (or Cmd + T on Mac) to enter Free Transform mode.
Drag one of the corner handles while holding the Shift key (to maintain aspect ratio) and scale the layer by 1.2 times its original size.
Press Enter to apply the transformation.
Step 4: Create a New Base Layer
Go to Layer > New > Layer from Background to convert the background into an editable layer.
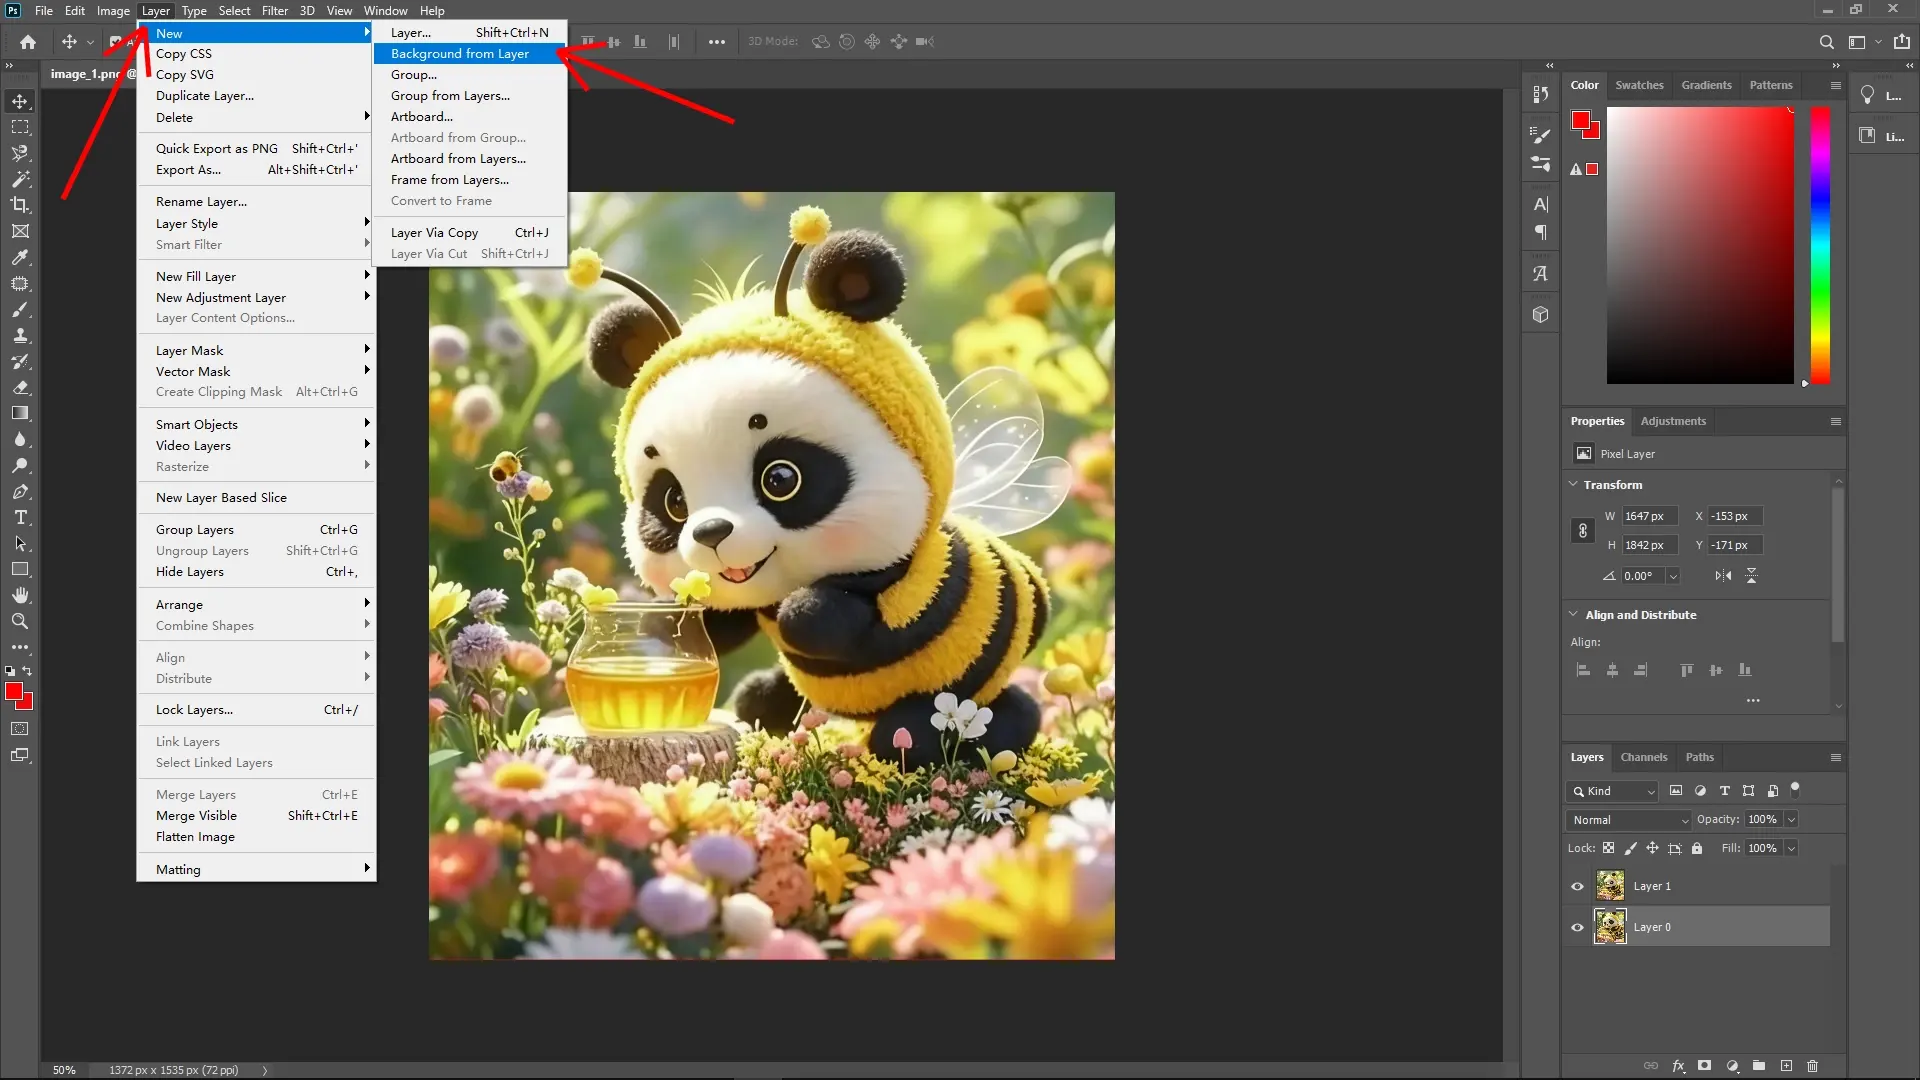
This new layer acts as a foundation for additional effects.
Step 5: Add the Magnifying Glass Asset
Drag and drop your magnifying glass image into the document.
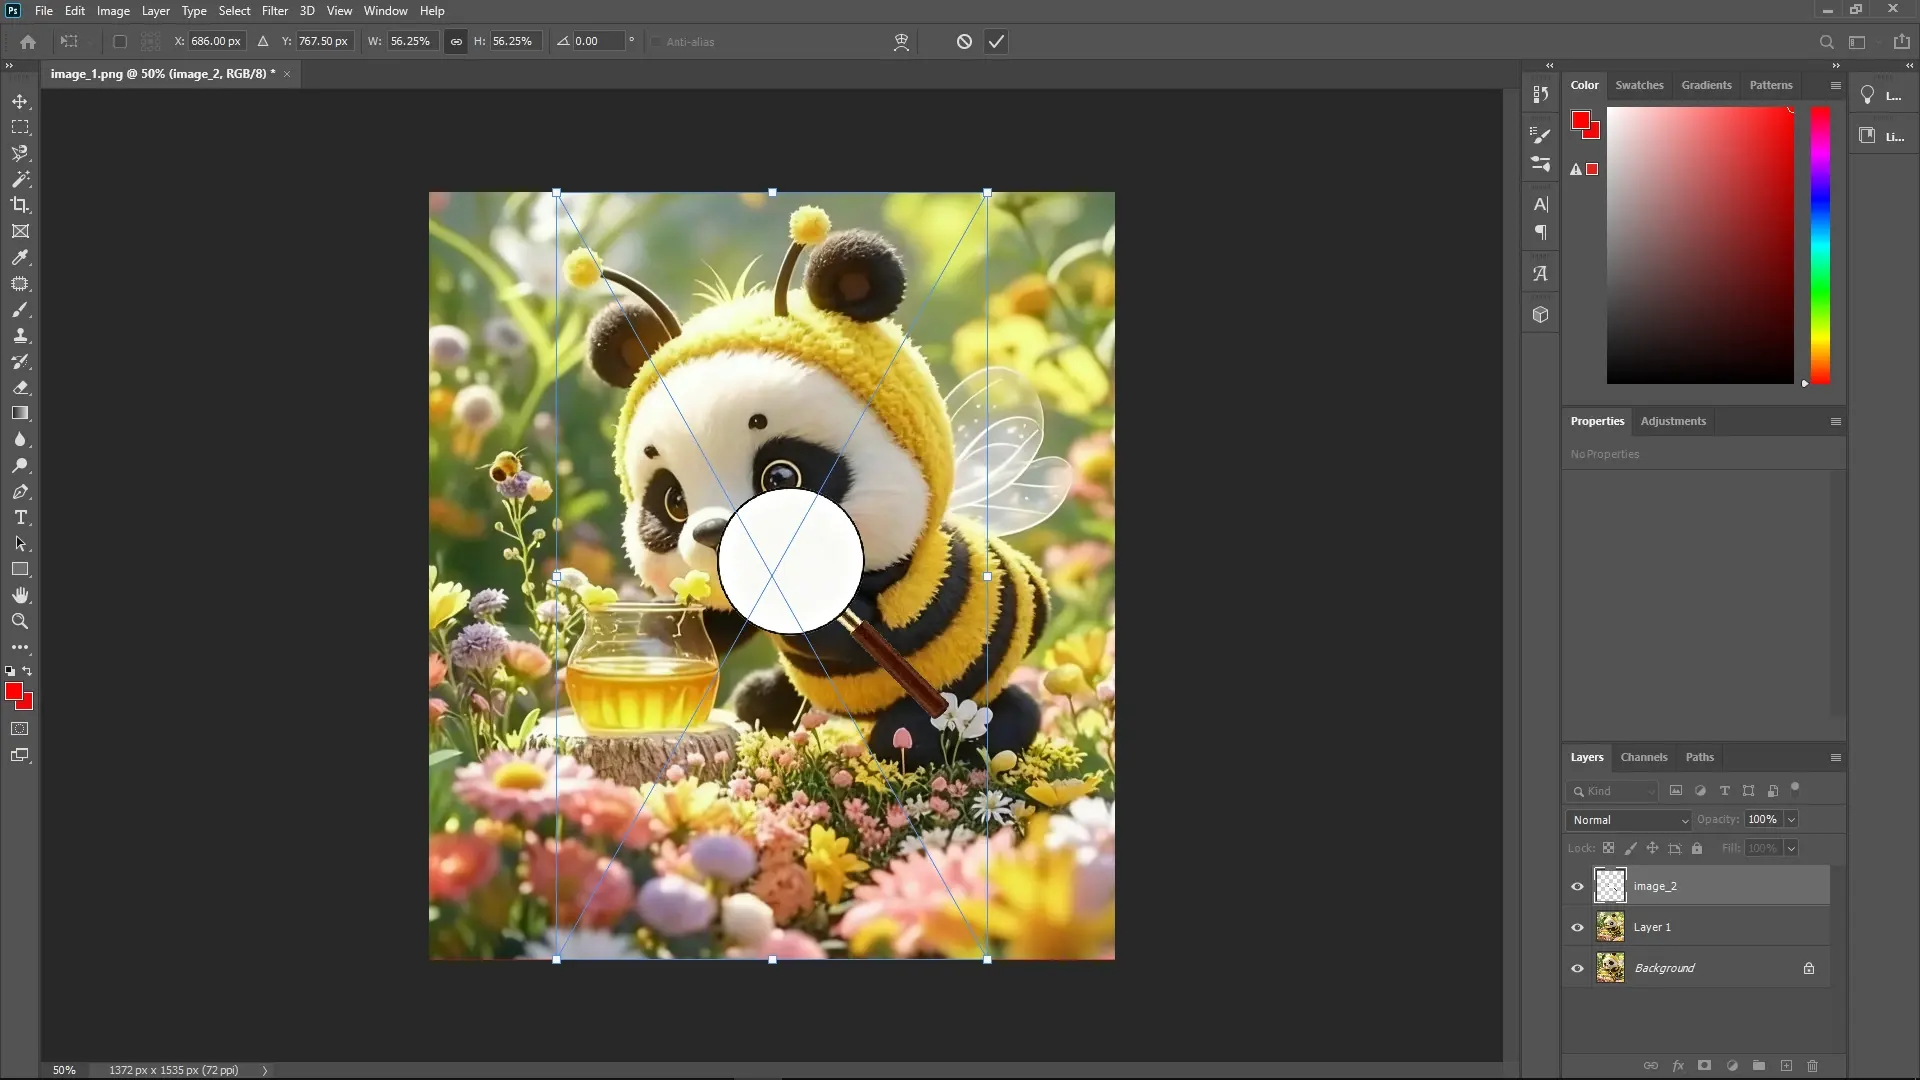
Position it appropriately to frame the area you wish to zoom in on.
Step 6: Remove the White Hole in the Magnifying Glass
Select the magnifying glass layer.
Use the Magic Wand Tool (press W to select it) to click on the white area inside the magnifying glass.


Step 7: Duplicate the Selected Area
Press Ctrl + J (or Cmd + J on Mac) to duplicate the selection onto a new layer.
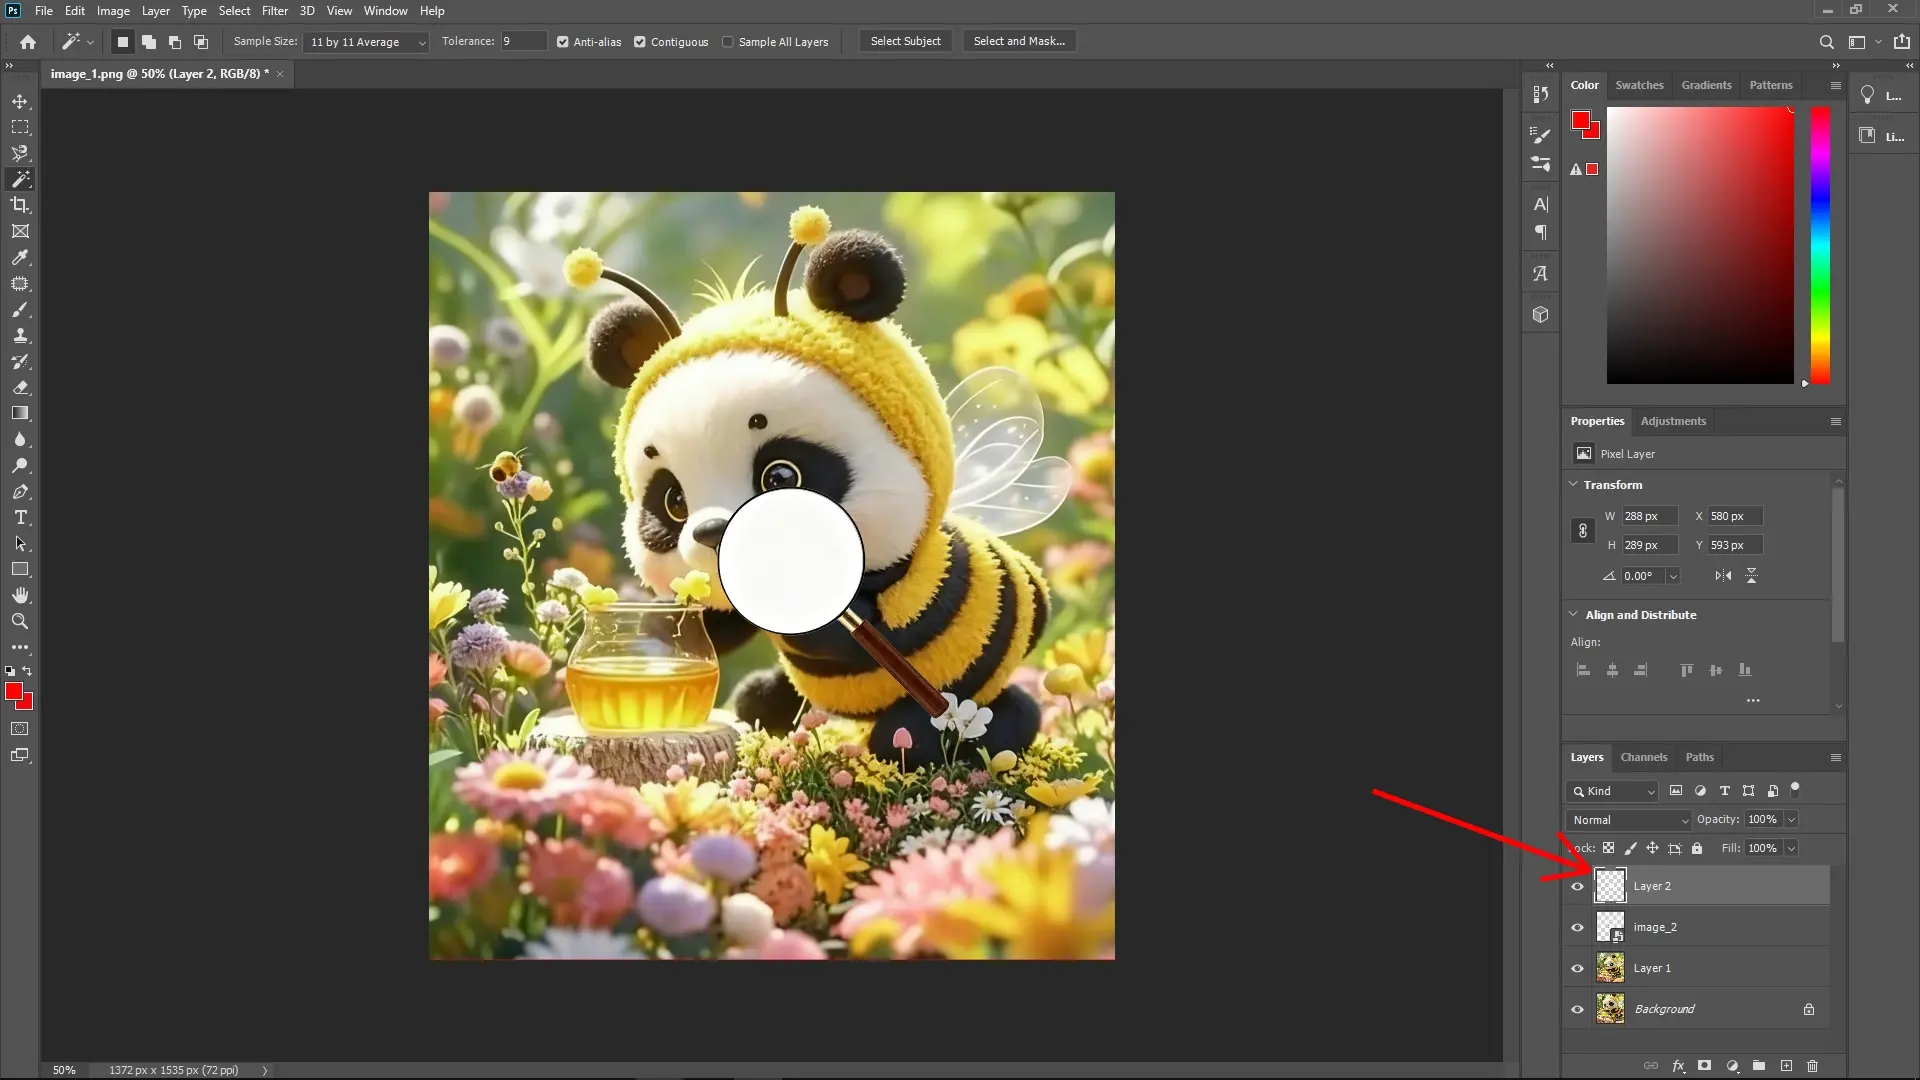
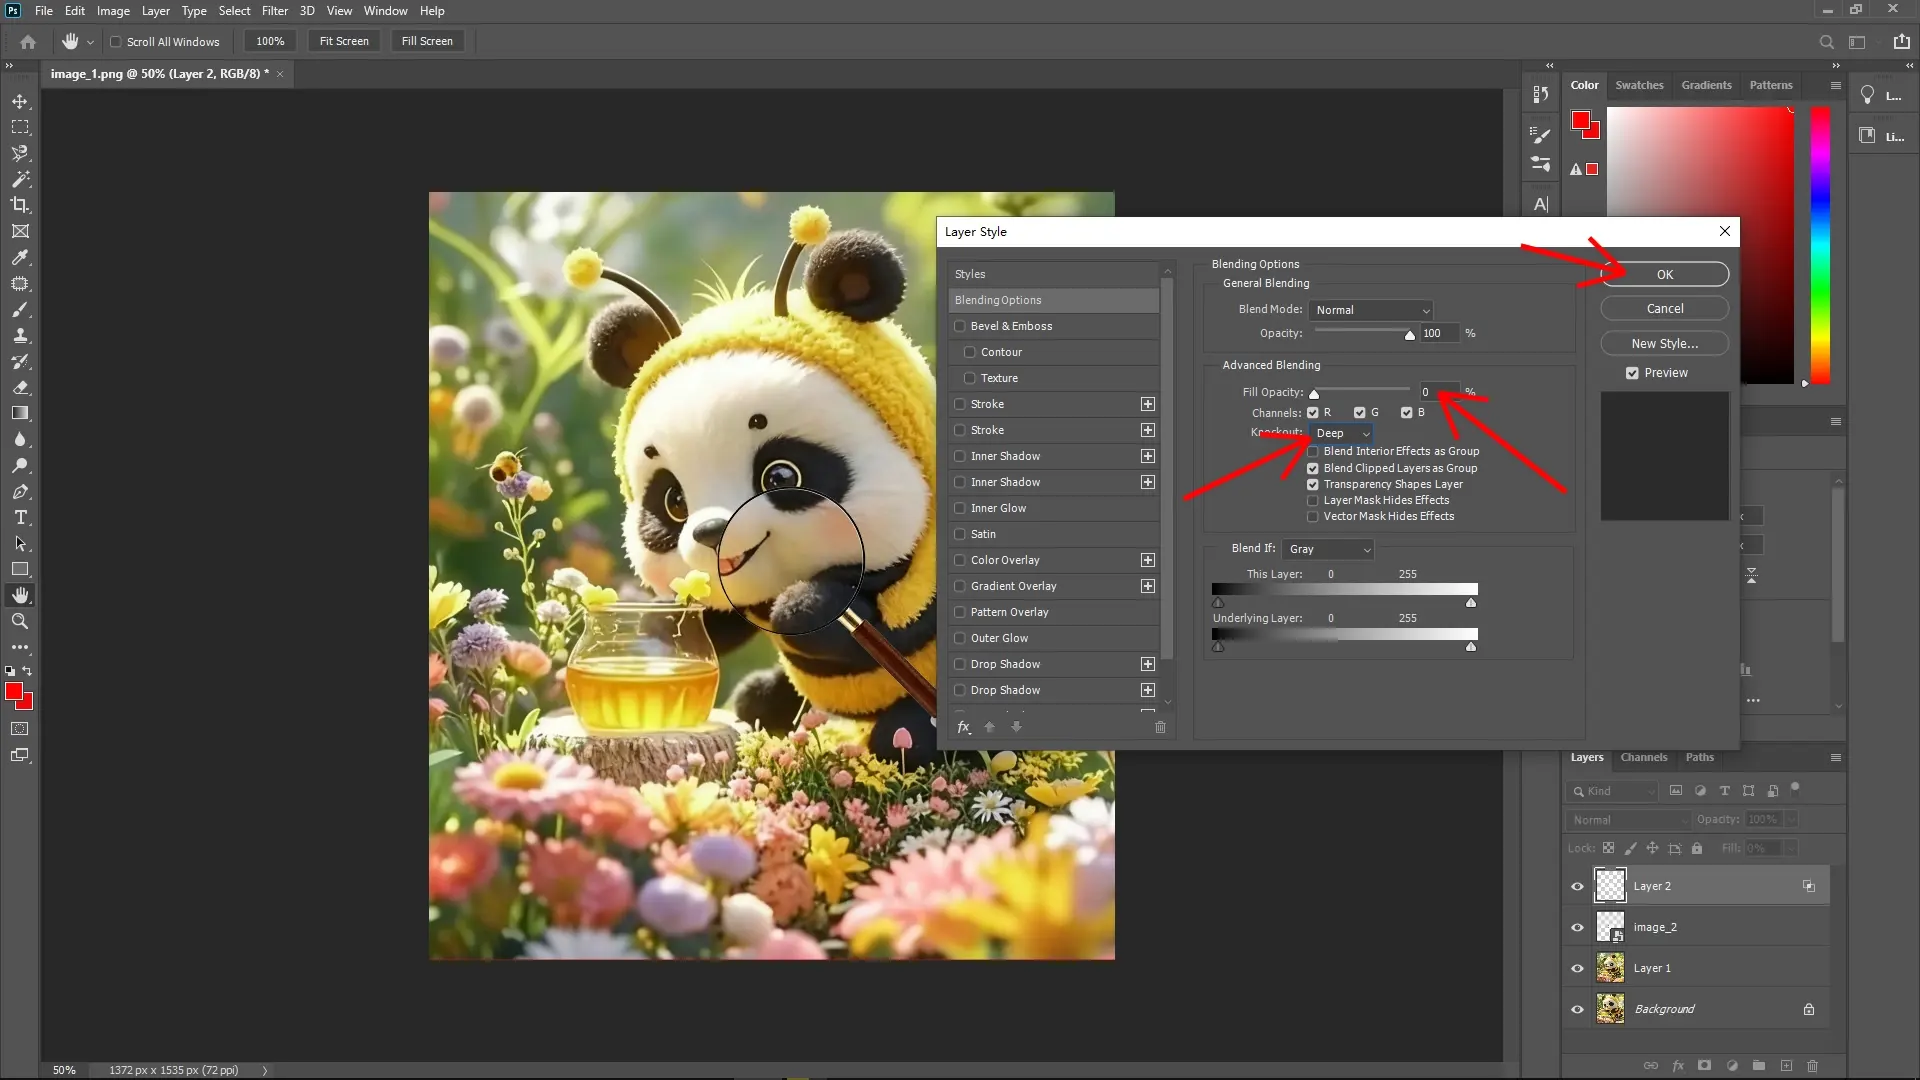
Step 8: Adjust Layer Styles for the Duplication
Double-click the newly duplicated layer to open the Layer Style dialog.
In the Blending Options tab, set the "Knockout" option to Deep.
Adjust the Fill Opacity to 0% to make the filler area transparent while maintaining the layer style effects.
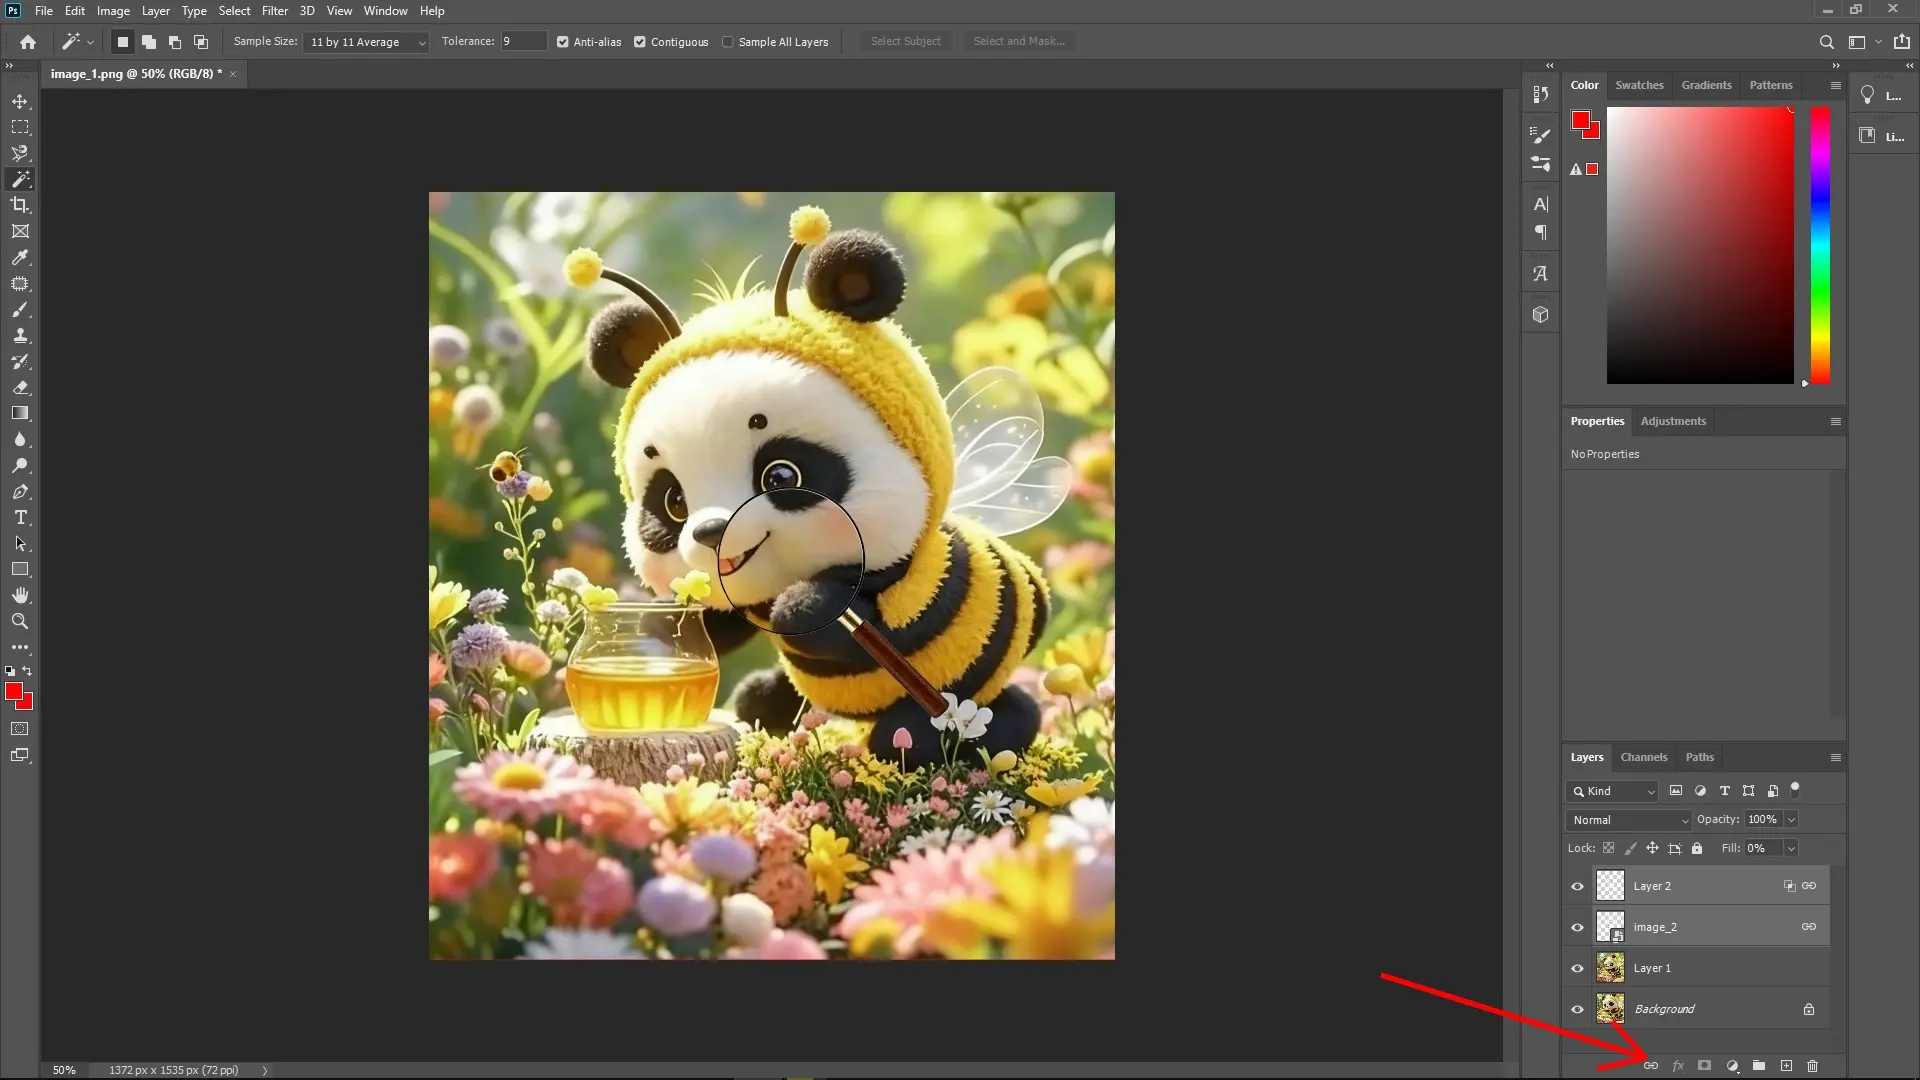
Step 9: Link the Layers
In the Layers panel, select both the newly duplicated layer and the magnifying glass layer.

Right-click and choose Link Layers to move the magnifying glass and the zoomed area as a single unit.
Step 10: Test and Adjust
Drag the magnifying glass around your image to see the zoom effect in action.
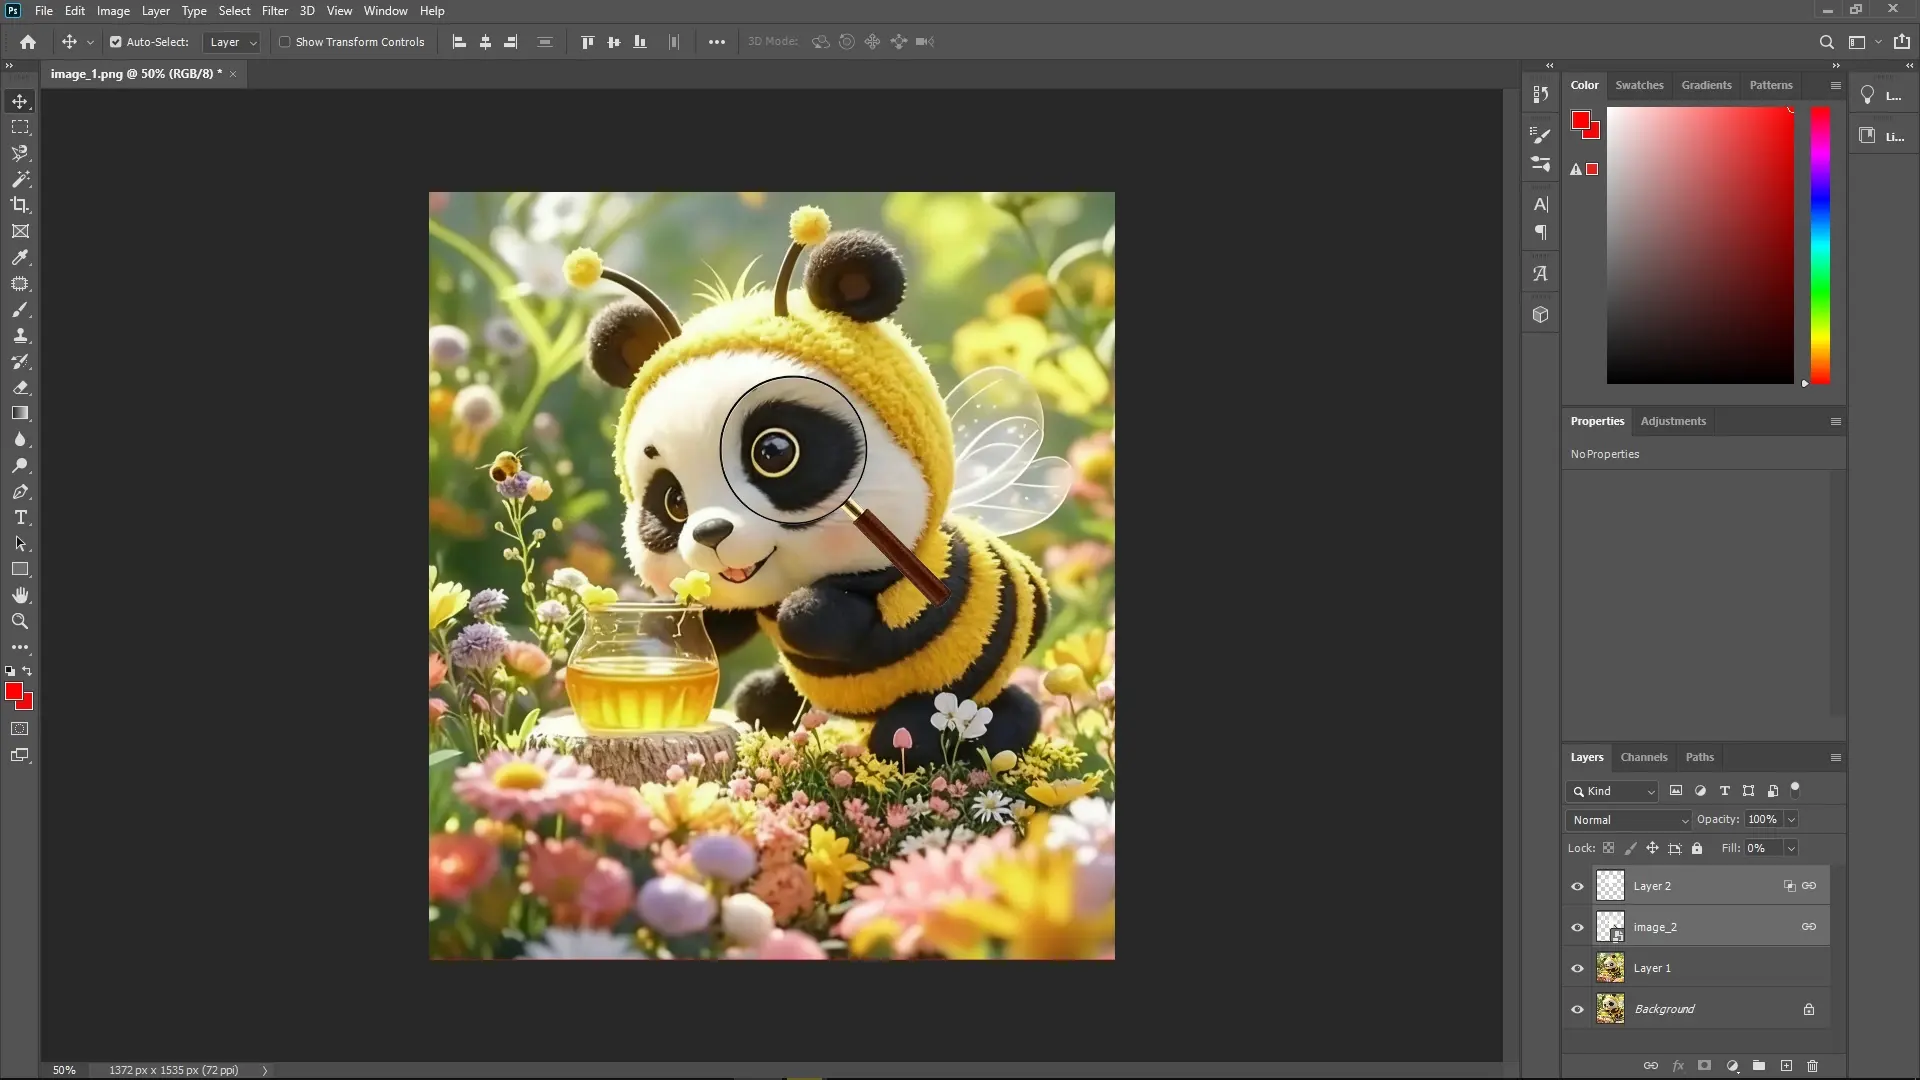
Make any necessary adjustments to achieve the desired magnified look.
Write Reply