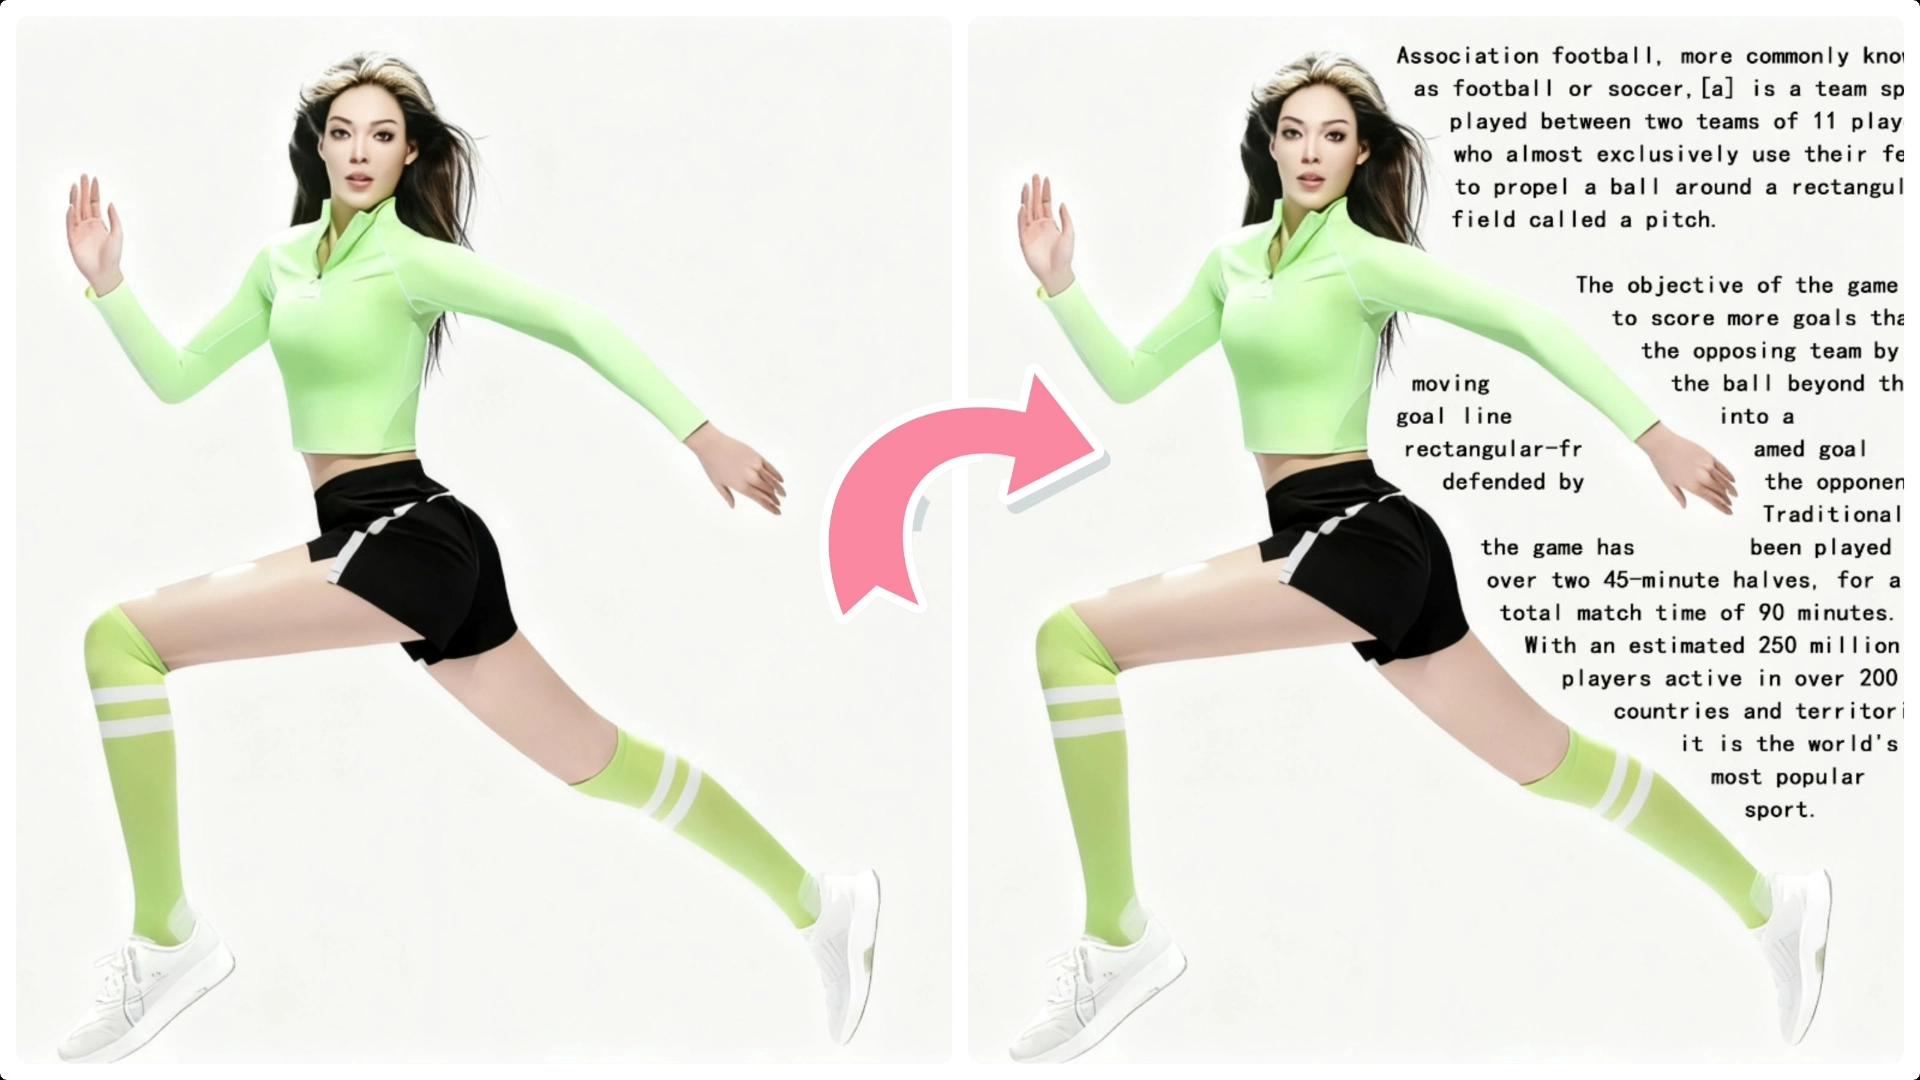
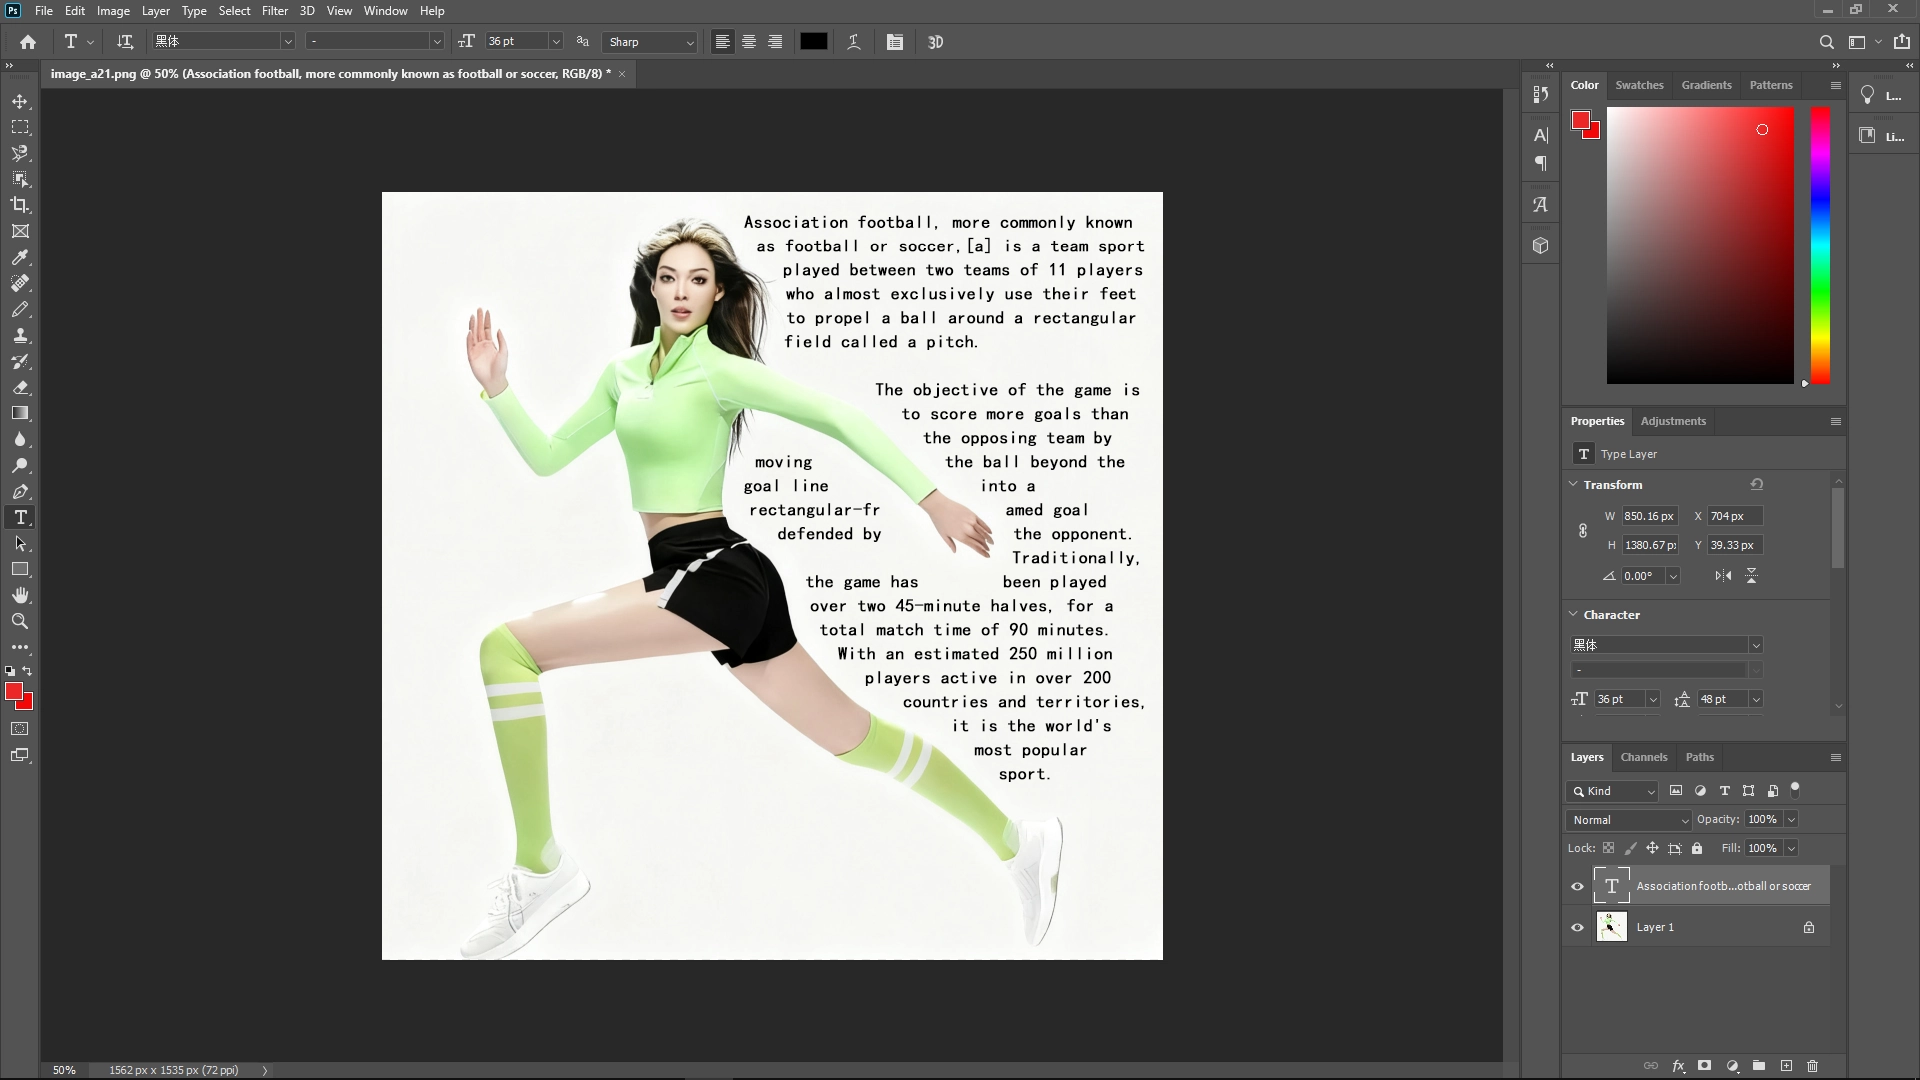
Wrap Text Around a Person in Photoshop: A Step-by-Step Guide
Step 1: Select the Subject
Go to the Select menu and choose Subject to automatically detect and select the person in your image.
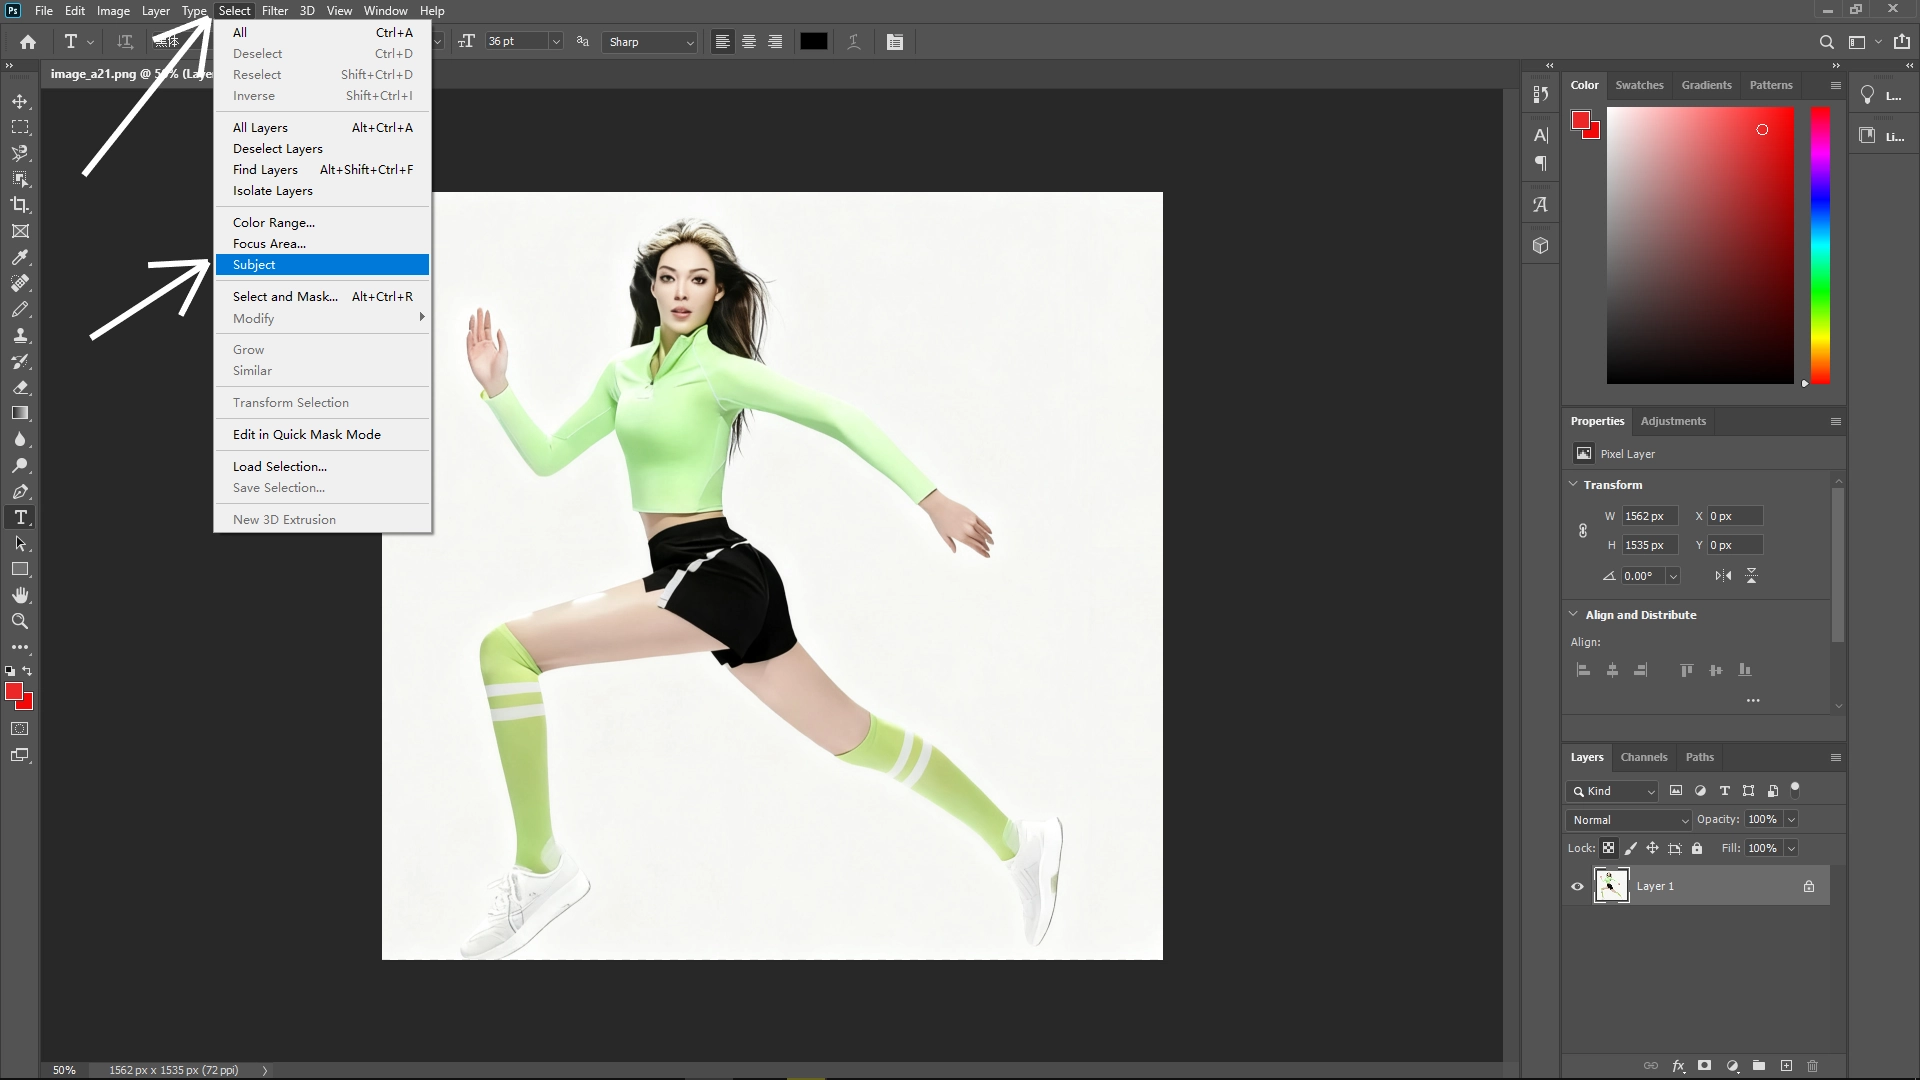
Make sure the selection is clean—refine the edges if necessary.
Step 2: Expand the Selection
In the menu, click Select > Modify > Expand.
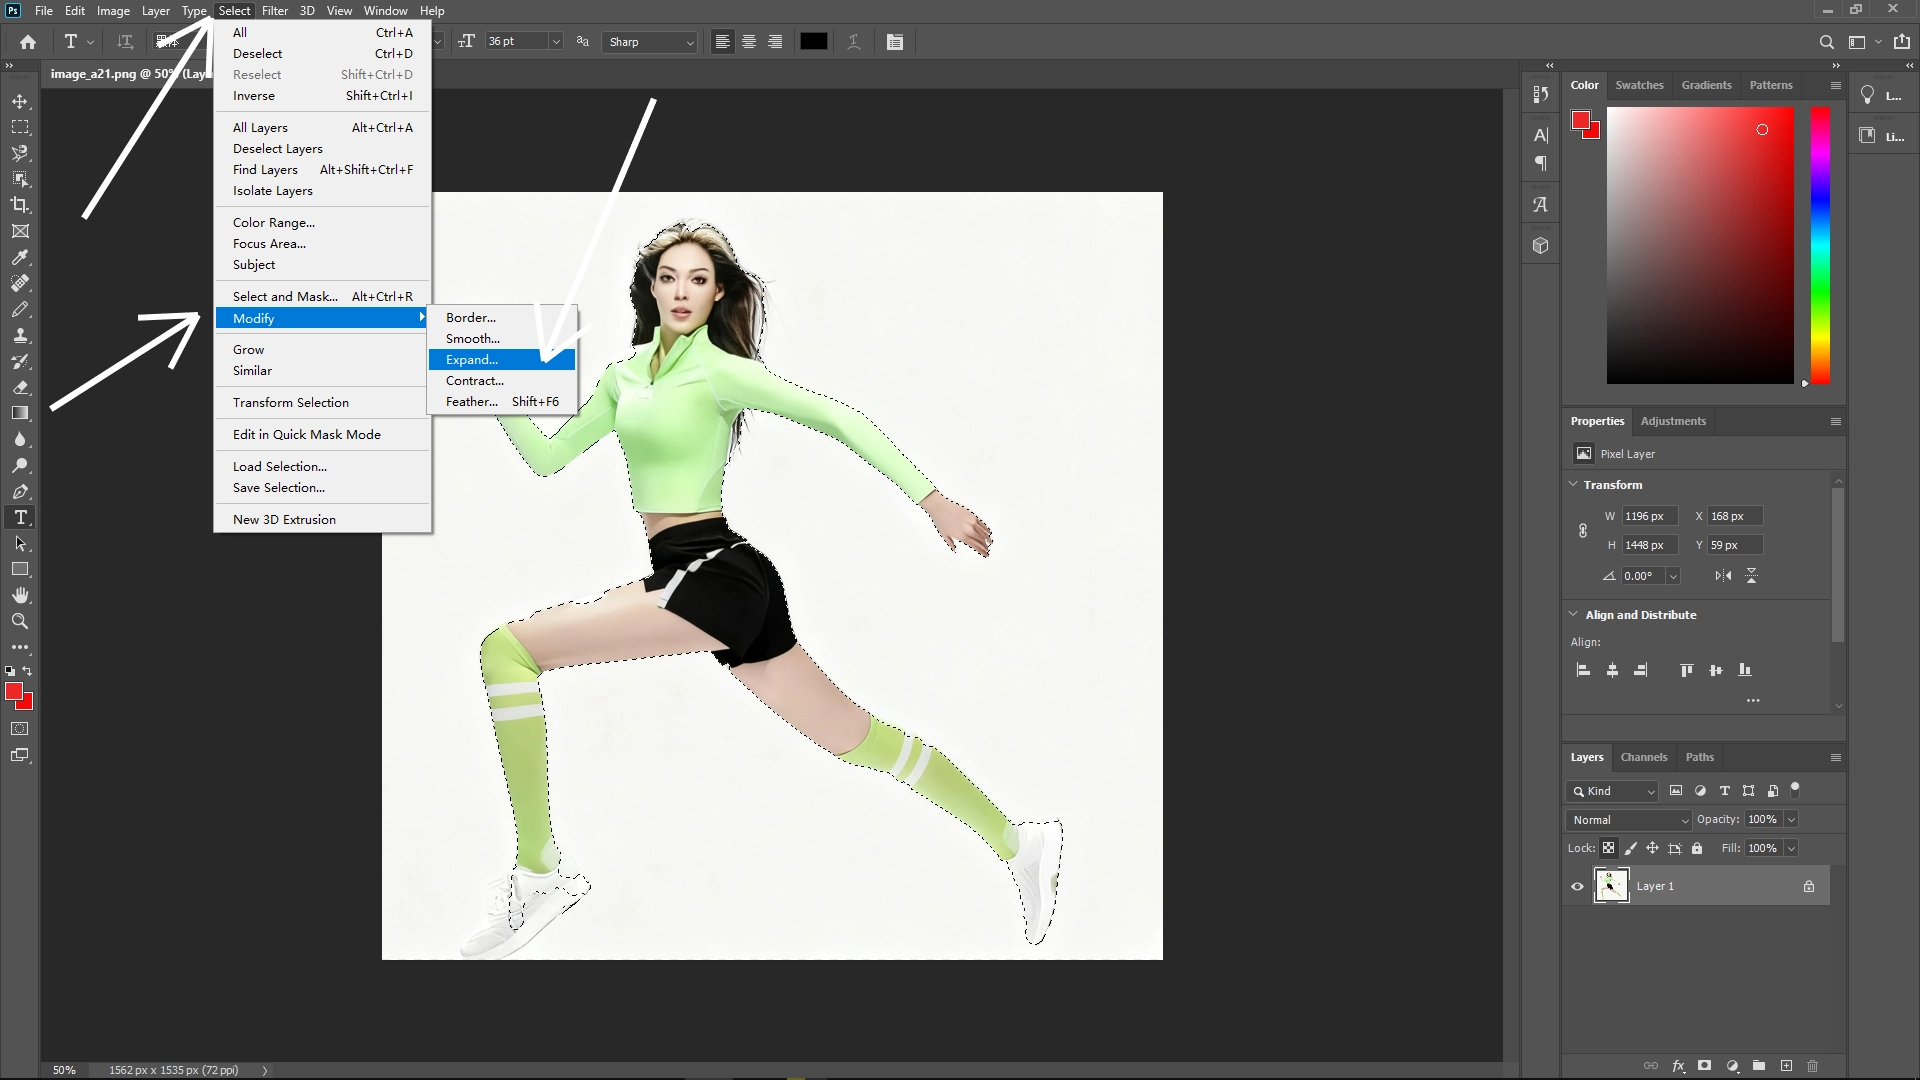
Enter around 40 pixels (you can adjust this value depending on your image resolution).
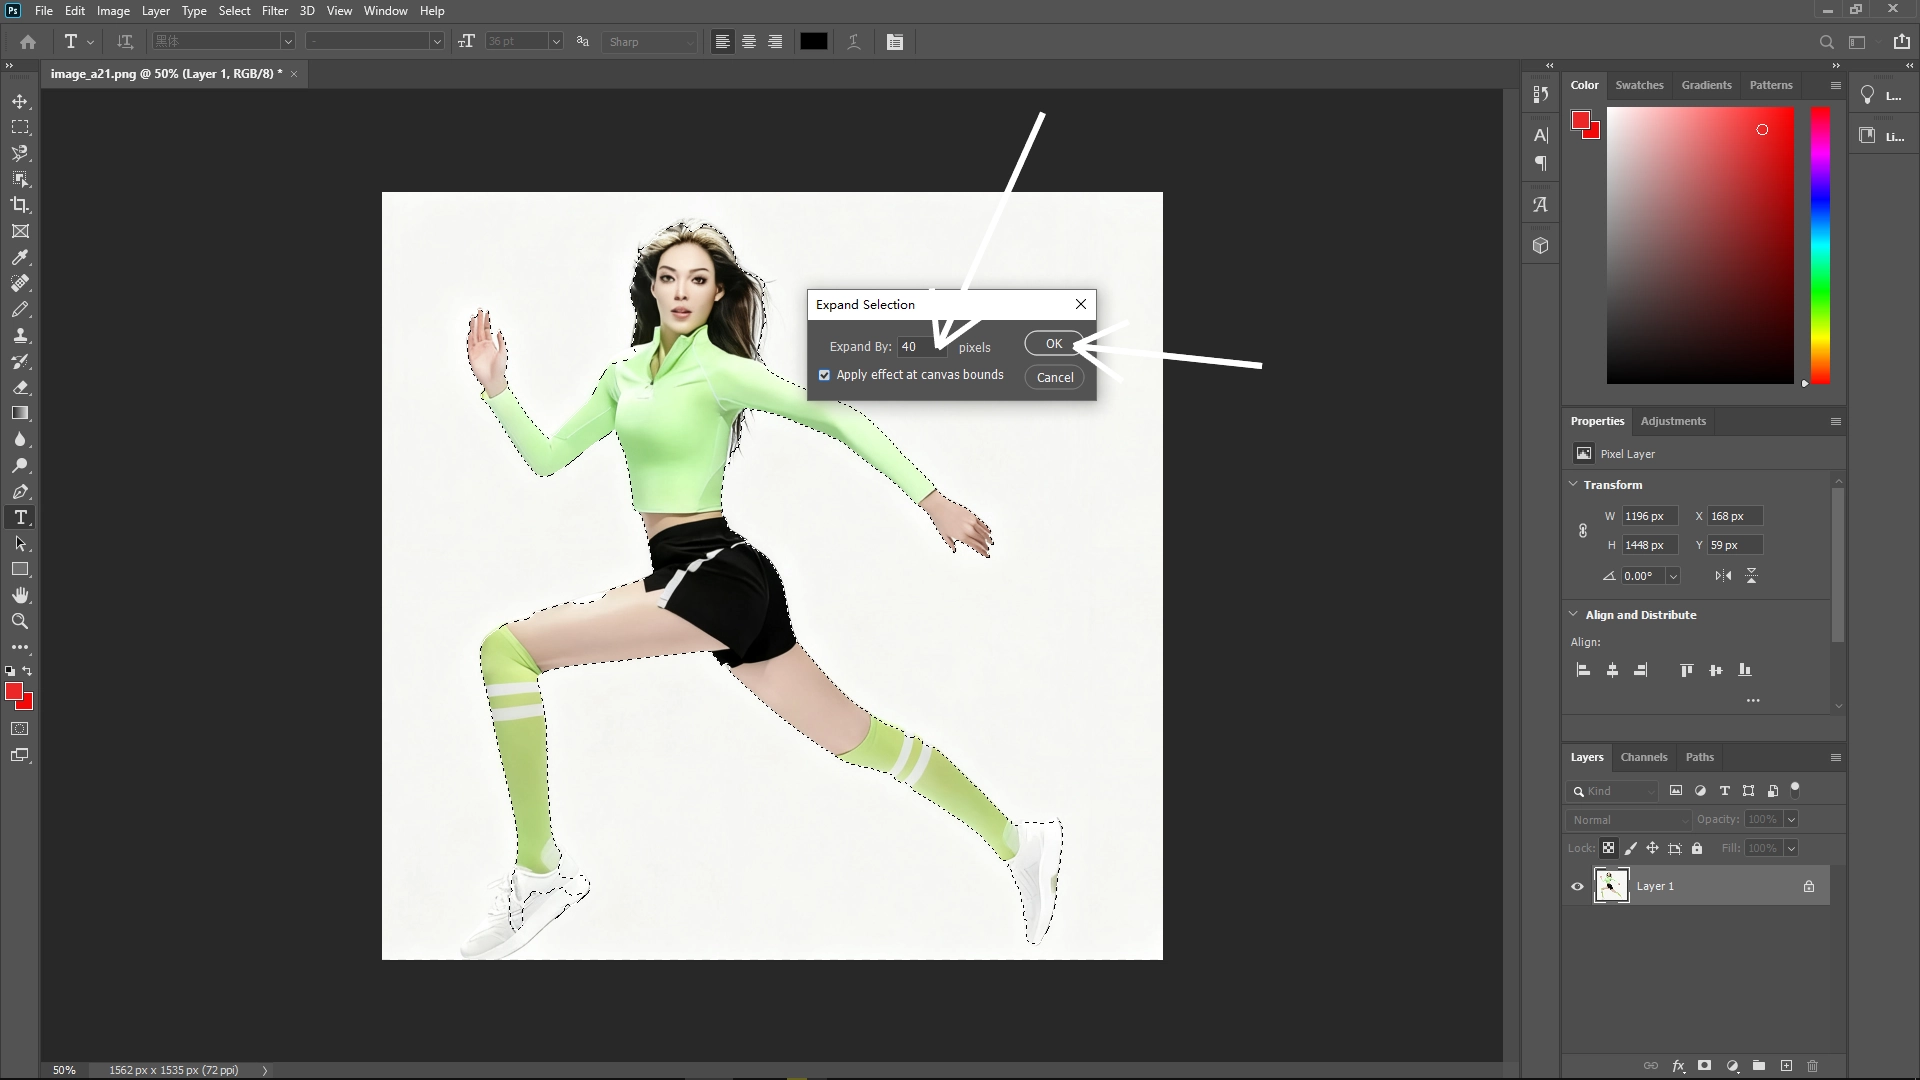
This ensures there’s some space between the text and the subject.
Step 3: Refine the Area for Text
Switch to the Marquee Tool.
In the options bar, choose Intersect with Selection.
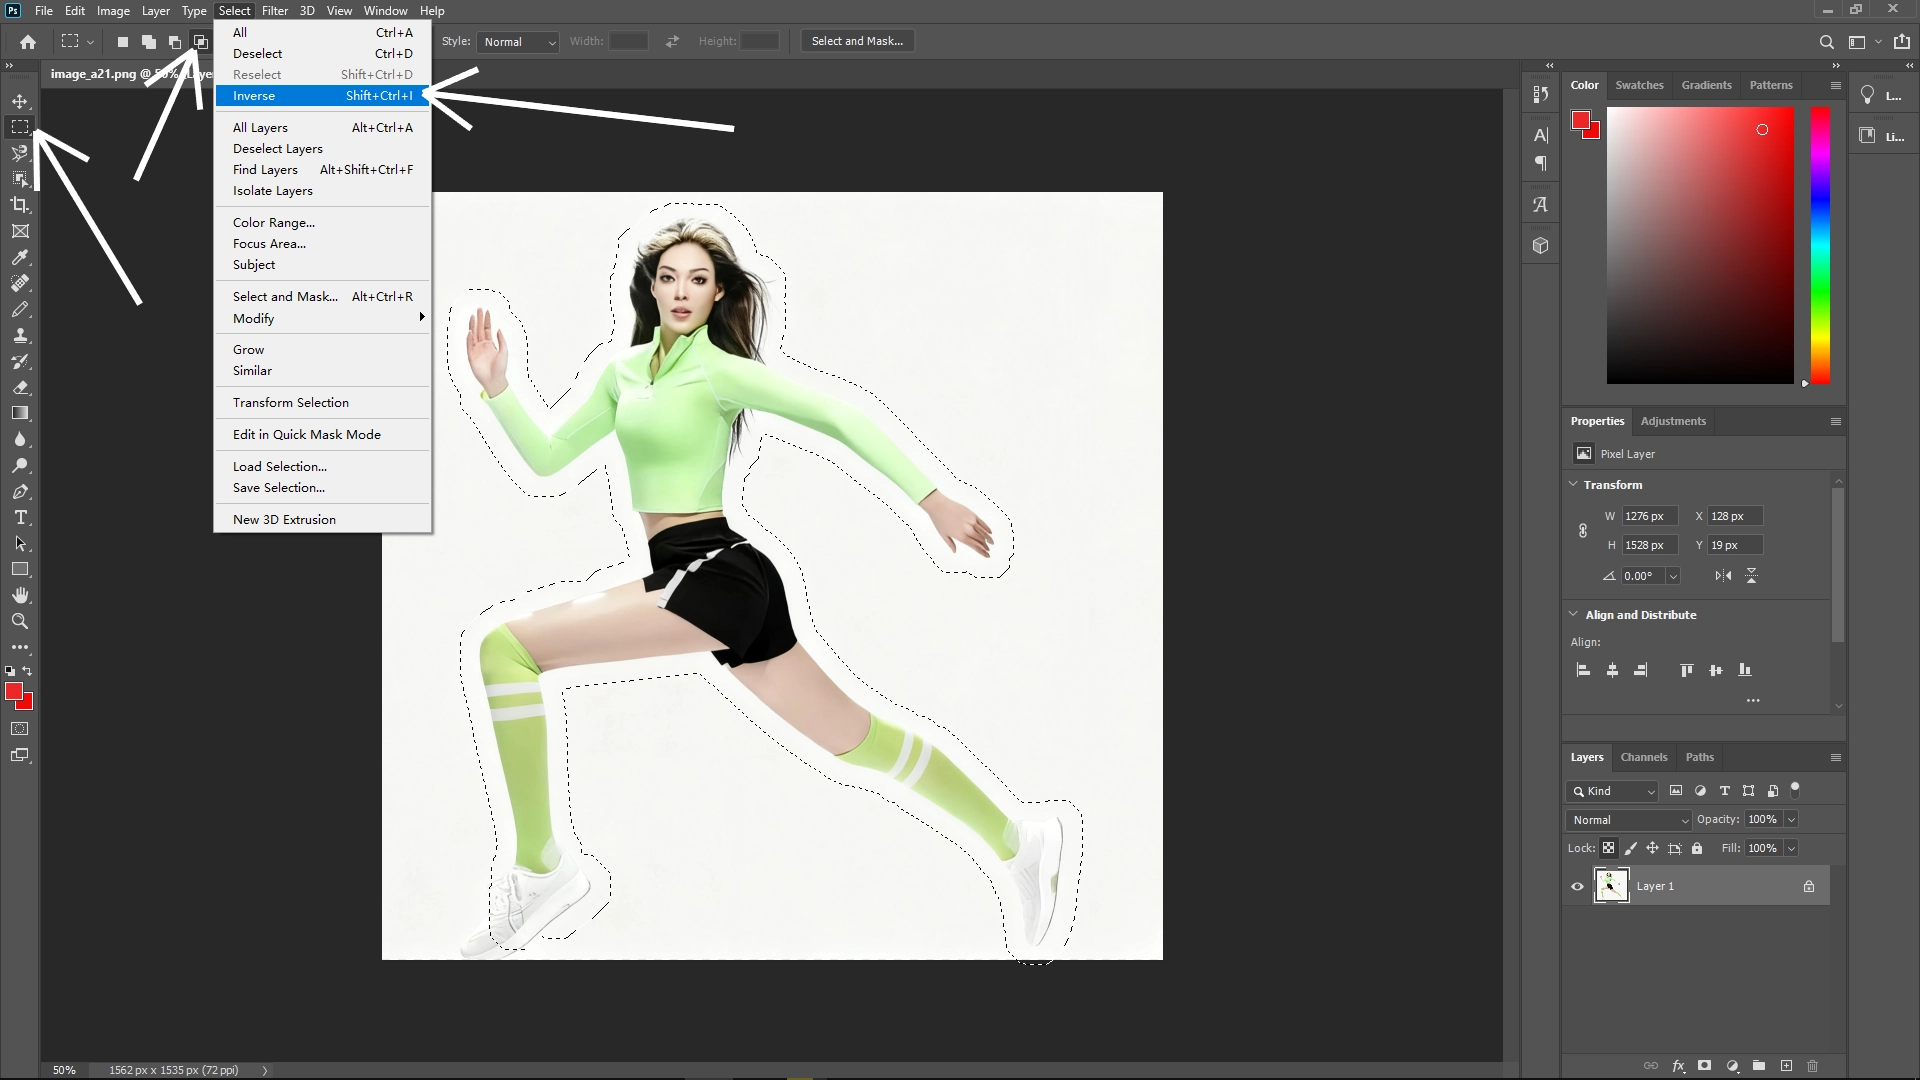
Then go to Select > Inverse to select the area outside the subject instead of the subject itself.
Step 4: Define the Text Area
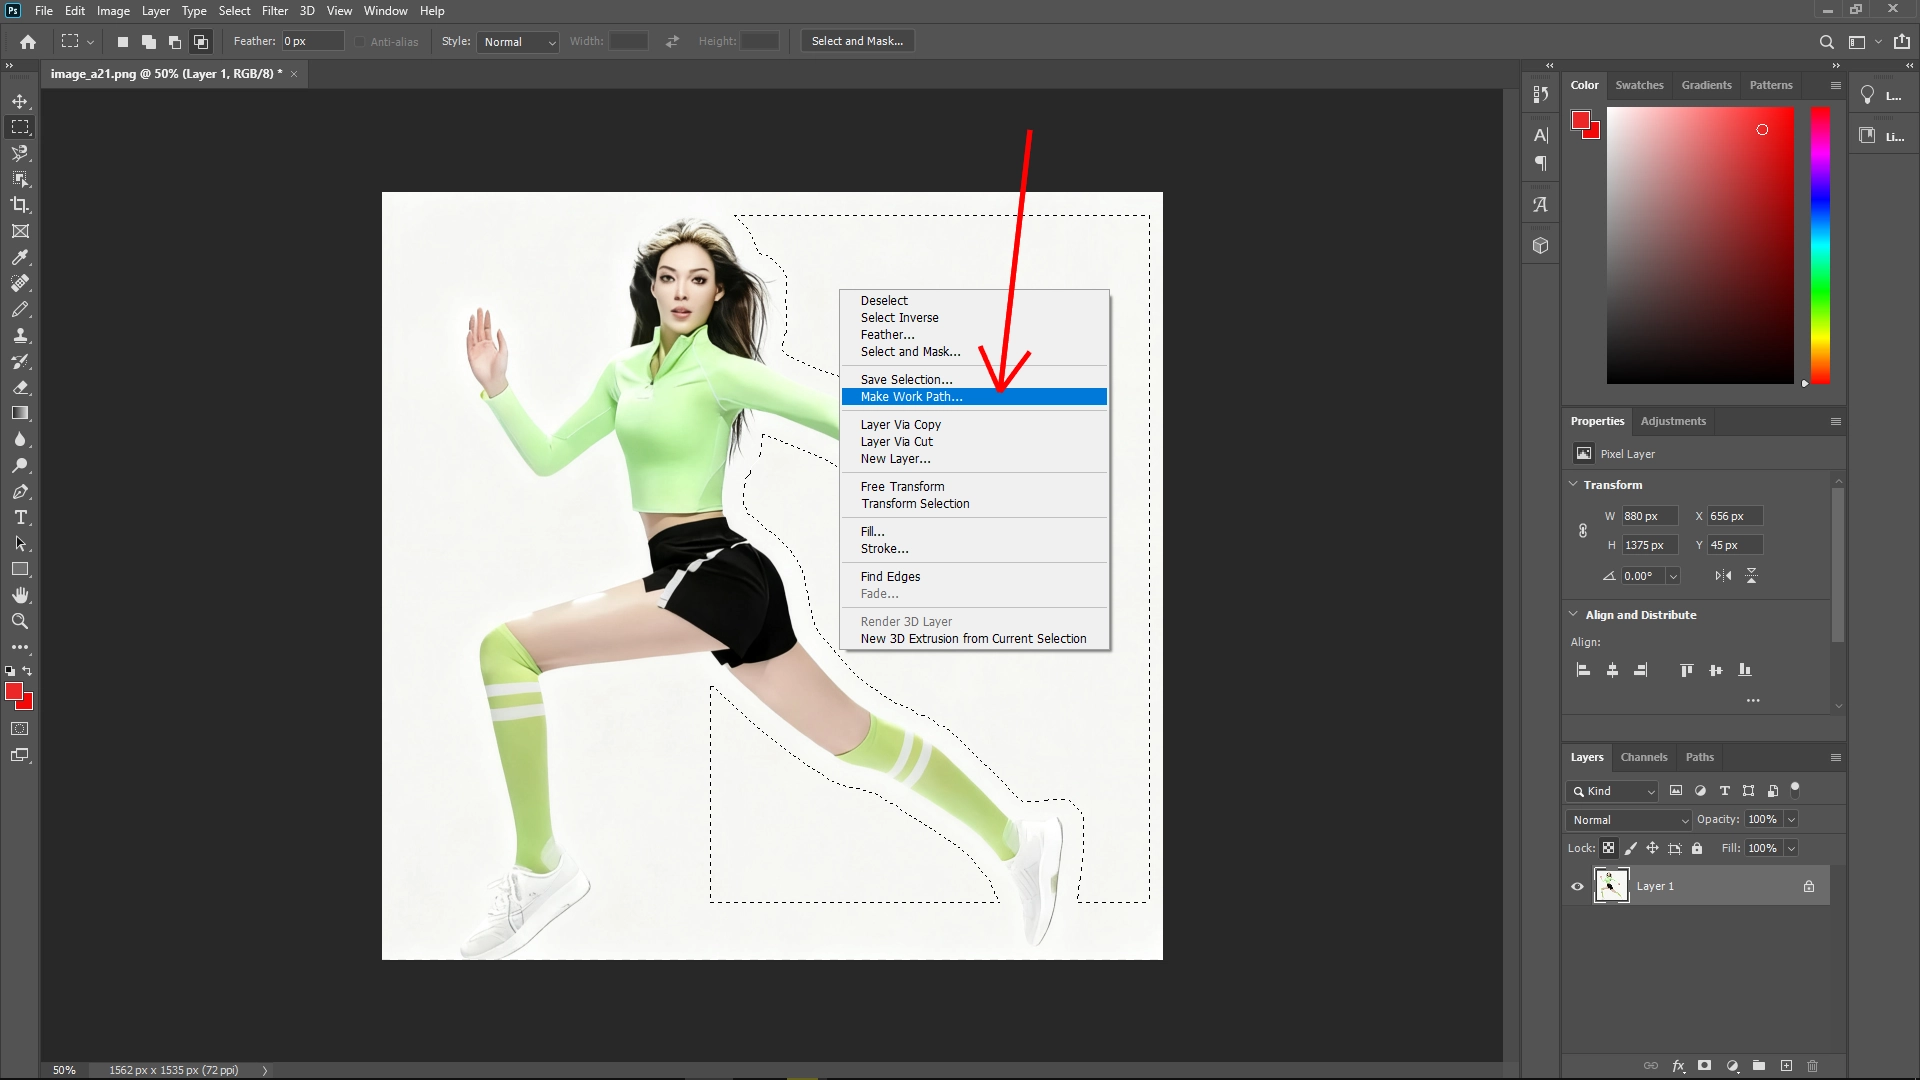
Draw a rectangular selection in the region where you want to place your text.


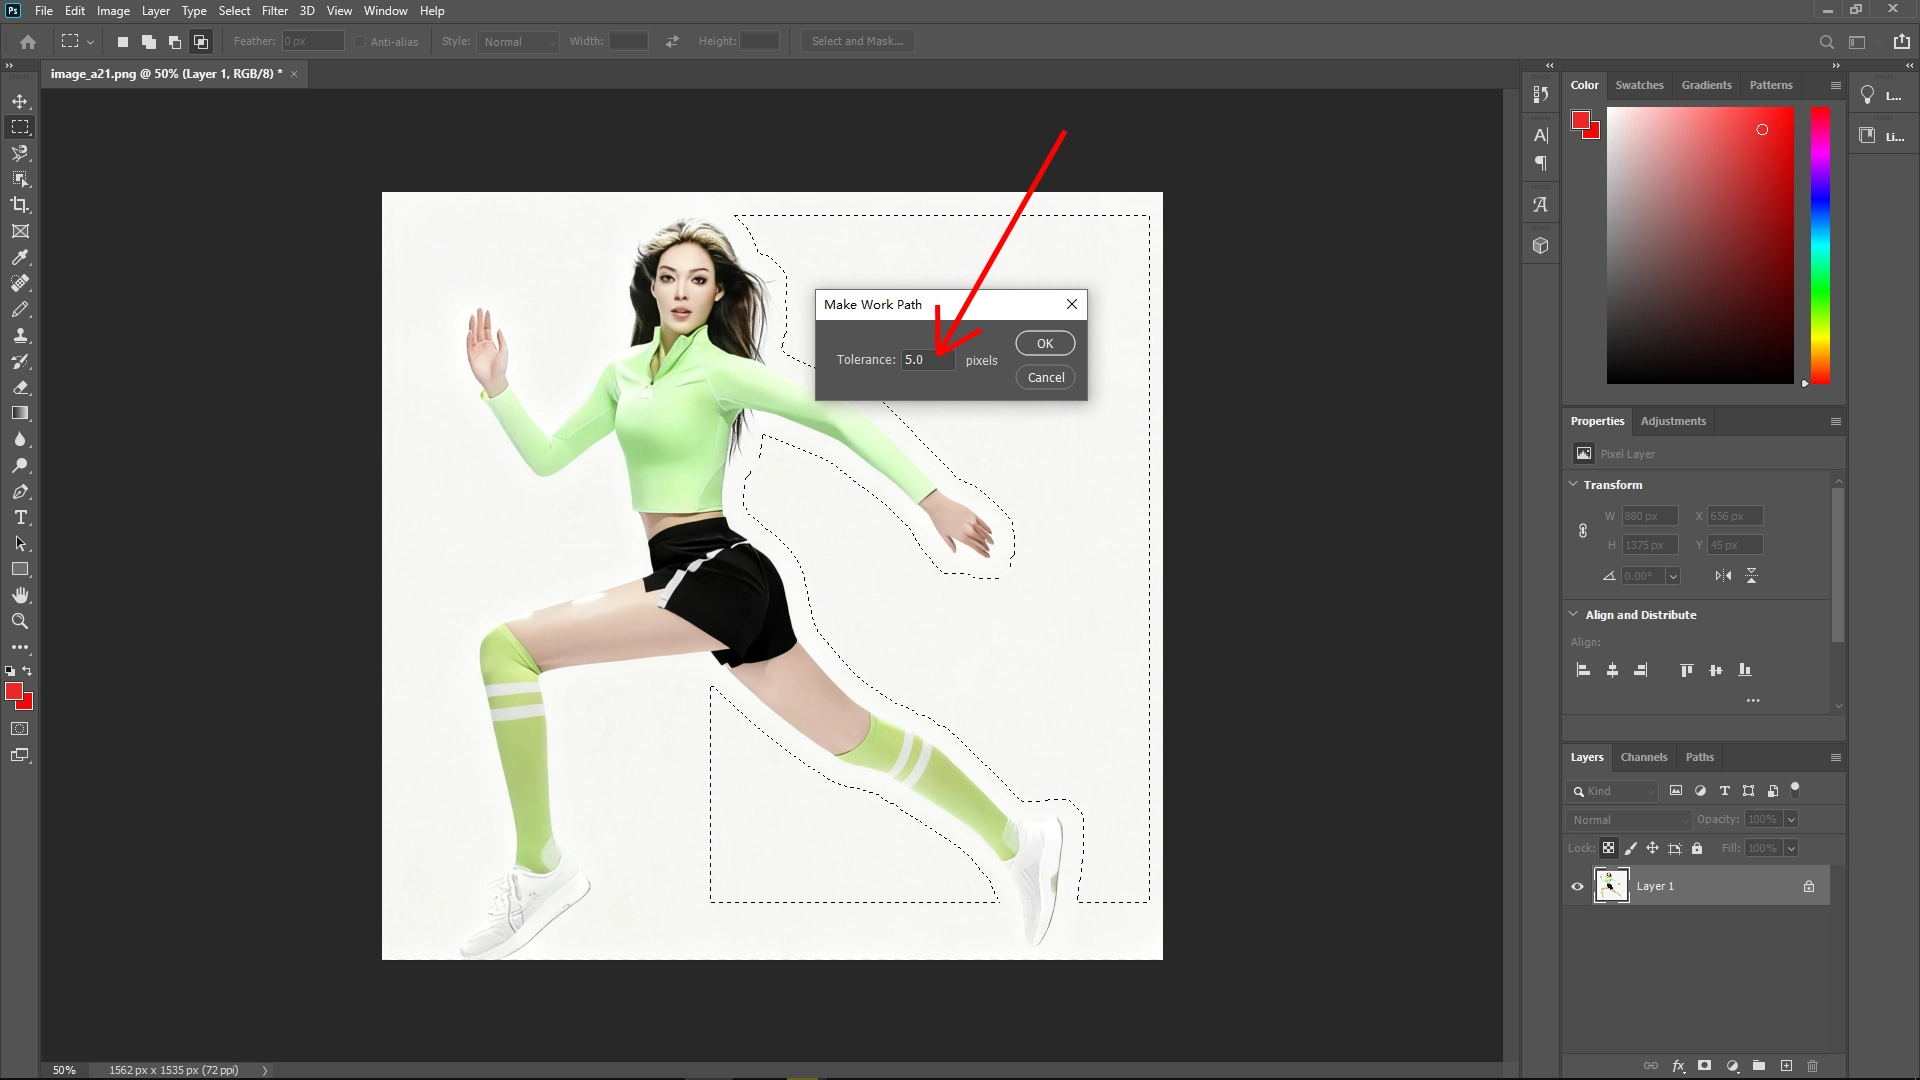
Right-click and choose Make Work Path. This converts your selection into a path that text can follow.
Step 5: Add Text Along the Path
Select the Type Tool and click on the path you just created.

Paste or type in your text. Photoshop will automatically flow the text within the defined boundary.
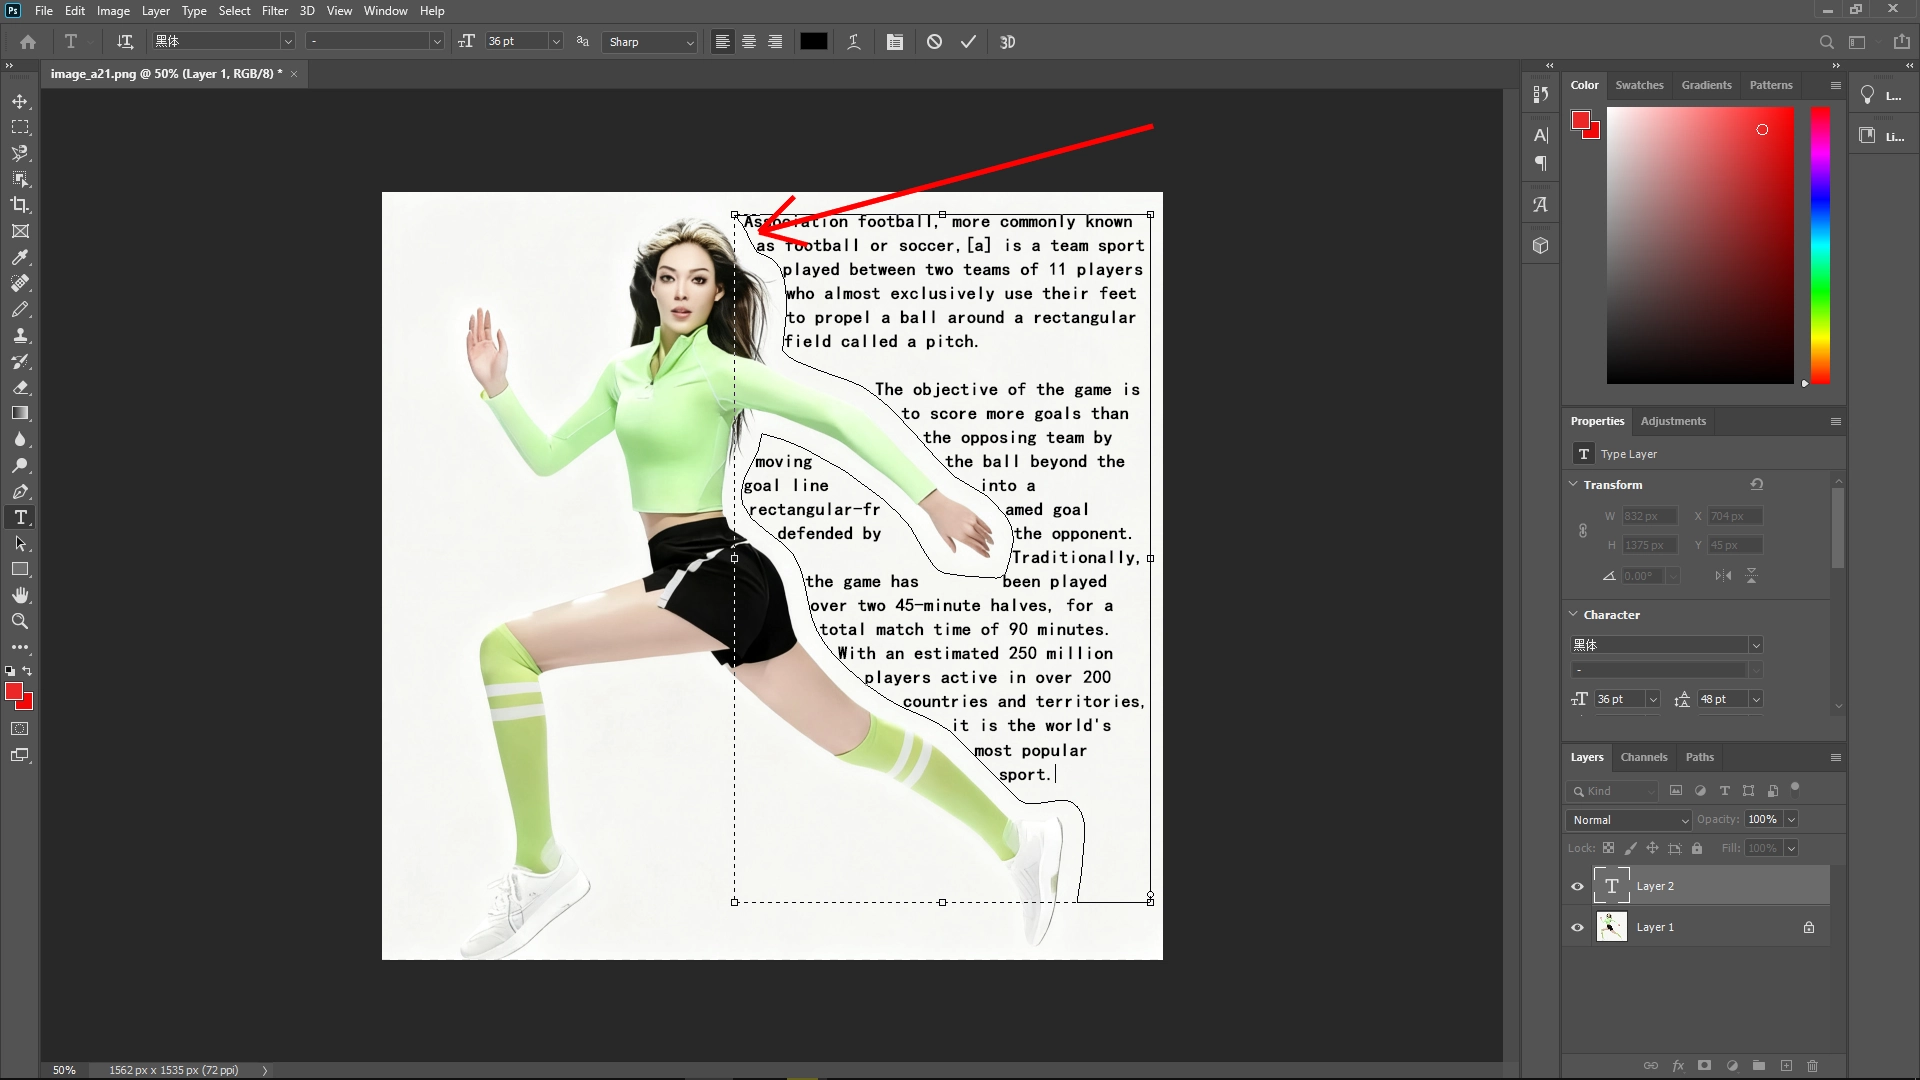
Adjust line spacing (leading), tracking, and alignment to get a clean, natural text wrap effect.
Step 6: Finalize
Press Enter to confirm.
Tweak font size, spacing, or path shape until the text flows nicely around the subject.
Write Reply